With fruit trees blossoming everywhere, I set my mind on the idea of a simple orange almond cake that holds the promise of summer and tastes as delicious as it smells.
It’s been easier said than done. I have been playing around with it the past few weeks, but my first attempts just didn’t turn out as I envisioned.
Making an orange-flavored cake is ridiculously easy. For the most part, you just add lots of orange zest and use orange juice in place of whatever liquid your recipe calls for. However, making a orange flavored cake using almond flour turned out to be a tad tricky.
If you Google “orange almond cake,” the majority of recipes instruct you to use two whole oranges, boiled then pureed, and a ton of sugar to offset the bitterness of all that pith you now have from using two unpeeled oranges. Seeing as I’m fairly averse to sugar, I set out to create a recipe that still uses a whole orange, and almond flour as its base, without requiring 1+ cups of sugar.
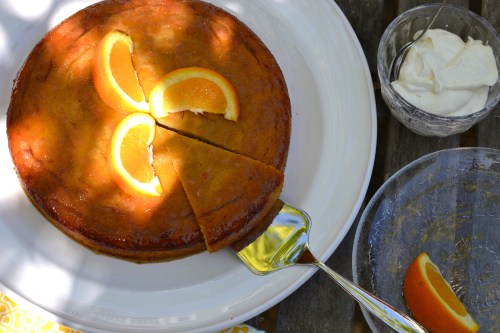
Try this cake. It received rave reviews from friends at our dinner party last weekend, and it’s so simple to make a child can do it–or at least help you make it!
If you’re celebrating Easter this Sunday, this cake would work for brunch, tea or dessert.
I use a little sorghum flour in my recipe, but you can easily make this cake Paleo by using all almond flour or a little coconut flour in place of the sorghum. Serve slices of cake with vanilla ice cream or a fat dollop of plain Greek yogurt. My preference is the later, because Greek-style yogurt is so wonderfully thick, rich and creamy that it balances nicely with the dense, moist orangeness of the cake.

Ingredients
2 organic oranges, washed and dried
2 cups almond flour (I like Honeyville)
1/2 cup rice or sorghum flour
1 (generous) tsp baking powder
1/2 tsp sea salt
3 eggs
1/2 cup honey
1/4 cup coconut, olive or macadamia nut oil*
1 tsp pure vanilla extract
2 tbsp cane sugar
*Olive oil makes this cake feel like more of a tea cake, while macadamia nut and coconut oil sweeten it slightly.
Preparation
Place one orange in a saucepan, cover with water, bring to a boil and simmer, covered, for 2 hours. Allow to cool. Remove the orange, slice and remove any seeds and puree the orange, skin and all. Set aside and reserve the cooking liquid.
Preheat oven to 350F.
Grease a 9-inch springform cake pan or regular 9-inch cake pan if you don’t have a spring-form. I also like to cut out a disk of parchment paper to lay on the bottom, but it’s not essential. It just makes it easier to remove your slices when you’re ready to serve.
In a large bowl, beat the eggs until they’re pale yellow. (I use a large metal whisk for this part.) Whisk in the honey, oil, vanilla and orange puree. Remove the zest from the non-cooked orange and whisk into the egg mixture. Juice the now “zestless” orange. You should get about 1/3-1/2 cup juice depending on the size and ripeness of your orange. Set the juice aside.
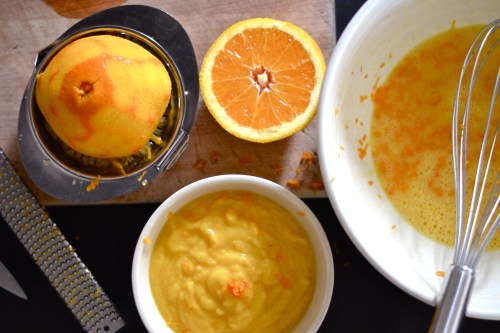
Work in progress with orange zest getting everywhere.

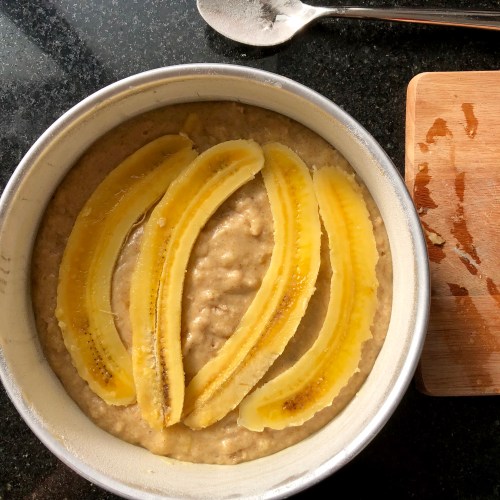
Cake batter in pan ready for the oven.
In a medium bowl, whisk together the flours, baking powder and salt. Stir the dry mixture into the egg mixture until combined. Note: Since this cake is gluten-free, you theoretically shouldn’t have to worry about over-mixing, but since I think over-mixing is the number 1 killer of any cake, please mix until just combined. Pour out into the prepared pan, place in the center of your oven and cook for 50-55 minutes or until a toothpick inserted in the center comes out cleanly.
While the cake is cooking, put the 2 tbsp of sugar and orange juice, along with a 1/4-1/2 cup of the liquid the orange was cooked in, in a small saucepan and heat to boiling. Reduce the heat to simmer, and cook for 15-20 minutes, stirring occasionally, until the liquid is reduced by at about half. Remove from heat and let it cool until the cake is finished baking. It should become thick and syrupy as it cools.
When the cake is done baking, remove it from the oven. Use a toothpick to poke a few holes in the top middle section, and carefully spoon the thickened orange juice mixture over the top. Allow the cake to cool in the pan for two hours.

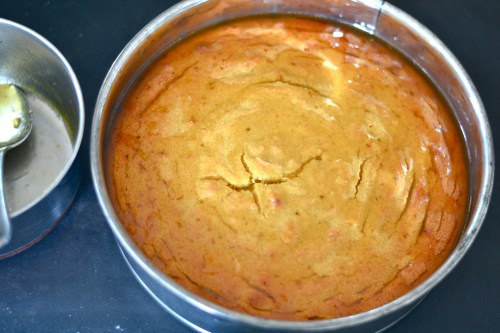
Cake fresh from the oven unglazed.
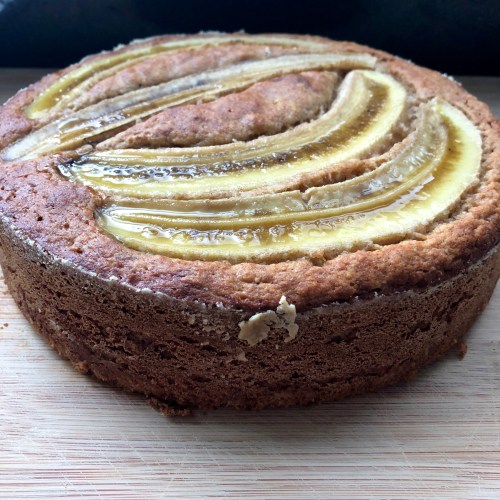
Cake glazed and ready to cool for a few hours.
Serve at room temperature with a scoop of vanilla ice cream or a big dollop of plain Greek yogurt.
Enjoy!
Read Full Post »