Feeds:
Posts
Comments

Archive for the ‘Recipes’ Category

mashed caul closemashed caul aboveI resisted making these for months because somewhere in the back of my mind an unpleasant relationship with cauliflower lingers in my childhood memories. My mom was an excellent cook overall, but being inventive with vegetables simply wasn’t her thing. If she served cauliflower to us, it was plain and raw or steamed plain.

I’ve been doing lots with roasted cauliflower these days (see Roasted Brussels Sprouts and Cauliflower and Cauliflower Apple Soup with Truffle Oil and Chopped Chives), but have been reluctant to try much more. I’ve tried the “rice” made from cauliflower, and while it was a decent and much healthier substitute for regular rice, it wasn’t anything worth writing home about.

So I guess I had low expectations when I tried making mashed cauliflower as a great base for meats in sauces and a mashed potato substitute. But no matter–mashed cauliflower is amazingly delicious!! It’s also super easy to make and you get to feel great about eating it because it’s very nutritious and far superior in taste, texture and nutrition to the ol’ white potato. Remember, doctors recommend we eat cruciferous vegetables (broccoli, cauliflower, cabbage, kale, etc.) 2 to 3 times per week. Cauliflower is an excellent source of Potassium, fiber, Vitamin C and Vitamin B-6.


Ingredients

2-3 cloves garlic, unpeeled
1 tbsp extra-virgin olive oil
1 medium-sized head cauliflower, trimmed and broken into florets
1/4 cup coconut milk
3 tbsp butter, ghee or other butter substitute
1 1/2 tsp sea salt
Fresh-ground pepper


mashed caul raw


Preparation

Preheat a toaster oven or regular oven to 400F. Place the unpeeled garlic cloves in a small heat-proof dish and roast until soft, about 15 minutes.

Meanwhile, bring 1/2-inch of water to boil in a medium saucepan. Drop in a steamer basket and add the cauliflower florets. Cover and steam until tender, about 10 minutes. Drain off all the water and place the florets in a food processor or high-powered blender, such as a Vitamix.

Remove the papery skins from the garlic cloves by squeezing them gently and add the cloves to the cauliflower along with the remaining ingredients. Process or blend until smooth.

Serve immediately. Serves 4-6 (just 4 with my family because we fight over every spoonful).

Enjoy!

Read Full Post »

paleo scone glazing 2paleo scone close
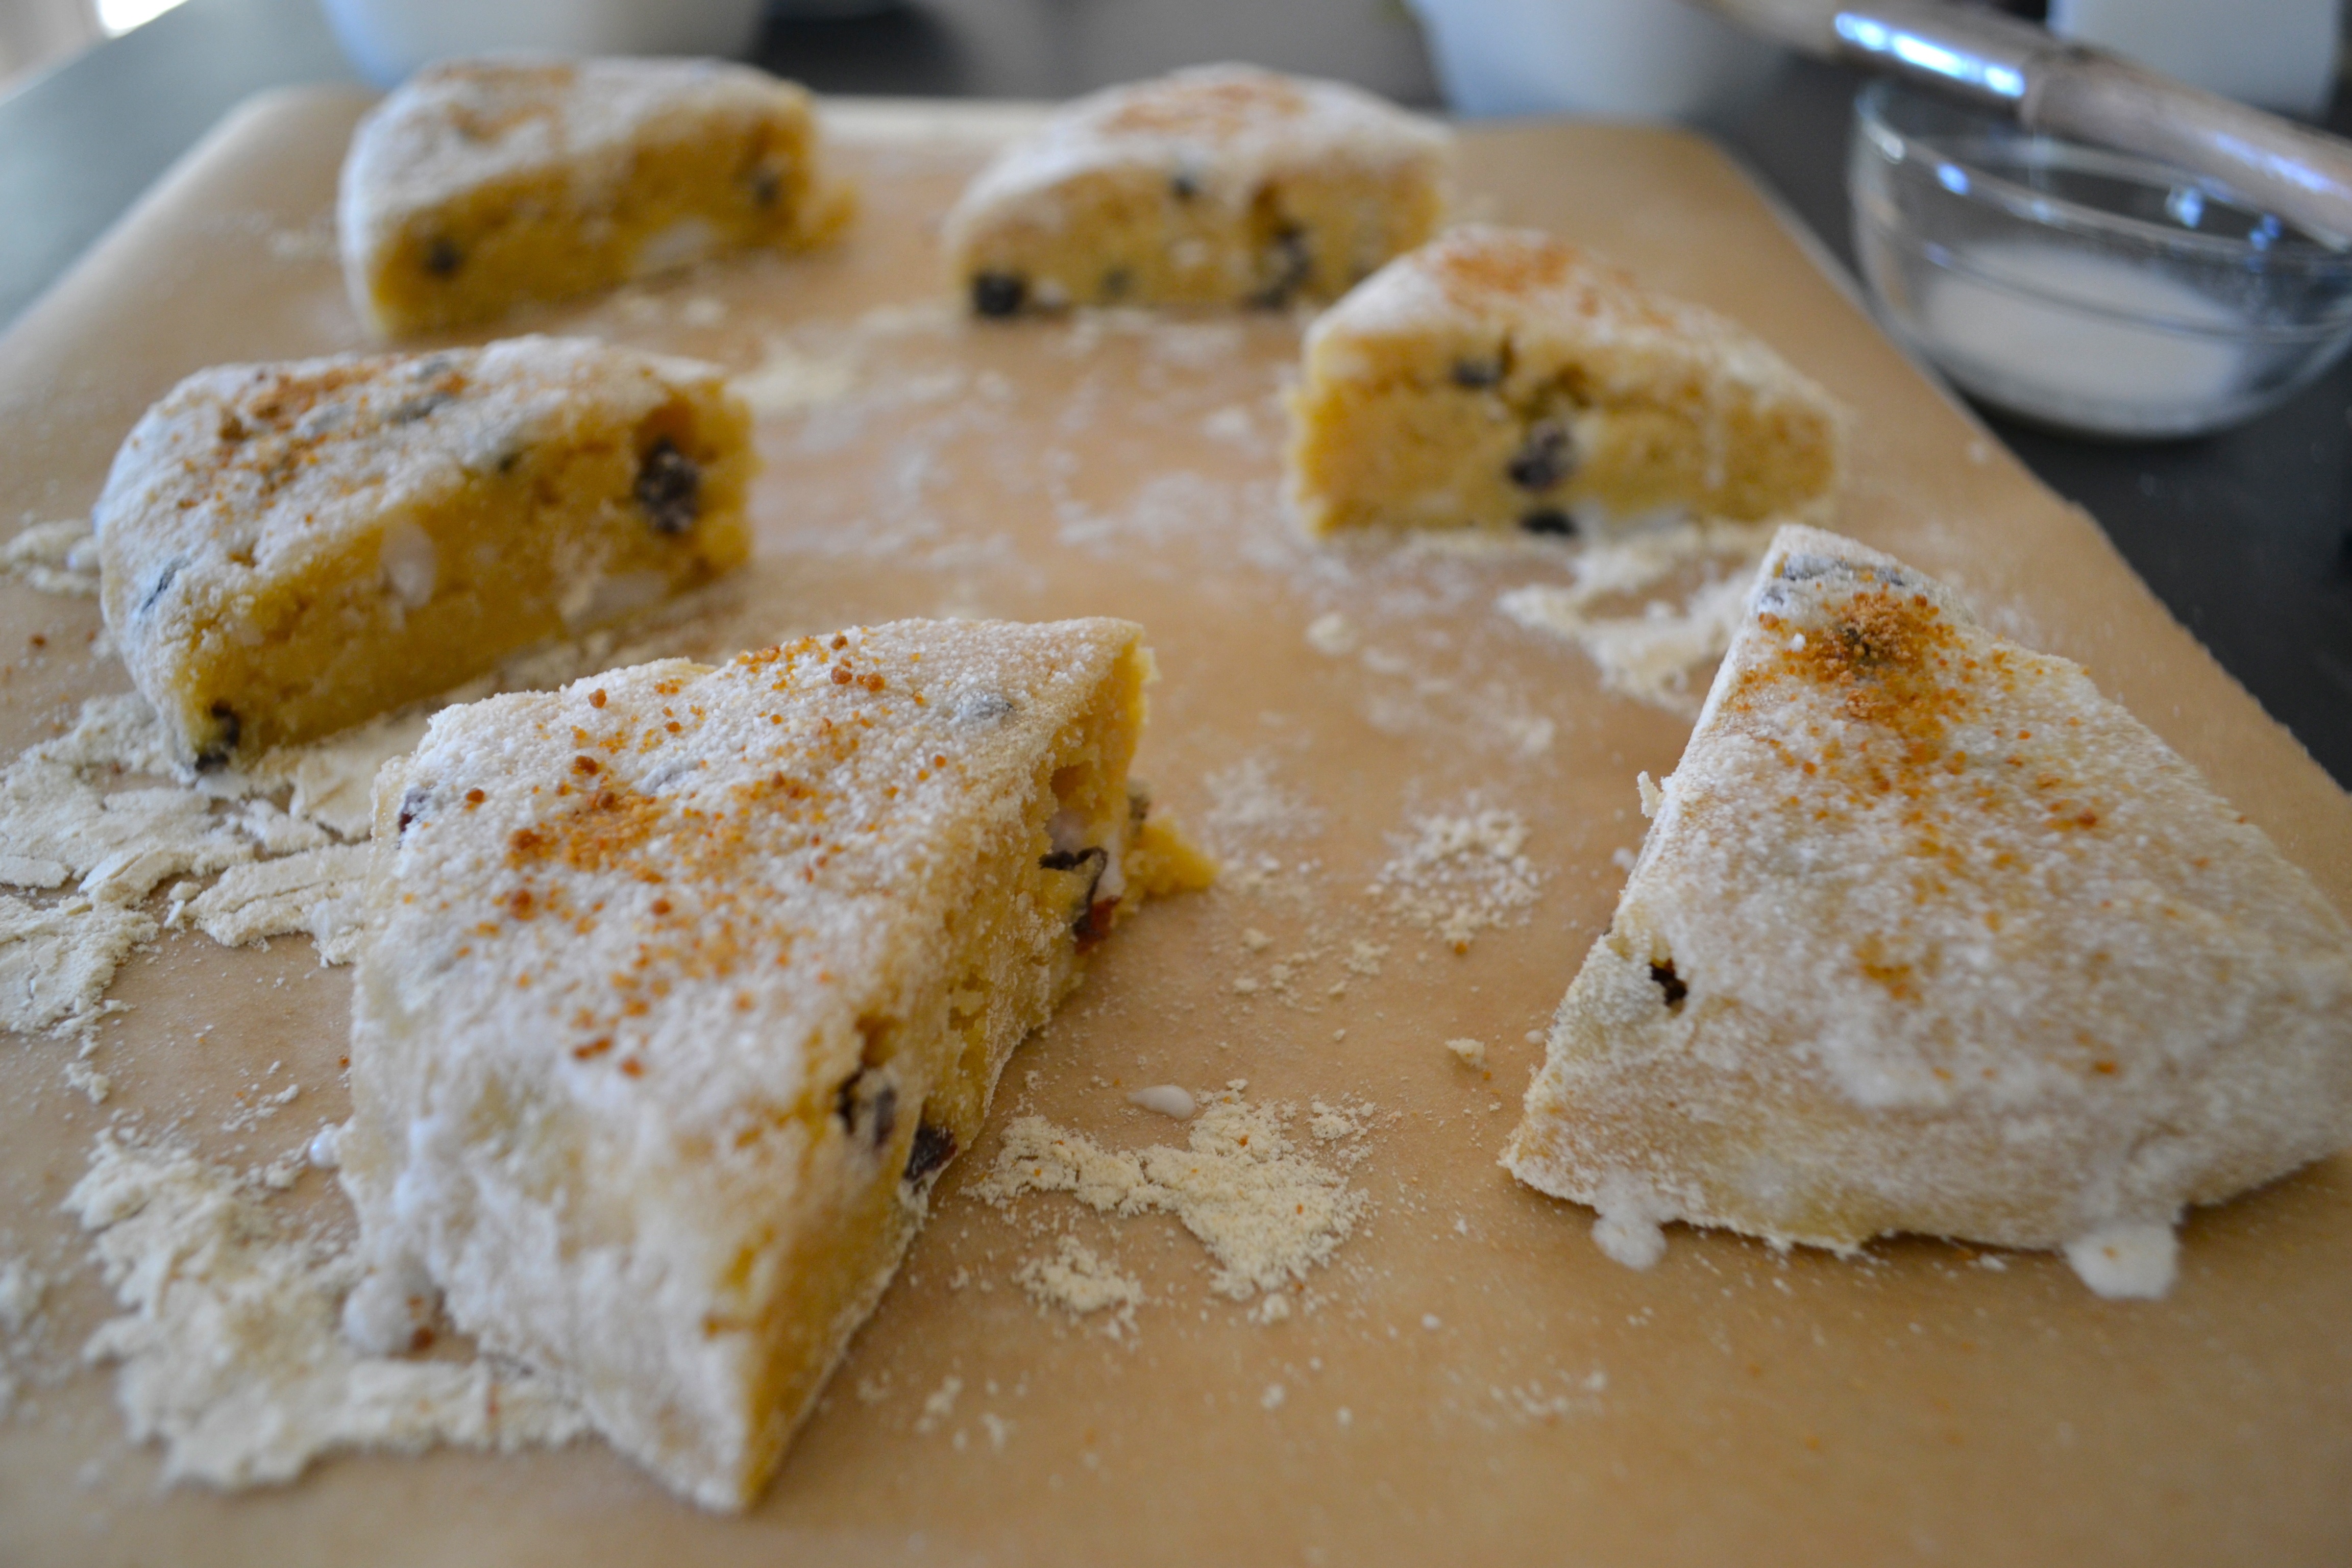
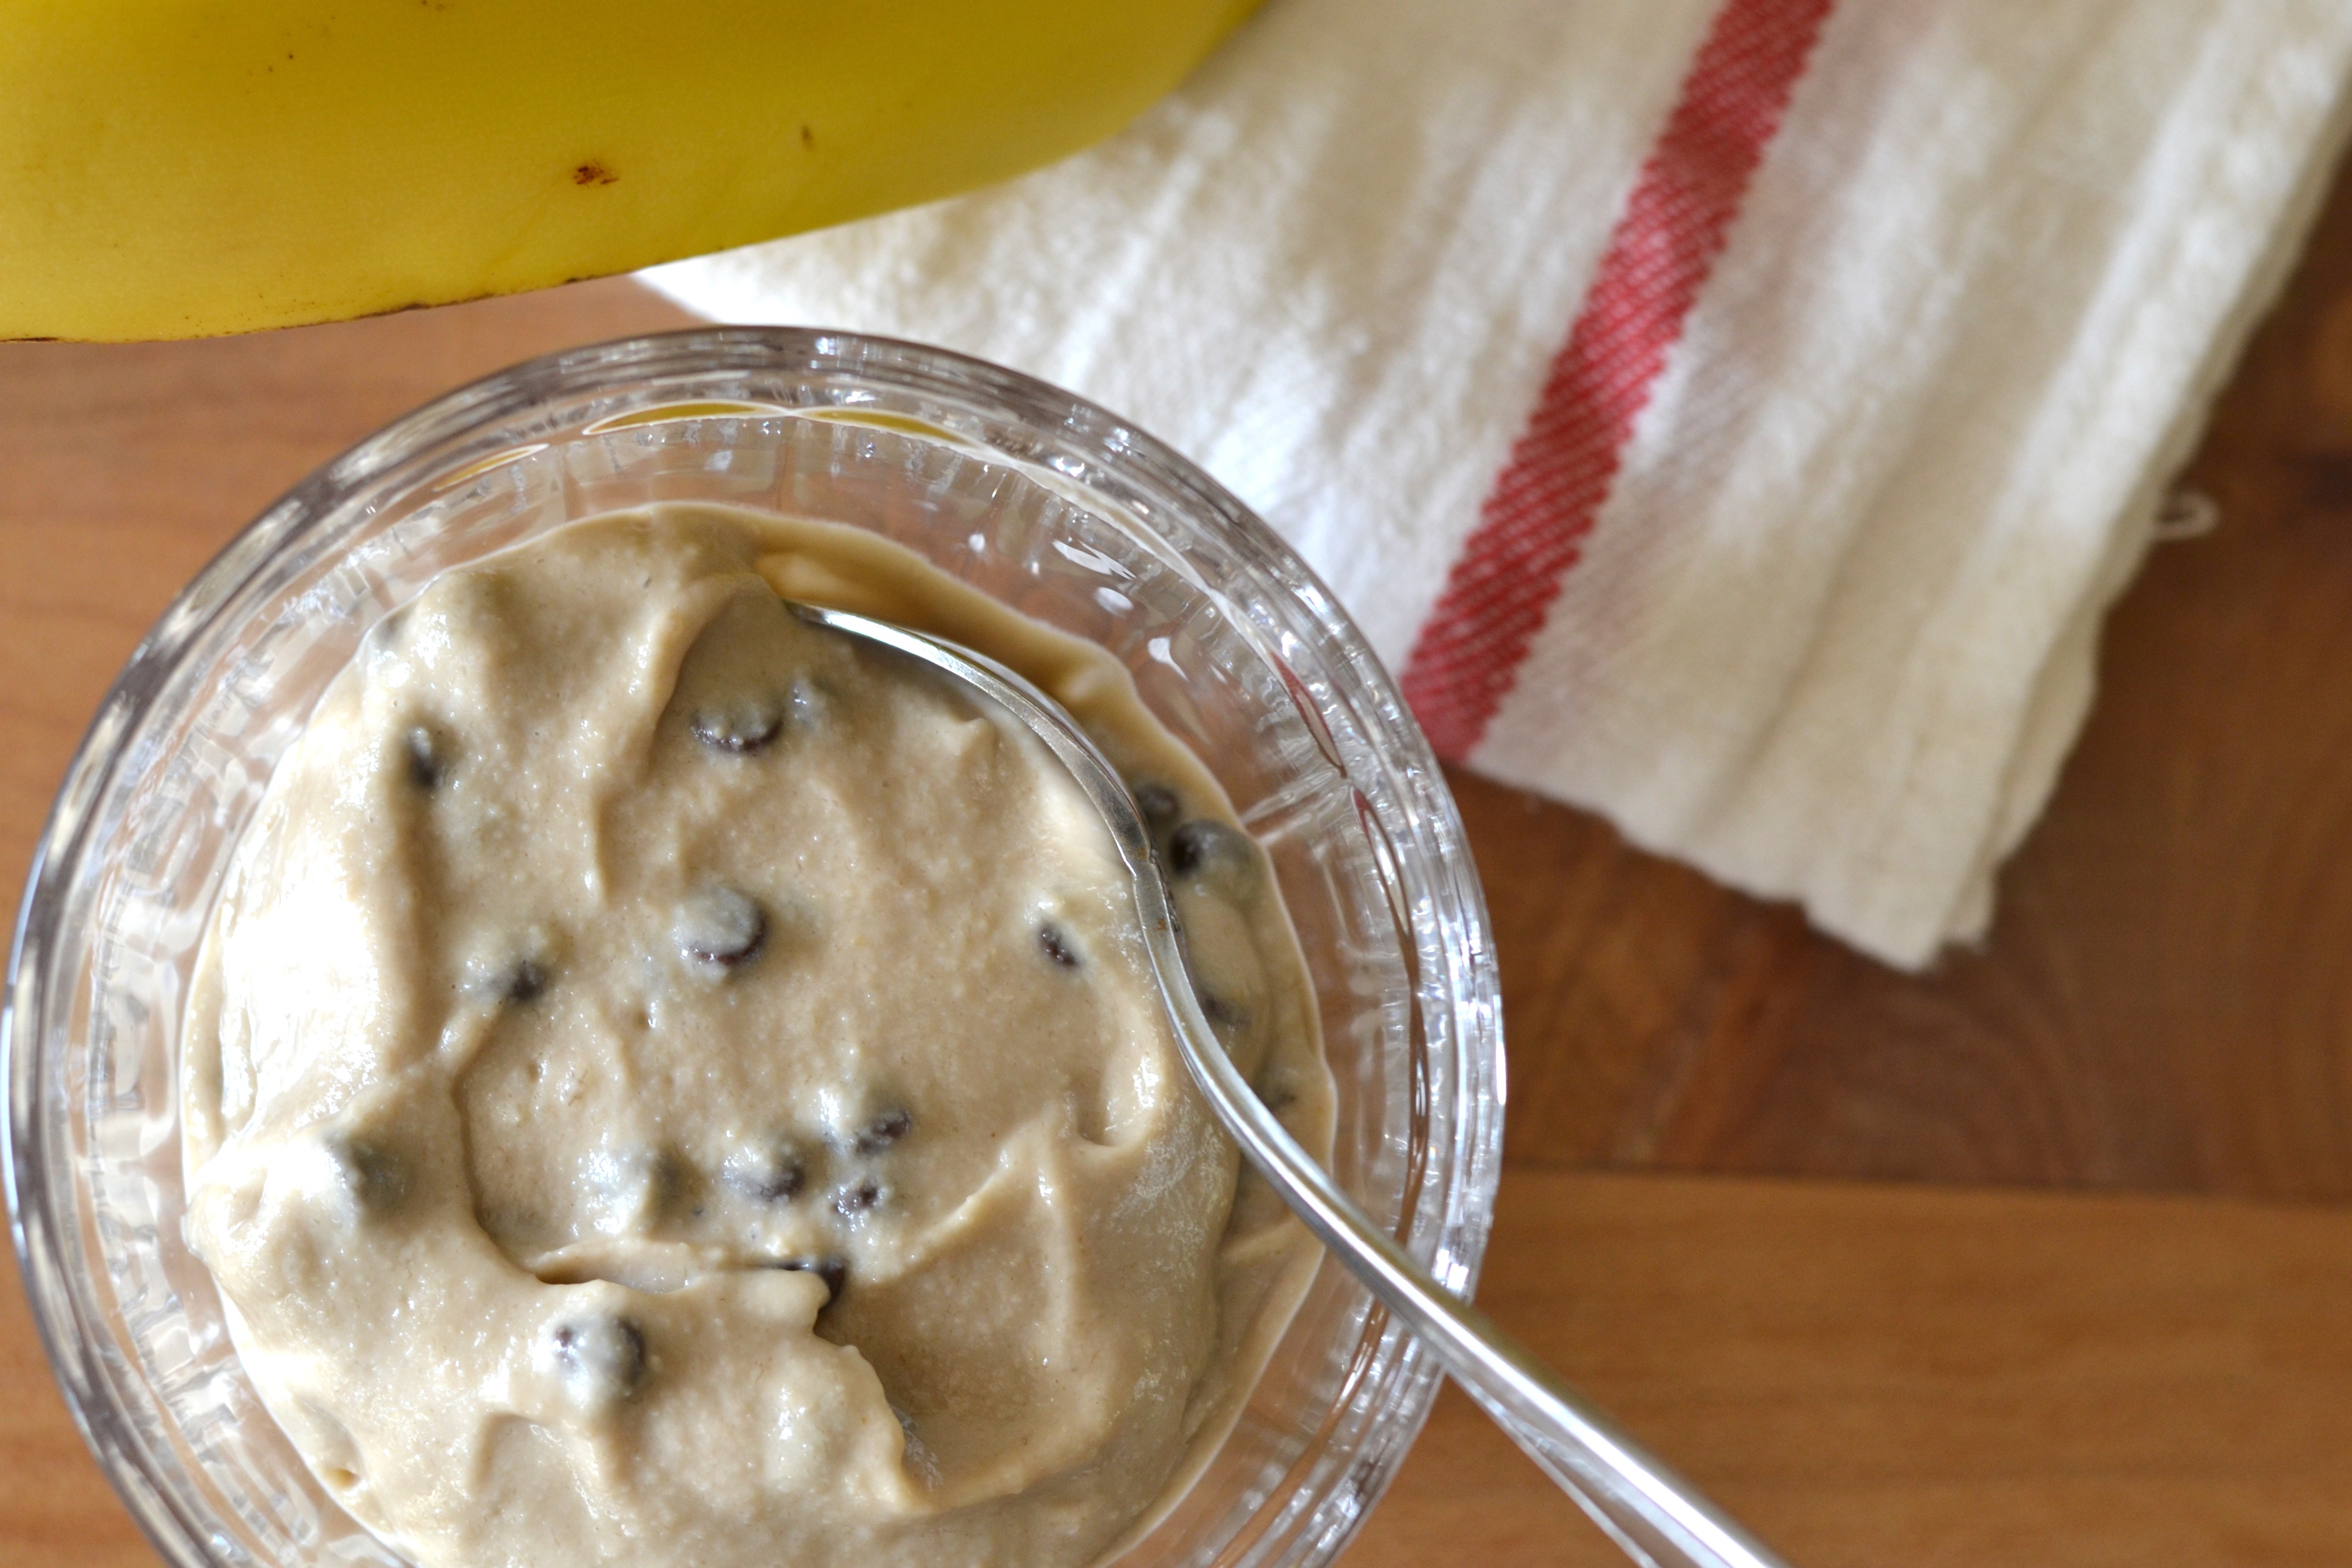
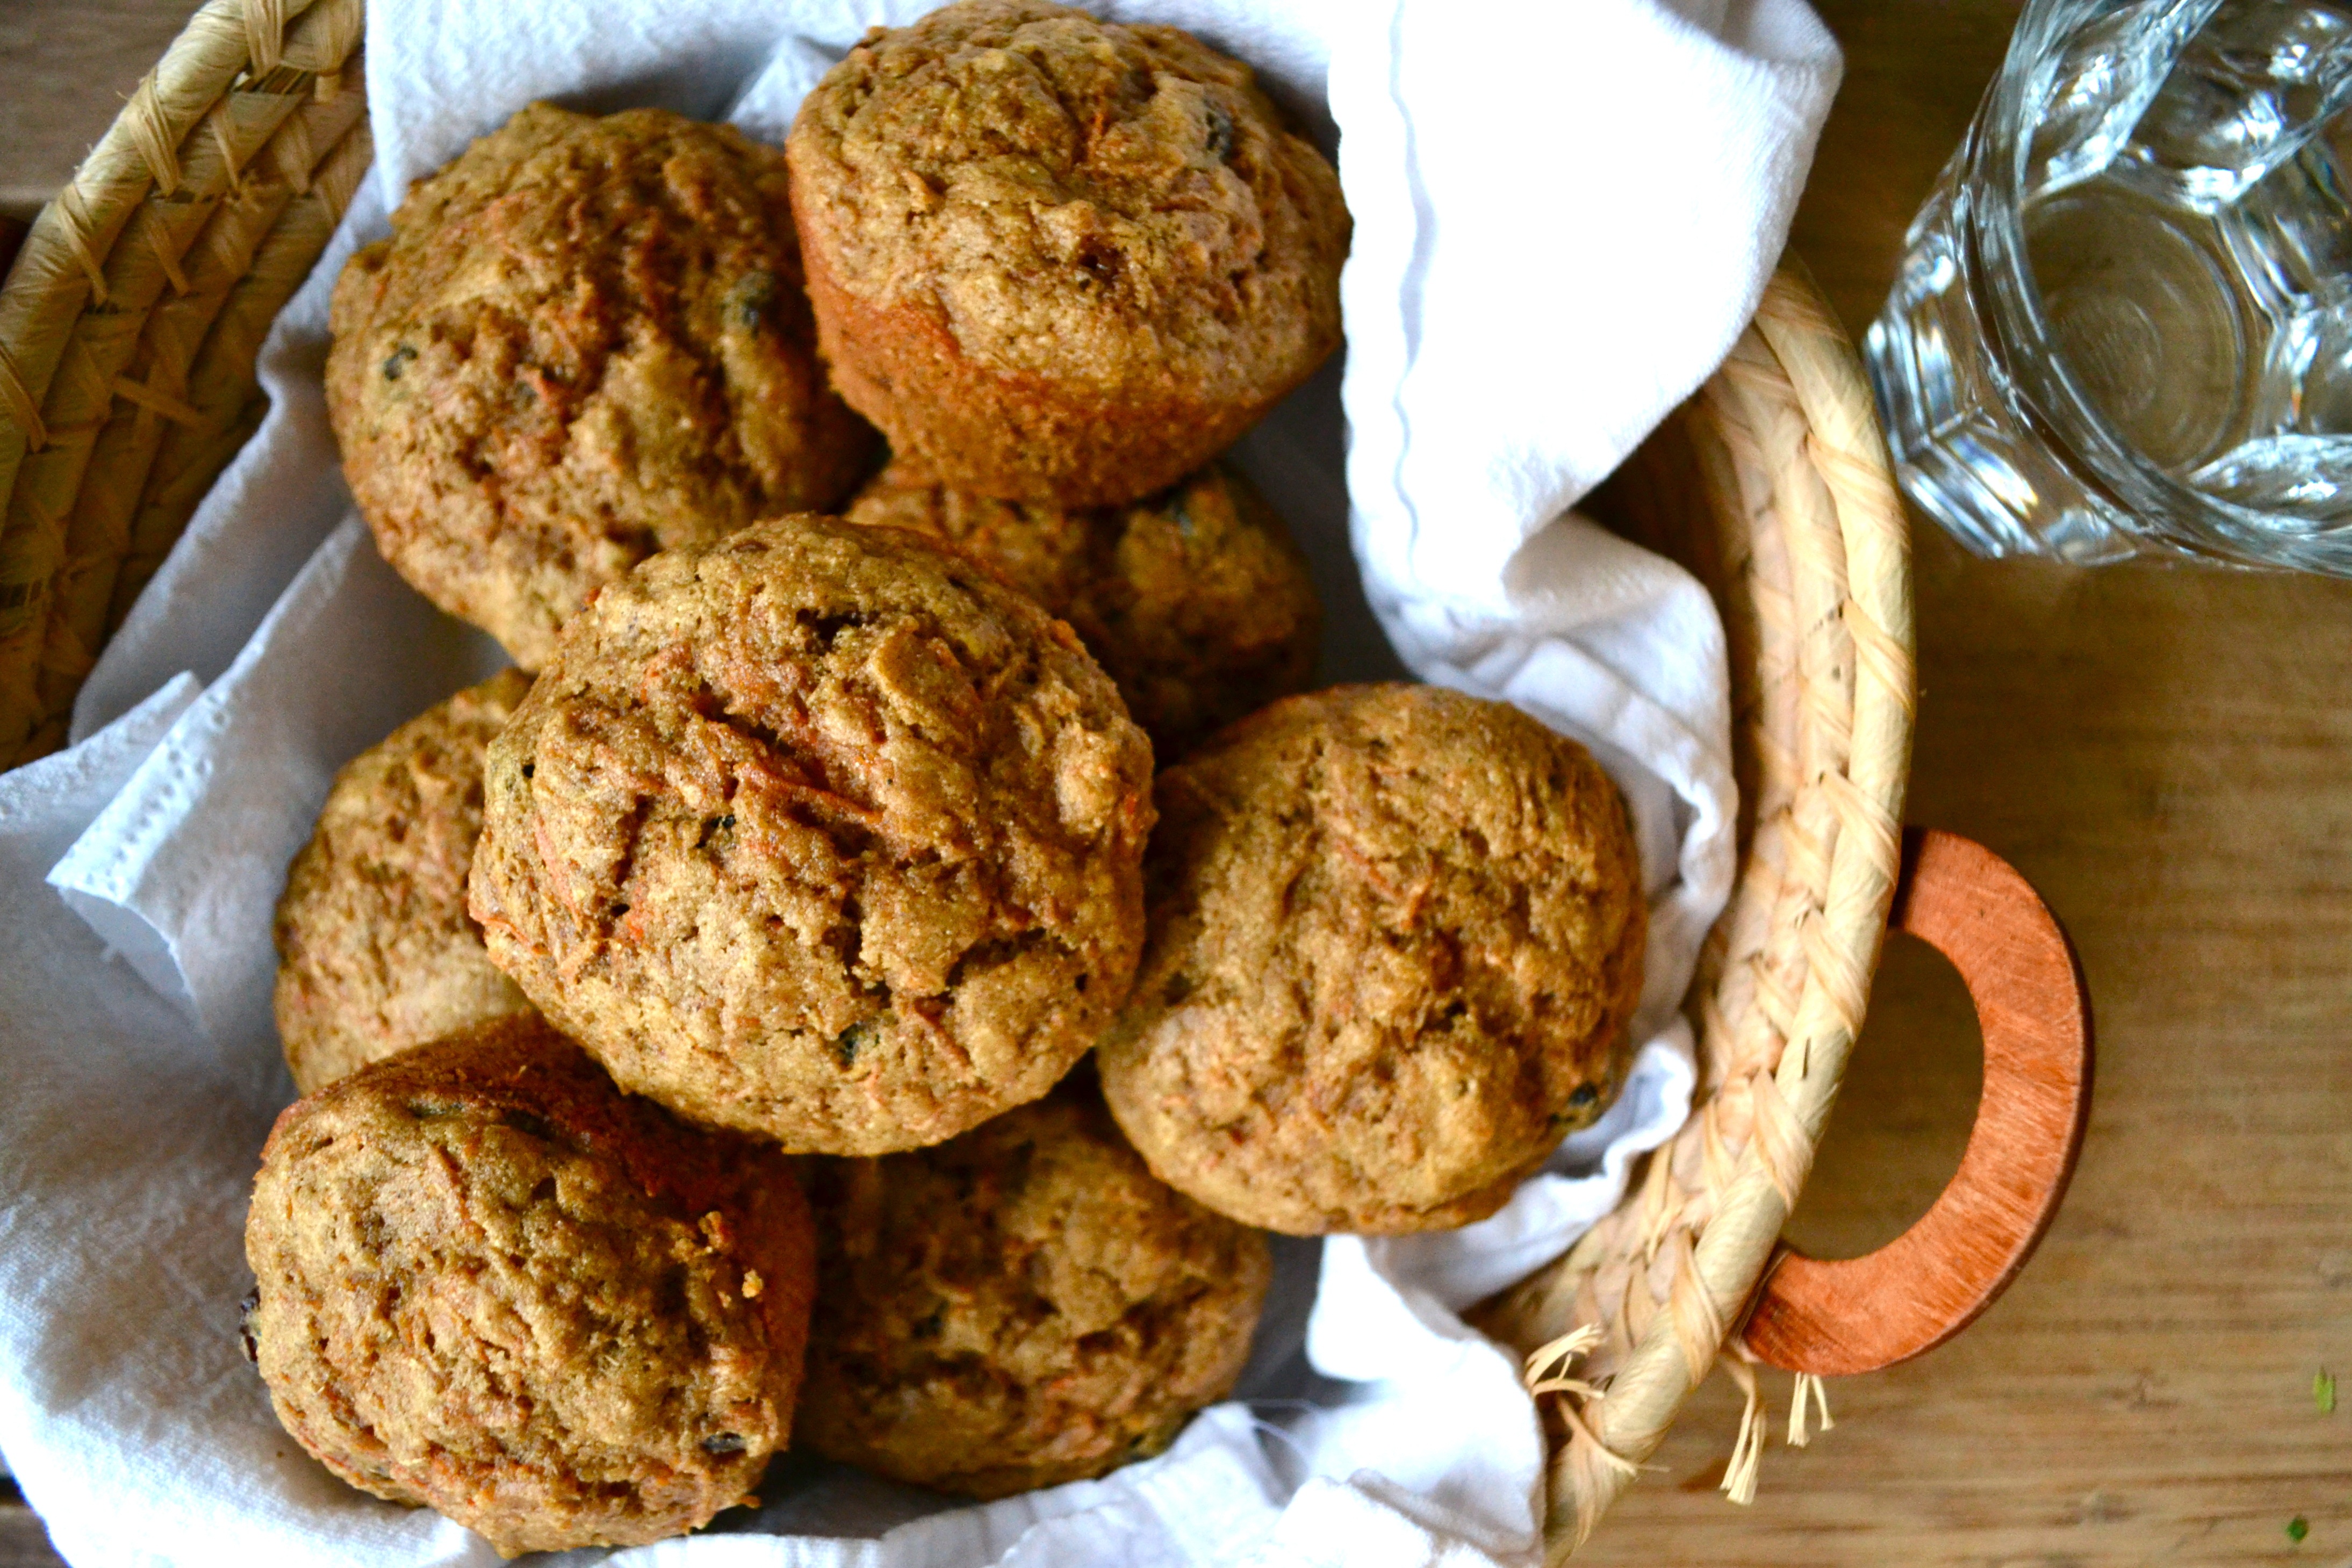
You can take the grain out of my baking, but you can’t take the baker out of me!

I admit, although I feel great on my Paleo-esque diet, I can’t deny I miss biting into the yeasty, chewy center of a loaf of pain au levain. And I firmly believe that people that feel deprived are, well, deprived. So I indulge every now and then (once every two weeks or so), usually only to be reminded that I’m not missing much. That yeasty chewy bread tastes mighty good going down but it doesn’t make me feel great an hour or so later. I’m not even gluten intolerant. It’s usually that the bread got consumed with red wine, butter and a slice of Brie, and the combination makes me feel tired, bloated, and just kind of yucky overall.

But back to the baking… I love to bake. It’s therapeutic for me, and my family loves my baking. I still bake muffins and breads for my family using grains, but instead of a daily occurrence, it’s been reduced to once  a week. To fill out the other days, I’ve been making grain-free baked goods. These have also been well-received by my family, and I’ll continue to post some of my tried and tested recipes from time to time. For example, the rosemary raisin crackers I posted a couple of months ago have become a favorite, and they make regular crackers seem bland, textureless and boring. I can’t imagine ever going back to eating crackers from a box!

I’ve been serving up a version of these scones nearly every weekend, to the delight of my family. They’re fast and easy to prepare, and you can easily change their “theme”–currants, mini chocolate chips, or chopped dried apricots for a sweet approach, or chopped sage or rosemary for a savory twist. They’re also filling, so just one per person is usually enough.

Ingredients

1 3/4 cup blanched almond flour

4 tbsp coconut flour, plus a little more for rolling

2 tbsp honey or maple syrup

1 large egg

3 tbsp coconut milk (or almond), divided

1 tsp pure vanilla extract

1/2 tsp baking soda

1/4 tsp sea salt

1/2 tsp ground cinnamon

3 tbsp coconut oil or ghee

1/4 cup dried currants or Enjoy Life Chocolate Chips*

1 tsp coconut crystals or turbinado sugar

*Please see my note above and consider any number of different dried fruits, chopped or 1 tbsp finely chopped herbs for a savory scone (omitting the cinnamon).

Preparation

Preheat oven to 350F.

In a medium bowl, lightly whisk the egg. Whisk in 2 tbsp coconut milk, vanilla extract and honey or maple syrup. Set aside.

In a separate bowl, mix the flours, baking soda and salt using a fork to break down any lumps in the almond flour. Add to the wet ingredients and stir just until blended. Use a pastry cutter to cut in the ghee or coconut oil until it’s in pea-sized bits. Fold in the currants or chips or whatever you’re adding for interest.

Sprinkle a little coconut flour on a sheet of parchment paper. Gather the dough into a loose ball and pat it down into an even round, approximately 1-inch thick. Use a large knife to cut the round into six wedges. Separate them a little using the knife like a spatula. Slide the sheet of parchment with the scones onto a baking sheet. Lightly brush the tops of the scones with the remaining 1 tbsp of coconut milk and sprinkle with turbinado or coconut crystals.

paleo scone mixpaleo sconepaleo scones aboveBake for 15-18 minutes turning the sheet halfway through. The scones should be slightly golden on their edges.

Serve immediately. Makes 6 scones. These also reheat well as long as you’re careful not to reheat them too much.

Happy grain-free baking!

Read Full Post »

cashew pudding aboveLooking for a sweet but healthy treat–for yourself or the kids? This creamy, delicious and nutritious pudding whips up in less than 10 minutes! It uses cashews for the base instead of the usual ingredients we think of when we think chocolate chip cookies (e.g., all-purpose flour, eggs, butter, etc.), and relies on banana for the sweetener instead of the usual white sugar/brown sugar combo. Cashews are an excellent source of heart-healthy fats as well as important minerals including magnesium, manganese, copper and phosphorous. My recipe has been slightly modified from Stephanie Eusebi’s Paleo Cookie Dough Pudding.

This pudding has become a favorite of everyone in my family. It’s delicious straight from the blender or after it’s been chilled in the refrigerator for an hour. It keeps well for several days in an airtight container in the refrigerator. It does require a very high-powered blender, such as a Vitamix. If you just use a regular blender, the cashews won’t blend down into a creamy enough consistency.

cashew pudding close

Ingredients

3/4 cup raw cashews (preferably soaked overnight in 3 cups water and 1/2 tsp salt)

2 tbsp coconut oil, melted

2 tbsp almond butter

1 ripe banana*

3 tbsp water

2 tsp pure vanilla extract

1-2 tbsp maple syrup

1/4 tsp ground cinnamon, optional

1/4 tsp salt

1/4 cup Enjoy Life vegan chocolate chips

*Since there is so little added sugar, it’s important to use a ripe banana. It also makes blending easier.

Preparation

Easy peasy! Put everything but the chocolate chips in a Vitamix or other high-powered blender. Blend until completely smooth and creamy. Scrape out into a bowl and stir in the chocolate chips. Makes approximately 2 cups.

Enjoy!

Read Full Post »

bacon salad aboveYes! My love affair with the brussels sprout/bacon combination continues!

I literally wolfed down a version of this salad while eating out with friends last weekend. We met up at a pizza place, but since I’m still avoiding grains and dairy, I scanned the menu for a paleo-esque option. That’s when I spotted the salad with that irresistible combination of brussels sprouts and bacon, although the restaurant described their salad somewhat differently.

The very next day I drove to the market and bought all the necessary ingredients based on my recollection of the prior day’s deliciousness, and a day later, I made my version of the salad. The result? A very enthusiastic thumbs up from my husband who also wolfed his down and asked for seconds. Sadly, there were none. I literally inhaled mine.

Easy to make and easy to alter to your liking, this salad is hearty, nutritious and incredibly flavorful!

If you’re not avoiding eggs (which I am at the moment), add some chopped boiled egg to the mix.

If you’re not avoiding grains, add some homemade croutons made with pain au levain or other rustic bread, brushed with olive oil and lightly toasted.

bacon salad close2

Ingredients

1 lb brussels sprouts, trimmed and thinly sliced

4 slices of organic bacon

1/2 a yellow onion, cut crosswise 2-3 times and thinly sliced

1 chicken breast (I brined mine in a ziplock bag first using 3 cups water and 2 tsp salt)

Juice of half a lemon

Extra-virgin olive oil

1/2 tsp quality Dijon mustard

sea salt and fresh-ground pepper

2 hard-boiled eggs, chopped (optional)

Croutons from 2 slices of rustic bread (optional, see above)


Preparation

Preheat the oven to broil. Dry the chicken breast and place in a small baking dish. Drizzle with olive oil and season with salt and pepper (skip the salt if you brined the breast). Grill until cooked through, about 20 minutes, turning halfway through.

While the chicken is cooking, cook the bacon over medium-high heat until the slices are crunchy in places. Remove the strips and set aside, keeping the fat in the pan. Add the sliced onions to the pan and cook until very tender and nicely carmelized, about 15 minutes.

About 5 minutes before the chicken is done cooking, toss the sliced sprouts with olive oil in a large bowl. Season with salt and pepper and spread on a large, rimmed baking sheet. Place in the oven below the chicken. When the chicken is done, remove it from the oven and keep it warm by covering it with foil or another pan. Switch the oven from broil to 400F and continue to roast the sprouts, stirring occasionally, until they’re cooked through and beginning to brown.

In a small bowl, whisk 1 tbsp olive oil, the lemon juice, mustard, 1/4 tsp salt and 1/4 tsp pepper until blended.

Slice the bacon crosswise into 1/4-inch wide strips. Slice the chicken into bit-sized chunks.

When the sprouts are done, toss everything but the dressing in the large bowl. Add a little dressing (the salad will already be quite flavorful!), toss, taste and dress more if desired.

Serve immediately.

Enjoy!

bacon salad close

Read Full Post »

prawn zucc salad aboveprawn zucc salad closeI’m still essentially following the Paleo diet, and now my husband is wanting to get in better shape–mainly by dropping a few pounds. That makes cooking meals slightly easier and more difficult all at the same time. On one hand, cooking meals is easier because he’s now perfectly happy eating exactly what I’m eating (whereas before he might have grumbled about the rice or couscous “missing” from his plate, and the “over” abundance of vegetables). But preparing meals is slightly more difficult in that the children don’t always want to eat my Paleo-inspired meals. They like a little “filler,” and since they naturally run lean, I’m perfectly alright with having them eat any relatively nutritious starch.

Everyone was thrilled the other night after I prepared a grilled zucchini and prawn salad for me and my husband, and used the remaining prawns to make one of my favorite stand-by dishes (fried rice), for the kids. Even better, dinner was ready in less than 40 minutes.

This salad might seem more appropriate for a warm summer night–when you can grill the zucchini and prawns on an outdoor grill (although I’m a big fan of the broiler when I just don’t feel like going outside), but we just experienced a week of uncommonly warm temperatures here in Northern California. My kids trooped around in shorts and T-shirts, and while I couldn’t bring myself to expose my still-pale-from-winter legs, I did wear sandals and T-shirts with cropped pants. (FYI -I guess as payback, we’re having a week of rain now.)


Ingredients

1/2 lb prawns, peeled and deveined

2-3 medium zucchini, washed, trimmed and sliced lengthwise into 1/4-inch slices

2 tsp dried oregano

1 tsp dried basil

2 garlic cloves crushed or 1 1/2 tsp garlic powder

Extra virgin olive oil

Juice of 1 lemon, divided

Sea salt and fresh-ground pepper

1/2 tsp Dijon mustard

1 tsp Champagne or good-quality white wine vinegar

3 large handfuls of mixed greens


Preparation

Preheat the oven to broil.

Wash and dry the mixed greens and set aside in a large bowl.

In a small bowl, whisk together 1 tbsp olive oil, the vinegar, half the lemon juice, the mustard, 1/4 tsp salt and a few grinds of pepper. Set aside.

Put the prawns on 2 skewers and place the skewers in a small, shallow baking pan or grill pan. Drizzle with a little olive oil and season lightly with salt and pepper.

Lay the zucchini slices on a large rimmed baking sheet. Drizzle with 2 tbsp olive oil. Lightly grind with your fingers and sprinkle the oregano, basil and garlic powder (if using) on the zucchini. If you’re using fresh garlic, spread it on the slices so each one gets a bit. Sprinkle 1/2 tsp sea salt and a few grinds of pepper. Place the baking sheet under the broiler–about 8 inches from the coils (which is the second “shelf” in my oven). Broil for 3-5 minutes or until golden brown on the edges. Flip the slices and broil another 2-3 minutes until the zucchini is cooked through and nicely colored. Remove from the oven and set aside while you cook the prawns–about 2-3 minutes per side under the broiler.

Toss the greens with the dressing and divide between to plates or large low bowls. Drizzle the zucchini and prawns with the remaining lemon juice and layer them on the salad. Serve immediately.

Serves 2 as main, 4 as a side.

Be well!


Read Full Post »

cauli sprout closeDoctors recommend we eat cruciferous vegetables (broccoli, cauliflower, cabbage, kale, etc.) 2 to 3 times per week. I think there may have been an entire decade–possibly in my 20s, during which I didn’t eat (at least knowingly!) any cruciferous vegetables. And I avoided brussels sprouts, in particular, like the plague. They’re one of those vegetables I hated as a kid but can’t eat enough of as an adult. Not only have I discovered many delicious ways of preparing them (unlike the boring method of simply steaming them that my parents did), but I love the fact they’re so good for me. In addition to helping lower cholesterol and protecting DNA, brussels sprouts rank as high as the other superfood, broccoli, for glucosinolates which studies show help prevent cancer.

This dish has become one of my favorite things to eat. And I’ll eat it for lunch or dinner or whenever I’m craving something with tons of flavor.

The original recipe called for the sprouts and cauliflower to be fried. (Who doesn’t love fried food?!) I made the dish  twice that way, but decided to try just roasting the vegetables instead of frying them. Frying can be messy and, well, greasy. While you don’t get quite as much “fried” flavor roasting the vegetables, it’s much easier, and I think the dish is just as good with more of flavor of the brussels sprouts and cauliflower retained.

Serve this dish as a side to roasted meat or a winter vegetable soup like butternut squash or pumpkin.

cauli sprouts chop

Ingredients

1 small head of cauliflower, trimmed and cut/broken into small florets

1 lb brussels sprouts, trimmed and halved or quartered depending on size

3-4 sprigs fresh rosemary

3-4 tbsp olive oil

1 tbsp garum fish sauce

1 tbsp fresh lemon juice

1/4 tsp sea salt

Freshly ground pepper to taste

cauli sprout sheet

Preparation

Preheat the oven to 400F or 375F if using a convection oven. Break off the rosemary leaves and combine with the brussels sprouts and cauliflower in a large bowl. Toss with the olive oil. Spread out on a large rimmed baking sheet and roast in the oven for 20-30 minutes, stirring occasionally, until some of the sprouts get quite brown. You can run the tray under the broiler for 2 to 3 minutes if you want your vegetables even crisper.

Scrape the vegetable mixture off the baking sheet back into the large bowl. Season with the salt, fish sauce and lemon juice. Add pepper to taste. Serve immediately.

Serves 4.

Enjoy!

cauli sprout above2

Read Full Post »

carrot muffinsThese moist and yummy muffins make a great addition to breakfast. They use very little sugar since the carrot and raisins make them naturally sweet. Aside from the grating, you can whip up a batch of muffins in about 30 minutes including the cooking time. They taste best still warm from the oven like most baked goods, but they also keep nicely for several days when stored in an airtight container. I baked a batch right before we left last weekend for a two-day ski trip.

I also find these muffins make great school snacks for kids because you don’t need to prep them with honey or jam since they’re naturally sweet. Just remember to omit the nuts if your kids attend a nut-free class or school like my youngest does. For an added treat, toss in a couple tablespoons of mini bittersweet chocolate chips thrown when you add in the raisins and/or nuts.


carrots bunchIngredients

3/4 cup whole-grain spelt or barley flour

1/2 cup all-purpose flour

2 tbsp wheat germ

1 tsp ground cinnamon

1 tsp baking powder

1/2 tsp baking soda

1/4 tsp sea salt

1/3 cup avocado or melted coconut oil

1/3 cup buttermilk

2 large eggs

1 tsp pure vanilla extract

1/2 cup coconut crystals or light brown sugar

2 cups finely grated carrots (about 4-5 carrots)

1/4 cup raisins

1/4 cup finely-chopped walnuts or pecans (optional)


Preparation

Preheat oven to 350F.

Line a standard muffin tin with cups or lightly grease.

Whisk flours, wheat germ, cinnamon, baking powder, baking soda, and salt in a bowl. Whisk eggs in a large mixing bowl. Whisk in sugar until well blended. Whisk in oil, buttermilk , vanilla and grated carrot. Fold dry ingredients and raisins (and nuts if using) into wet and mix until just combined. (Do not overmix!)

Spoon the batter into the prepared cups and bake until a toothpick inserted in the center of a muffin comes our clean, about 20-22 minutes. Cool in the pan for 10 minutes, then serve plain or with a little butter or cream cheese. (Or if you’re avoiding dairy, try this great dairy-free cream cheese substitute!)

Enjoy!

carrot muffins above

Read Full Post »

truffles closetrufflles aboveI think Valentine’s Day is a bit overdone here in the U.S. If you pay attention to the ads, they suggest every man should buy his wife or girlfriend a relatively pricey piece of jewelry to celebrate the day. Not only do I fear the idea of my husband having to personally select that much jewelry for me, (because if I’m going to own that much jewelry, I’d rather select my own pieces), but it also puts a ridiculous amount of unreasonable pressure on our nation’s menfolk!

As an American, I’ve accepted that every possible holiday or occasion is commercialized to the full extent possible, and then some. And although my husband and I try to make holidays fun and magical for our children, we try to reject a lot of the commercialization and focus on the true intent of the holiday.

Valentine’s Day doesn’t require a fancy gift or expensive dinner. It’s a day to recognize and celebrate love. Giving a card (especially a handmade or carefully selected card!) to a loved one is always special. After all, who doesn’t like to be reminded they’re being thought of? It can also be nice to share a sweet or special indulgence. Forget all the commercial candy currently stocked in stores. Nearly all is chock full of chemicals, the dreaded high-fructose corn syrup and artificial coloring. And if you can carve out an hour between now and next Friday, consider making or baking a little treat for your loved one(s). Your efforts will be greatly appreciated!

Dark chocolate truffles are super easy to make, present nicely, and feel very indulgent. I like to make my own, because on the rare occasion I buy them, I’m always rejecting a fair percentage of what’s in the box because I don’t like the sickeningly sweet fruit center they added or the unnecessary or excess milk or white chocolate they used (viewing anything but dark chocolate as a cheap, watered-down version of the real stuff). Truffles are also nice to have on hand at dinner parties when you’re serving a main dessert, such as a tart or cheesecake, that you’re not sure everyone will want due to dietary restrictions. These dark chocolate truffles are dairy-free and extremely low in sugar. In fact, one could easily argue that they have more upside (nutritionally) than downside–a very rare thing for “candy.”

Ingredients

8 oz dark chocolate* (at least 70 percent cocoa), chopped

1/4 cup coconut oil

1 tsp pure vanilla extract

Pinch of sea salt

1/4 cup cocoa powder, for rolling

Other toppings: finely chopped pistachios, hazelnuts or pecans, toasted unsweetened shredded coconut, etc.

* My favorite is Green & Blacks Organic Chocolate bars. They’re available in the U.S. and U.K. and probably a few other places by now. They are remarkably smooth with excellent flavor and no bitterness, even at the 85% cocoa level.

truffle blendPreparation

Heat chocolate, oil and 3 tbsp water in a double boiler, stirring until just melted. Remove from heat, add in vanilla and sea salt, and mix well.

Transfer mixture to an 8-inch baking dish or glass loaf pan, and refrigerate until the mixture is firm but still pliable, about 2 hours.

truffle pistachioUsing a 1-inch melon baller or very round spoon, scoop out the chocolate mixture and transfer to a parchment-lined baking sheet. Coat your hands with cocoa powder and roll the chocolate scoops into balls. For the other coatings, roll the balls in the finely-chopped nuts or coconut until evenly coated. Refrigerate 10 minutes to set. Place the truffles in small gift boxes or tins lined with parchment paper or colored tissue paper.

Serve with love!

Read Full Post »

winter salad abovewinter salad closeI love “warm” salads during the winter months, especially those that take advantage of all the wonderful root vegetables in abundance this time of year. This particular salad (one of my husband’s favorites!) boasts great flavor, texture and nutrition and is “meaty” enough to satisfy carnivores (there’s that husband, again) even though it doesn’t actually contain any meat. When you’re looking for something simple but satisfying, or when you just want to give your digestion an easy day, serve this dish.

Packed full of nutrients, this salad works for either dinner or lunch. It contains sweet potatoes (most stores actually sell yams), an excellent source of fiber, potassium, vitamin B-6 and vitamin C; walnuts for iron, magnesium and vitamin B-6 as well as protein and healthy fats; and red bell pepper–rich in vitamin A and C an an excellent source of anti-oxidant flavonoids such as α- and b-carotenes, lutein, zea-xanthin, and cryptoxanthin. Together, these antioxidants help protect us against the effects of free radicals generated during stress and disease.


Ingredients

1 medium red onion, cut into 8 wedges

1/2 lb sweet-potato or yam, peeled and cut into 1-inch chunks

1/2 lb small red potatoes, cut in half

1 medium fennel bulb, end trimmed and cut into 8 wedges

1 red bell pepper, cut into 1-inch chunks

4 tbsp extra-virgin olive oil, divided

1 tsp sea salt, divided

1 tsp pepper, divided

2/3 cup coarsely chopped walnuts

2 tbsp good-quality red wine vinegar

2 to 3 tbsp raw honey

6 oz loosely packed mixed salad greens


winter salad shopPreparation

Preheat oven to 425F. In a large bowl, toss onion, sweet and red potatoes, fennel and bell pepper with 3 tbsp olive oil and 1/2 tsp each salt and pepper. Spread vegetables over a rimmed baking sheet and roast until tender and golden, about 40 minutes, turning over halfway through the baking time. About 10 minutes before the vegetables are done, sprinkle the walnuts on the baking sheet and toast until golden.

In the meantime, in a small bowl, whisk together 1 tbsp olive oil, vinegar, honey and the remaining 1/2 tsp each of salt and pepper.

Toss the greens in a large bowl with half of the dressing. Divide among 4 plates. Let the vegetables cool for about 5 minutes then transfer to the large bowl and toss with the remaining dressing. Spoon over the greens and serve warm.

Serves 2 as a dinner or 4 as a starter.

Enjoy!

Read Full Post »

yogurtSeeing as dairy and I don’t always get along, but given how much I love creamy concoctions, I’m always on the hunt for good substitutes. Luckily, I prefer my homemade almond milk (not pre-packaged!) to regular cow’s milk. There’s that very subtle anise flavor that makes it taste much better in my opinion, and it’s just as creamy if not creamier in texture. And I recently discovered a good cream cheese substitute. I rarely use cream cheese, but occasionally I like to spread it on a cracker with a little lox.

I’ve also tried several brands of coconut milk yogurt, but they’ve all been subpar–too watery, too sweet and/or too gelatinous in texture. I’ve tried making my own several times using agar agar, xantham gum and other (from my perspective) difficult to work with ingredients. But I finally found a recipe that is incredibly simple, and the yogurt comes out exceptionally creamy and with a perfect consistency. This recipe, like the Rosemary Raisin Crackers I posted last week, comes from Danielle Walker’s Against All Grain cookbook. The only variation I’ve made is to exclude the 2 tbsp of honey she uses in hers. I think 2 tbsp seems like a lot of sweetener for 27 oz of yogurt, and I find if you use good quality coconut milk (Native Forest is my favorite), the yogurt comes out sweet enough. I’m also wary of sweetening a pure white “plain” yogurt when I live with people that then automatically assume they need to add sweetener once the yogurt is in their bowls. Danielle insists on the honey because she believes it’s what encourages the good bacteria to culture, but I’ve heard mixed things about culturing with honey, so for now, I skip it.

I don’t have a fancy yogurt maker (see photo below). I mistakenly didn’t build enough storage space into my kitchen remodel four years ago to house a lot of large gadget items (e.g., yogurt makers, dehydrators, etc.). I also don’t care to mess around with all those individual little glass jars that most yogurt makers come with. So I bought a very simple insulated tub. It doesn’t take up much space, it’s super easy to clean, and when the yogurt is ready I simply pour it into a large glass jar (which had been a pickle jar in a previous life). I also know people who also just wrap towels around a large glass jar and leave it in a warm place for 24 hours.

yogurt maker


Ingredients

2 13.5-oz cans unsweetened coconut milk, divided

3 tsp unflavored gelatin (1 packet)

1 tbsp raw, organic honey (optional)

1 50-billion IU probiotic capsule or 1 dairy-free probiotic yogurt starter packet*


Preparation

Place 1/4 cup of the coconut milk in a small bowl. Sprinkle the gelatin over it and set it aside for 10 minutes so it can “bloom.”

Heat the remaining coconut milk in a saucepan over medium heat until it reaches 150F. Stir in the gelatin/coconut milk mixture and honey if using. Stir until thoroughly dissolved.

Allow the milk to cool to 110F (you can submerge the bottom half of the saucepan in a bowl of ice water to quicken the process), then whisk in the contents of the probiotic capsule or yogurt starter.

Pour the mixture into sterilized jars (if you have a regular yogurt maker) or place in a large glass jar and screw on the lid(s). Ferment for 18-24 hours. I place my insulated tub in a sunny spot on my deck during the day and on the floor of my bathroom which has radiant heat at night. I think allowing the yogurt to ferment for 24 hours results in the best consistency.

After the fermenting period, place the jar(s)/tub in the refrigerator for 4 hours to further thicken and set. Once set, if any separation has occurred, whisk vigorously or blend the yogurt in a blender for a super-smooth consistency.

Enjoy!


*I get my vegan yogurt starter from Cultures for Health, but I don’t see why you can’t use more than one probiotic capsule to get to the 50 billion IUs Danielle suggests in her recipe. The Nature’s Way probiotic I regularly take contains 35 billions IU per capsule.

yogurt starter

Read Full Post »

« Newer Posts - Older Posts »

Cooking Without Limits

Food Photography & Recipes

Selma's Table

Life doesn't have to be perfect to be wonderful - stories and recipes from a wonderful life...