Last week was one of the busiest weeks of my year… One of my other passions (aside from being a mother/household CEO and blogging) is the foundation I helped start three years ago–Empowered by Light. A small group of us, passionate about renewable energy and still idealistic enough to think we can change the world, got together, tapped our personal and professional networks to raise some money, and started delivering solar-powered LED lights to schools in a very remote part of western Zambia. This year we replaced three old and inefficient diesel generators at a high school serving 600+ students with a 106-panel solar field and battery storage system.
We’ve been lucky in that we’ve attracted some relatively famous people to our cause. Actor and environmentalist, Adrian Grenier (star of the hit HBO series, Entourage) co-hosted our event in 2011. Josh Fox, the director of the Oscar-nominated documentary Gasland traveled to Zambia with my husband and another board member that year. Actor and activist, Mark Ruffalo (The Avengers, The Kids Are All Right, Shutter Island, etc.) co-hosted our event last year, and this year traveled with our team to Zambia for the commissioning of the solar micro grid at the high school.
And last Friday was our annual fundraising event, which I organize each year. The prior two years we held a party for 200+ people, but this year we decided to hold a much smaller, more intimate event–a dinner with 25 wonderful supporters in a private residence. I didn’t necessarily expect it to be easier to plan, but I had no idea how much more work a small dinner can be! I regularly throw dinner parties, where I carefully plan the menu, shop for the ingredients and cook for hours (sometimes days). But having an event in someone else’s home, where the size of the group is just large enough that you need to bring in everything (e.g., chairs, tables, dishes, glasses, etc.) is an entirely different thing. And I didn’t even do the shopping or the cooking–just the selecting of dishes! I likened the whole process to planning a wedding, but on a shoe-string budget since we’re a small non-profit.
When I experience a particularly busy period, I often find myself eating out more. I don’t feel like I have time to cook or the fridge is empty, so I pile the kids in the backseat and off we go. But despite the fact we try and eat healthy dishes when we eat out, such as sushi and rice and beans, it’s never as healthy as I’d like, it gets expensive, and it really doesn’t save much time.
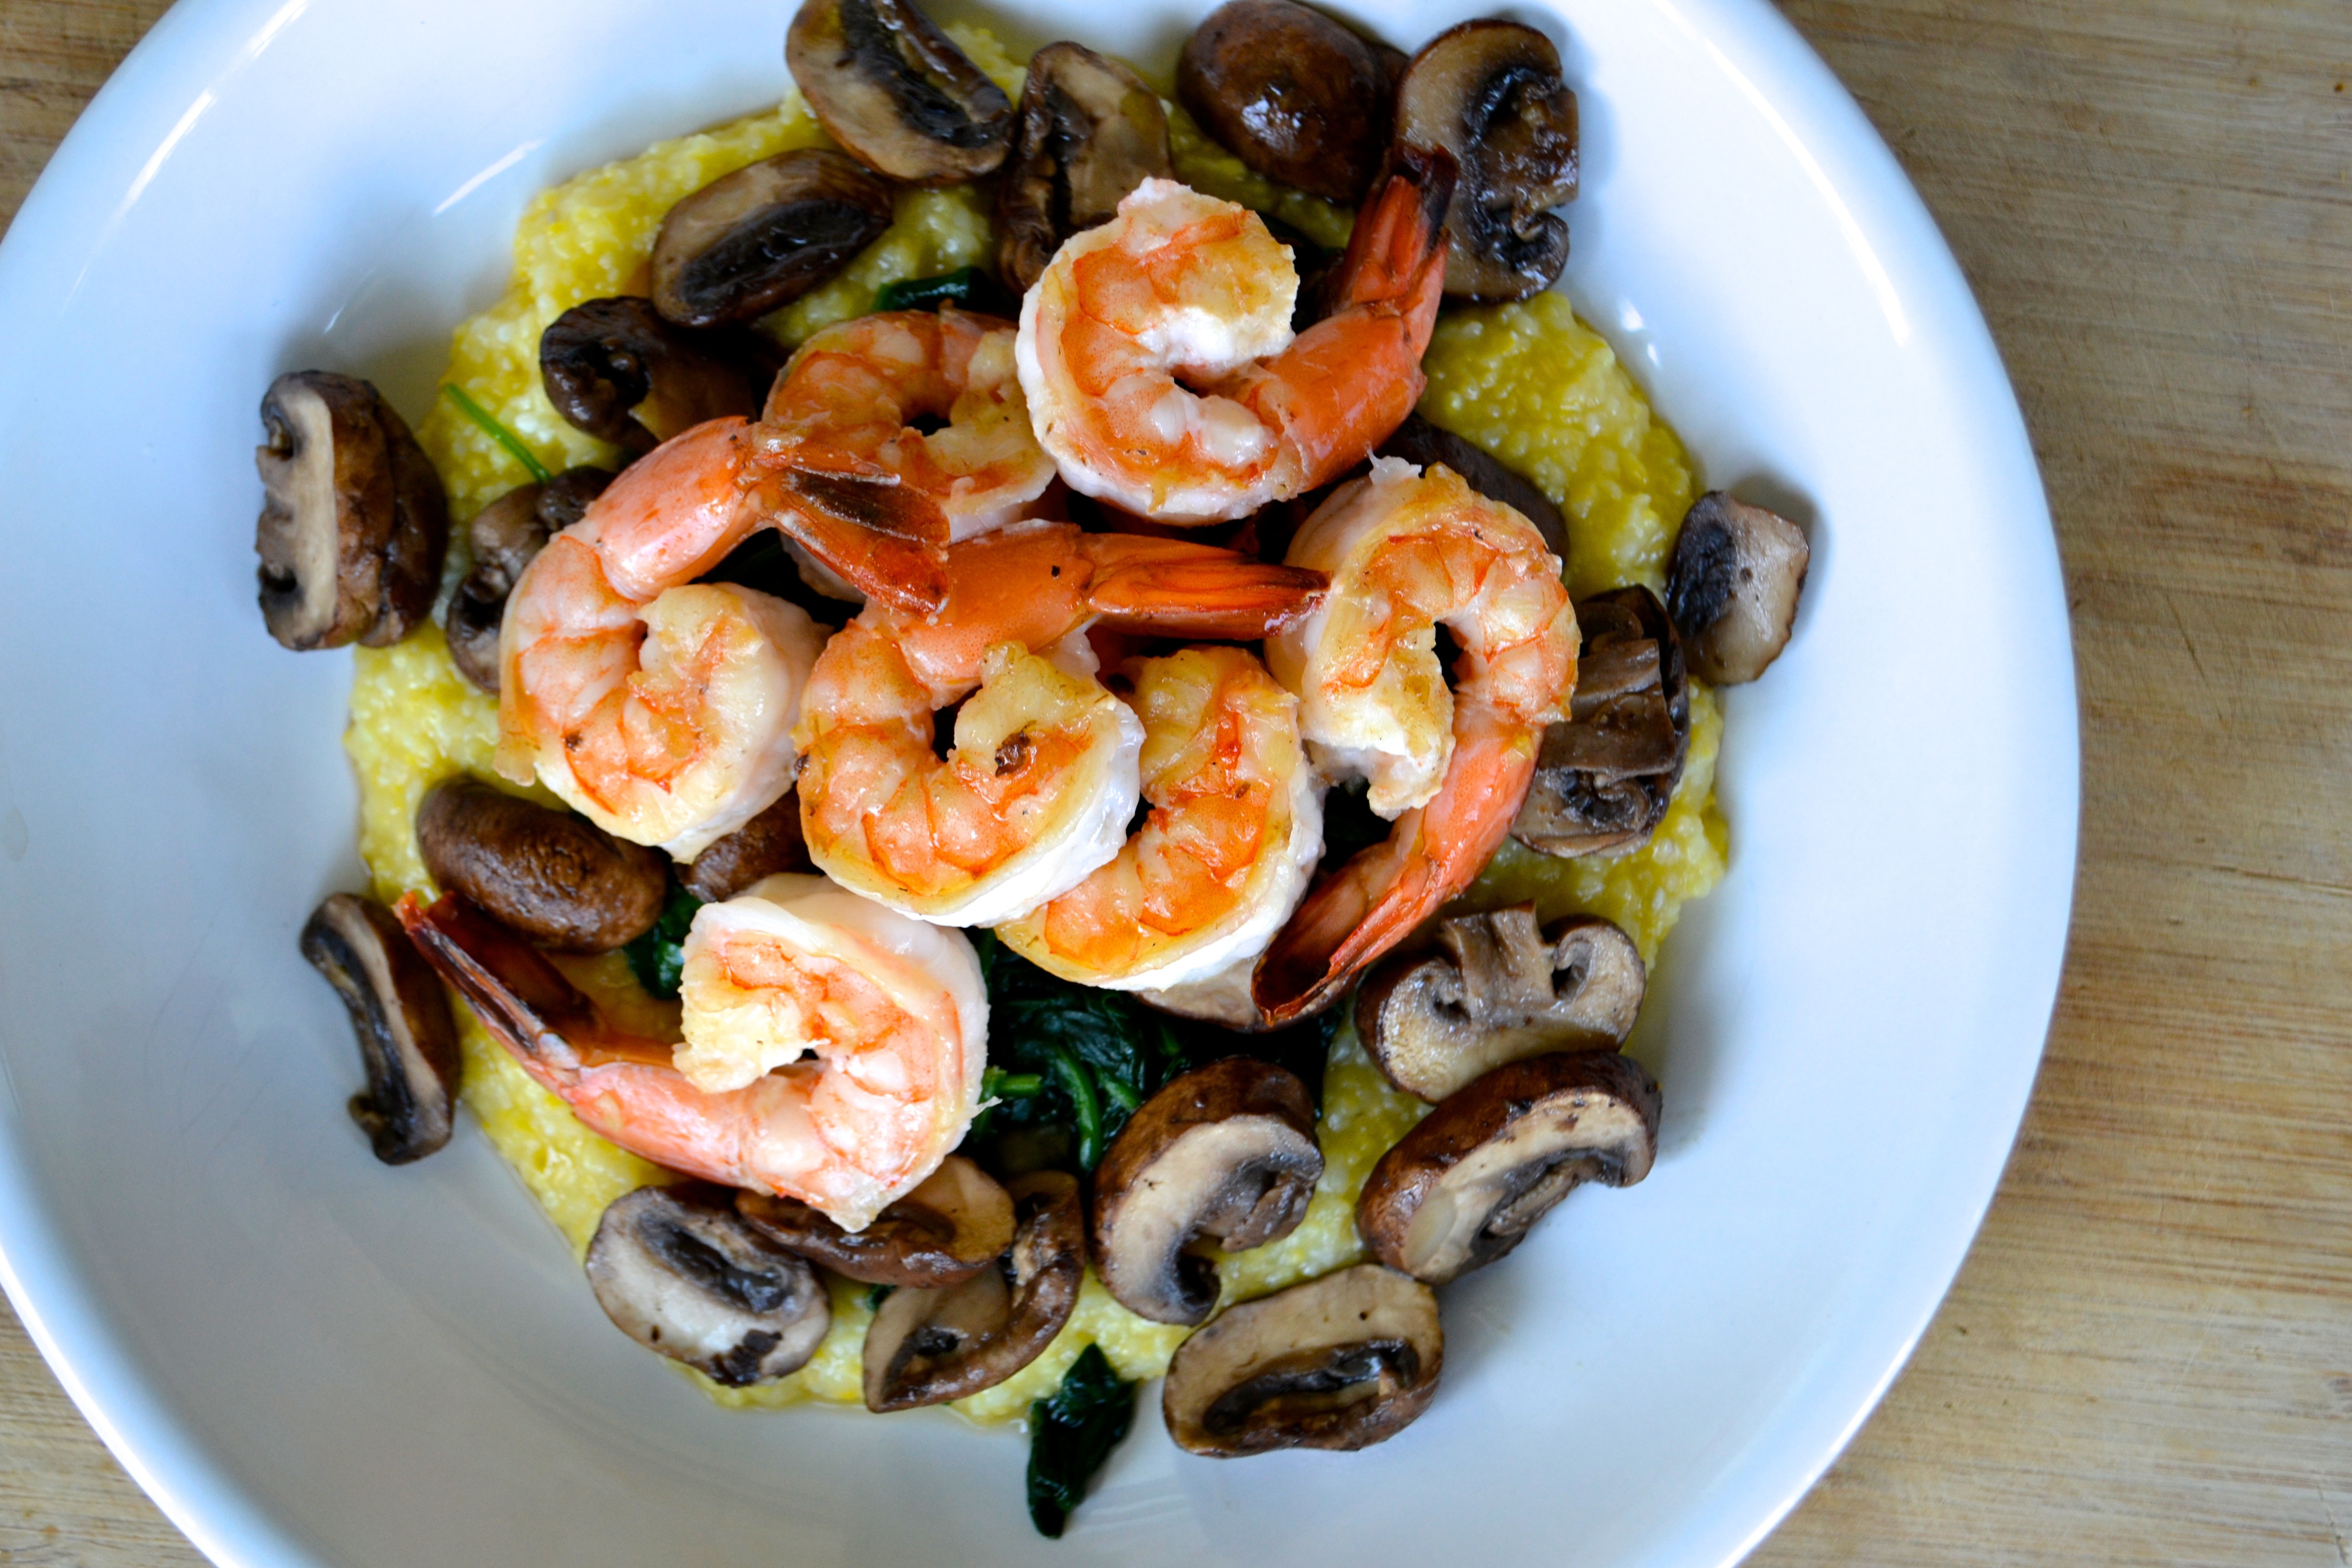
I designed the “30 Minute Dinner Series” to give my readers ideas for quick and easy dinners for the whole family to enjoy, but in reality, when I’m super busy and super stressed, I don’t like to eat regular meals. I like to drink my meals, such as my kale shake (water, coconut milk, frozen kale, frozen berries, fish oil and dates). But my kids want and need more than a kale shake for dinner, so I also have a few kids’ favorites like black bean and avocado quesadillas and shrimp fried rice. Fast, nutritious and tasty, you can whip up these dishes in 20 minutes or less (far less time than it takes to drive to a restaurant, sit, order and receive your food).
Here’s my recipe for Fried Rice (Serves 2-3)
Ingredients
1 cup rice (white if you’re short on time or cautious about brown)
1 1/2 cups filtered water
1/2 cup frozen peas
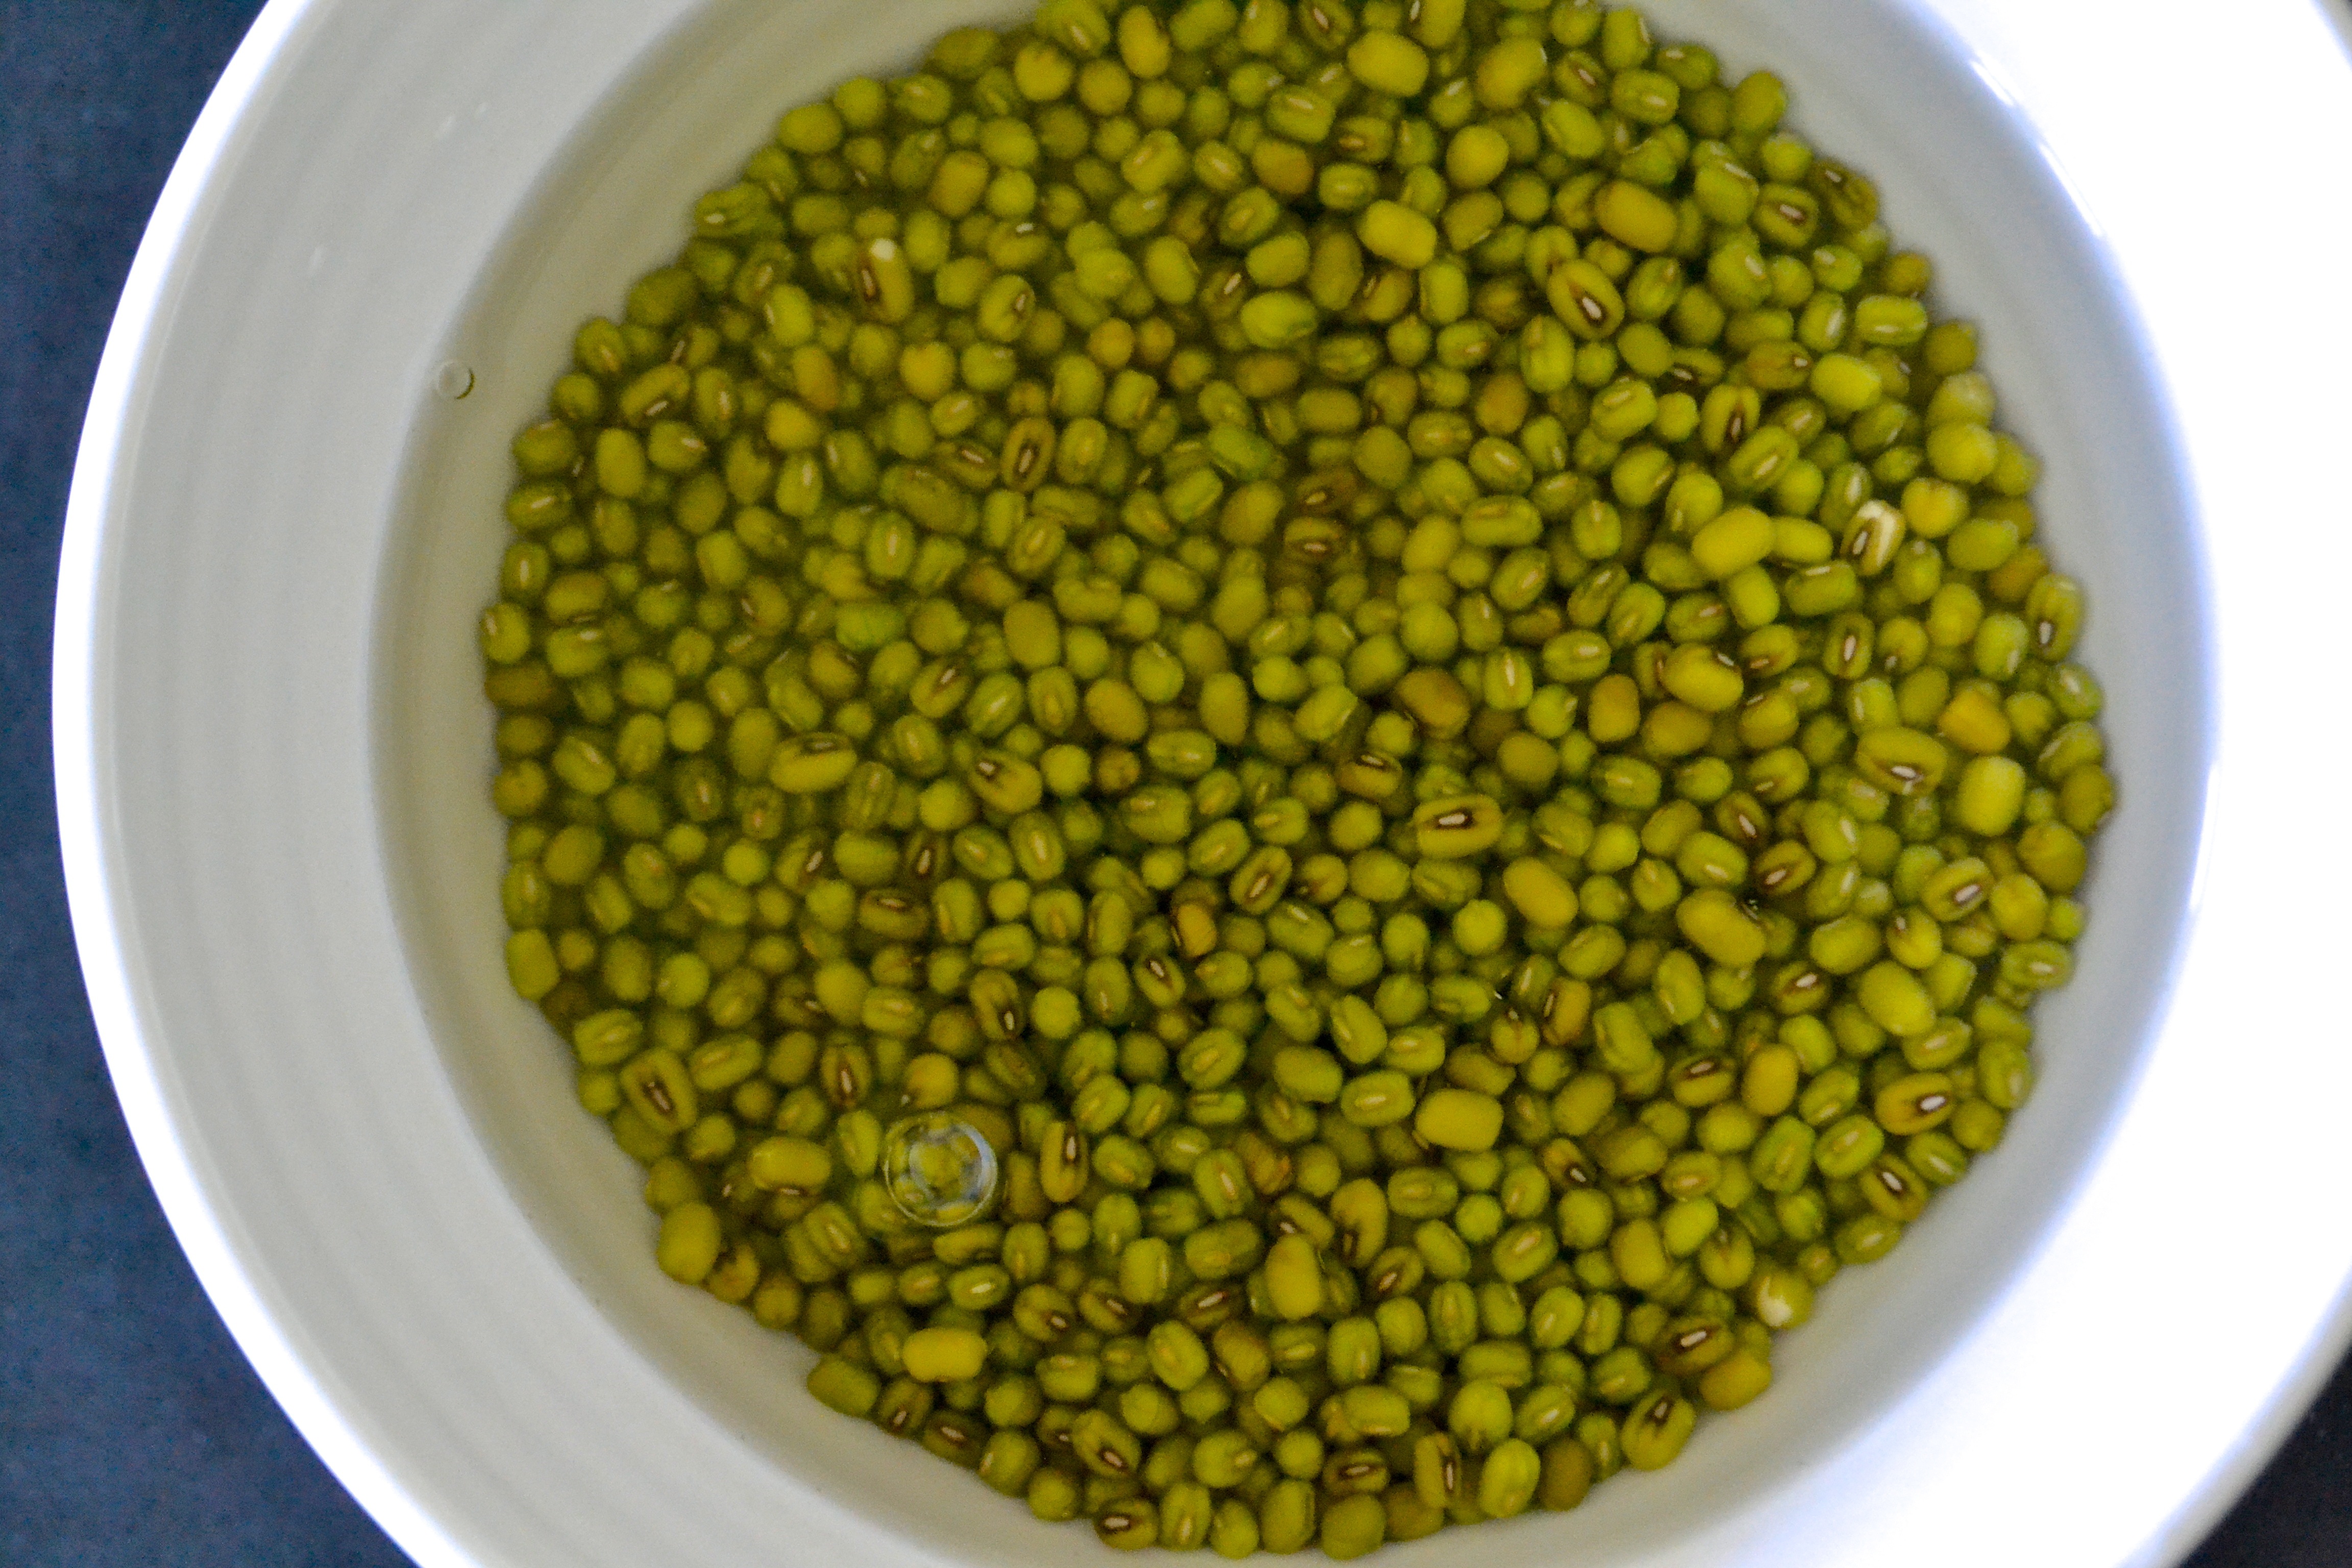
5-6 fresh or frozen shrimp, peeled and deveined (or substitute pork or chicken from leftovers)
2 eggs, lightly beaten
Avocado oil or other high-heat stable oil
Sweet and Sour Sauce
2 tbsp sugar
1 tbsp rice vinegar
1 tbsp ketchup
2 tsp soy sauce
1-2 tsp cornstarch
Preparation*
Rinse your rice until the water runs clear. Pour in the 1 1/2 cups water. Bring to a boil. Reduce to barely a simmer, cover and cook for 15-20 minutes.
While the rice is cooking, boil a cup or two of water in a small skillet. Toss in the peas and cook on low for 5-6 minutes.
While the peas are cooking, defrost your shrimp, if frozen, by placing them in a bowl of tepid water. In a small saucepan, mix together the first four ingredients for the sweet and sour sauce (not the cornstarch). Stir in about 1/3 cup water and cook over medium heat until the sugar is dissolved and everything is blended. Put the cornstarch in a little bowl and stir in a spoonful of the sauce. Add to the saucepan and stir until blended and nicely thickened.
When the peas are done, drain them and set them aside, covered (so they don’t shrivel while you’re finishing with the other ingredients). In the same skillet, pour in a little oil and cook the shrimp over medium heat approximately 2-3 minutes each side or until opaque. Chop the shrimp into small pieces and keep warm with the peas.
Using the same skillet (fewer dishes to clean!), heat a little oil and cook the eggs on medium heat until set just as you would regular scrambled eggs.
Combine the rice, peas, shrimp and eggs and serve warm with the sweet and sour sauce on the side.
Enjoy!
*I always recommend reading through a recipe in its entirety before starting to cook. As you will see from this one, there is a lot of multi-tasking. Maybe it takes a little longer than 20 minutes the first time you make this dish, but after that, you can make it easily in the amount of time it takes to cook the rice. And if you happen to have rice leftover from another night, you can make this dish in about 10 minutes!

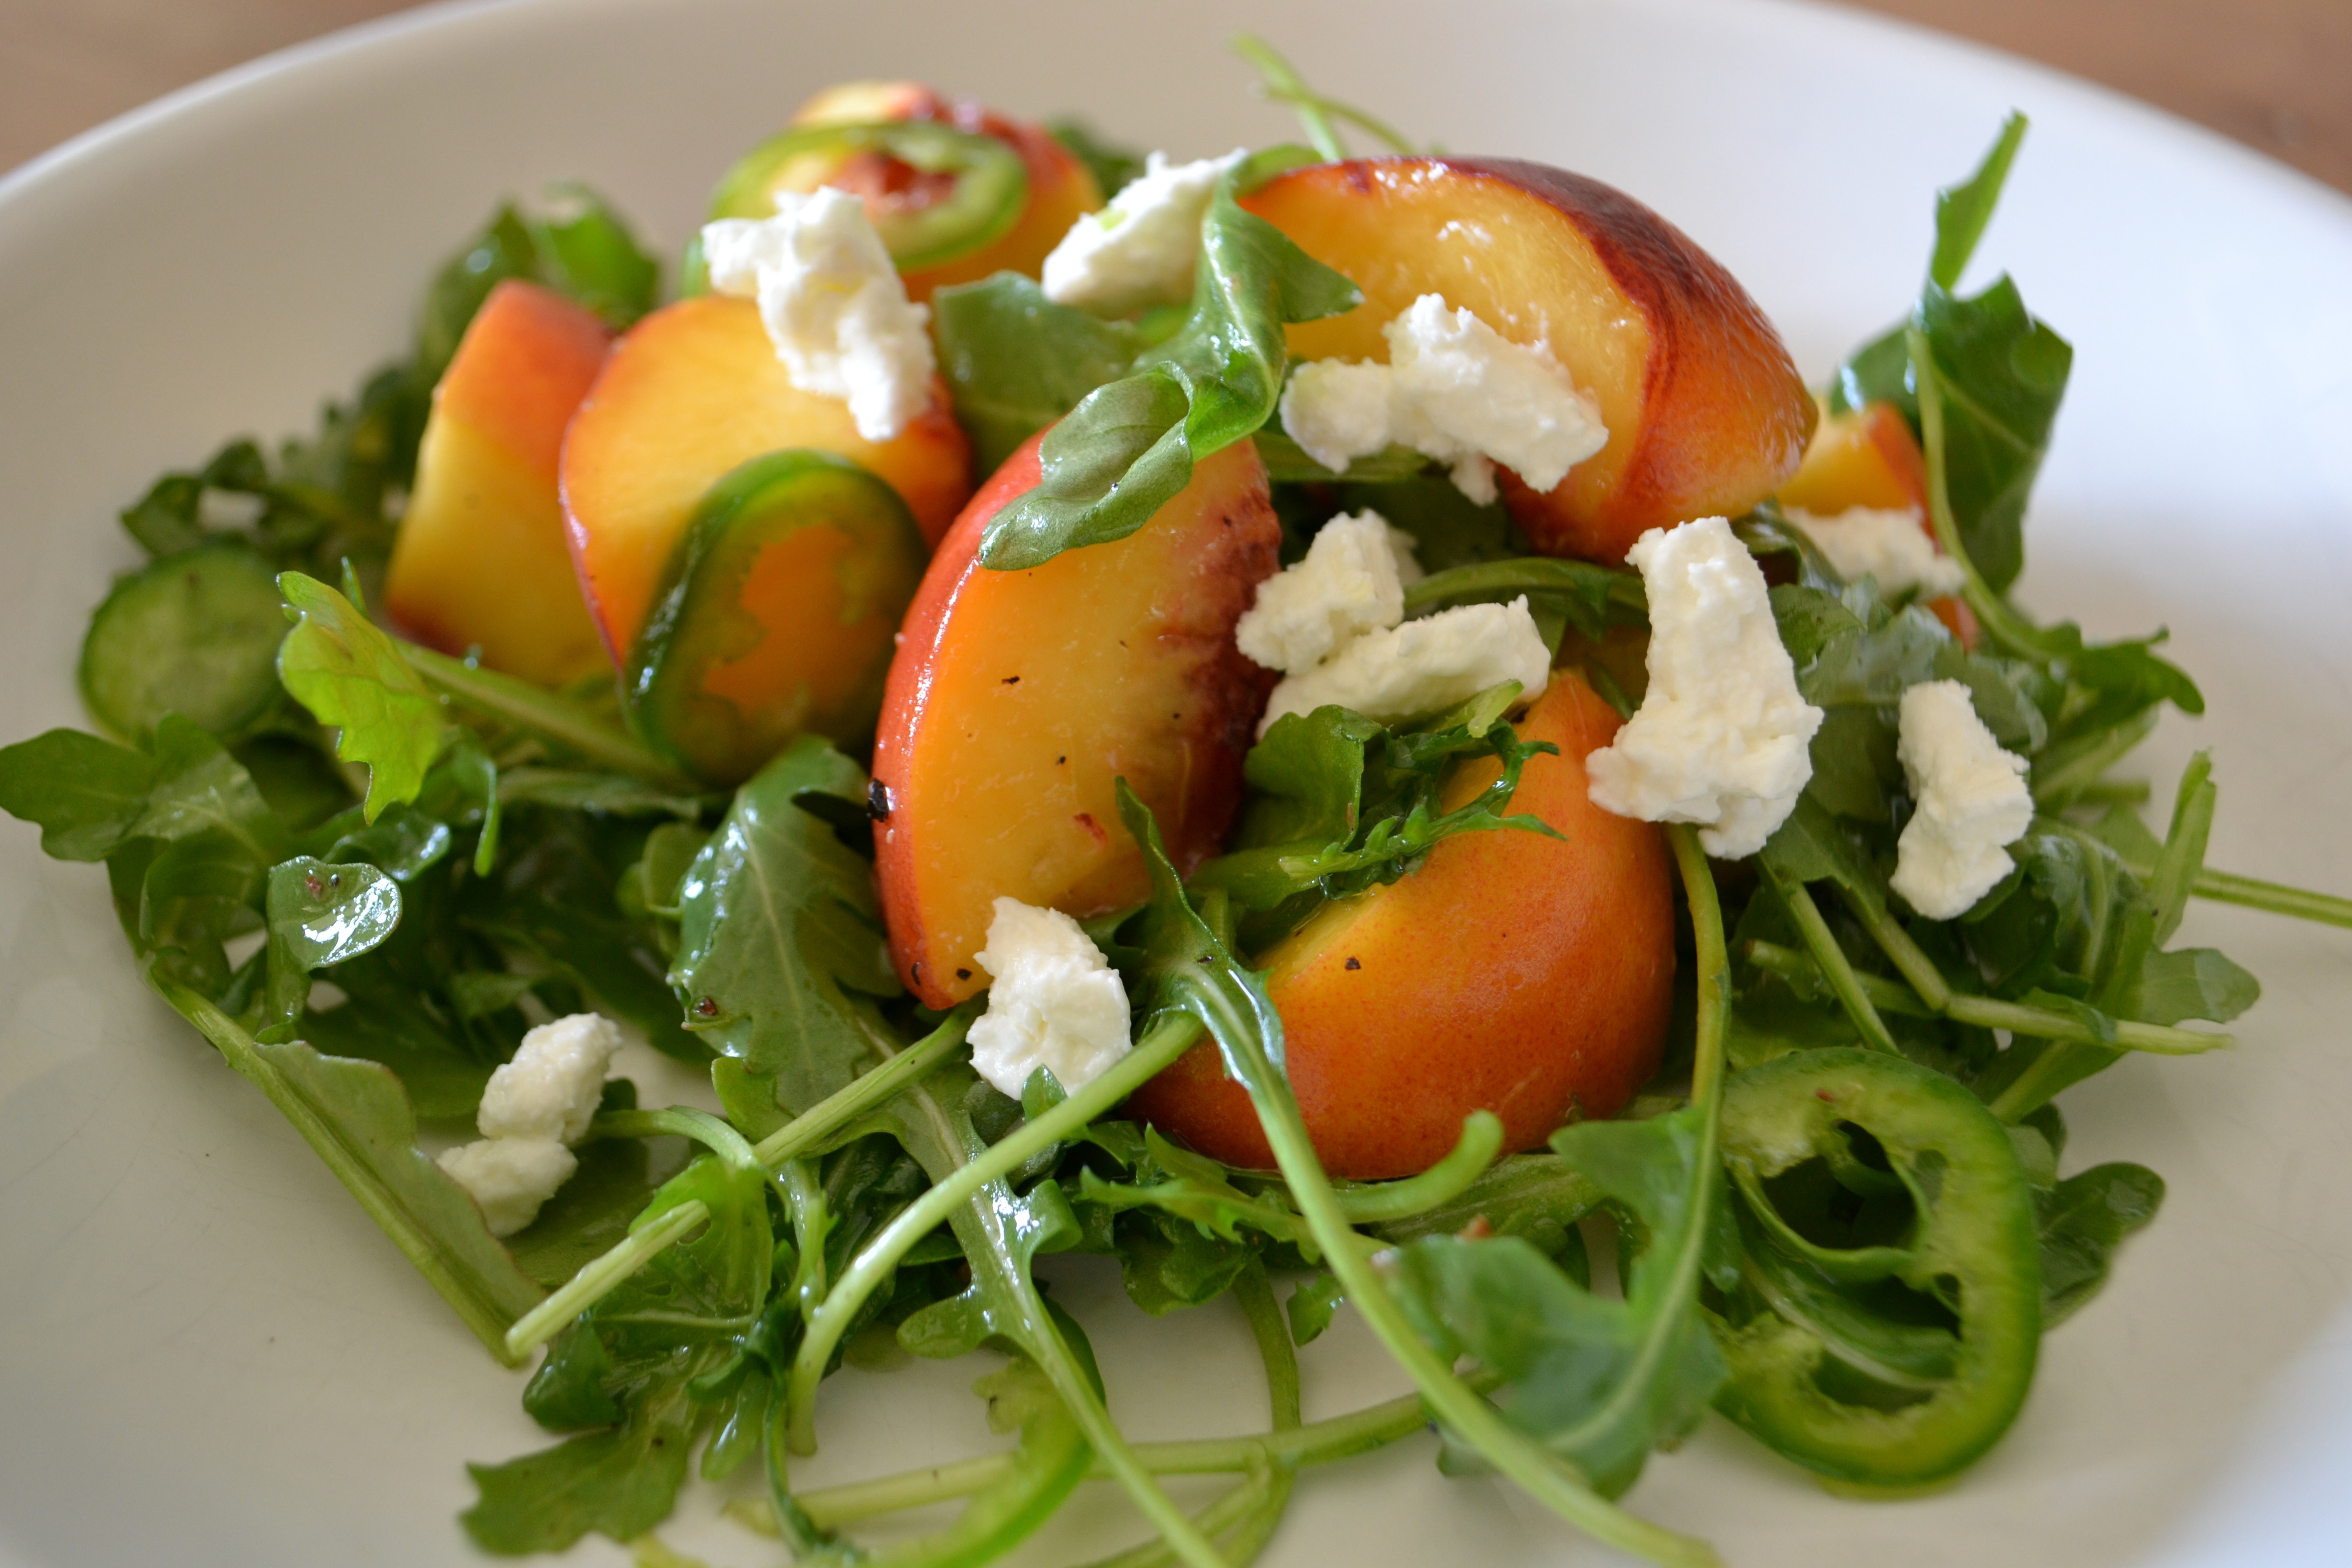
 I meant to share these photos and this recipe a few weeks ago. My family and I went to our favorite organic farm and picked two big boxes of several varieties of heirloom tomatoes. They tasted like candy–actually better. And we ate them every day for two weeks.
 Preparation
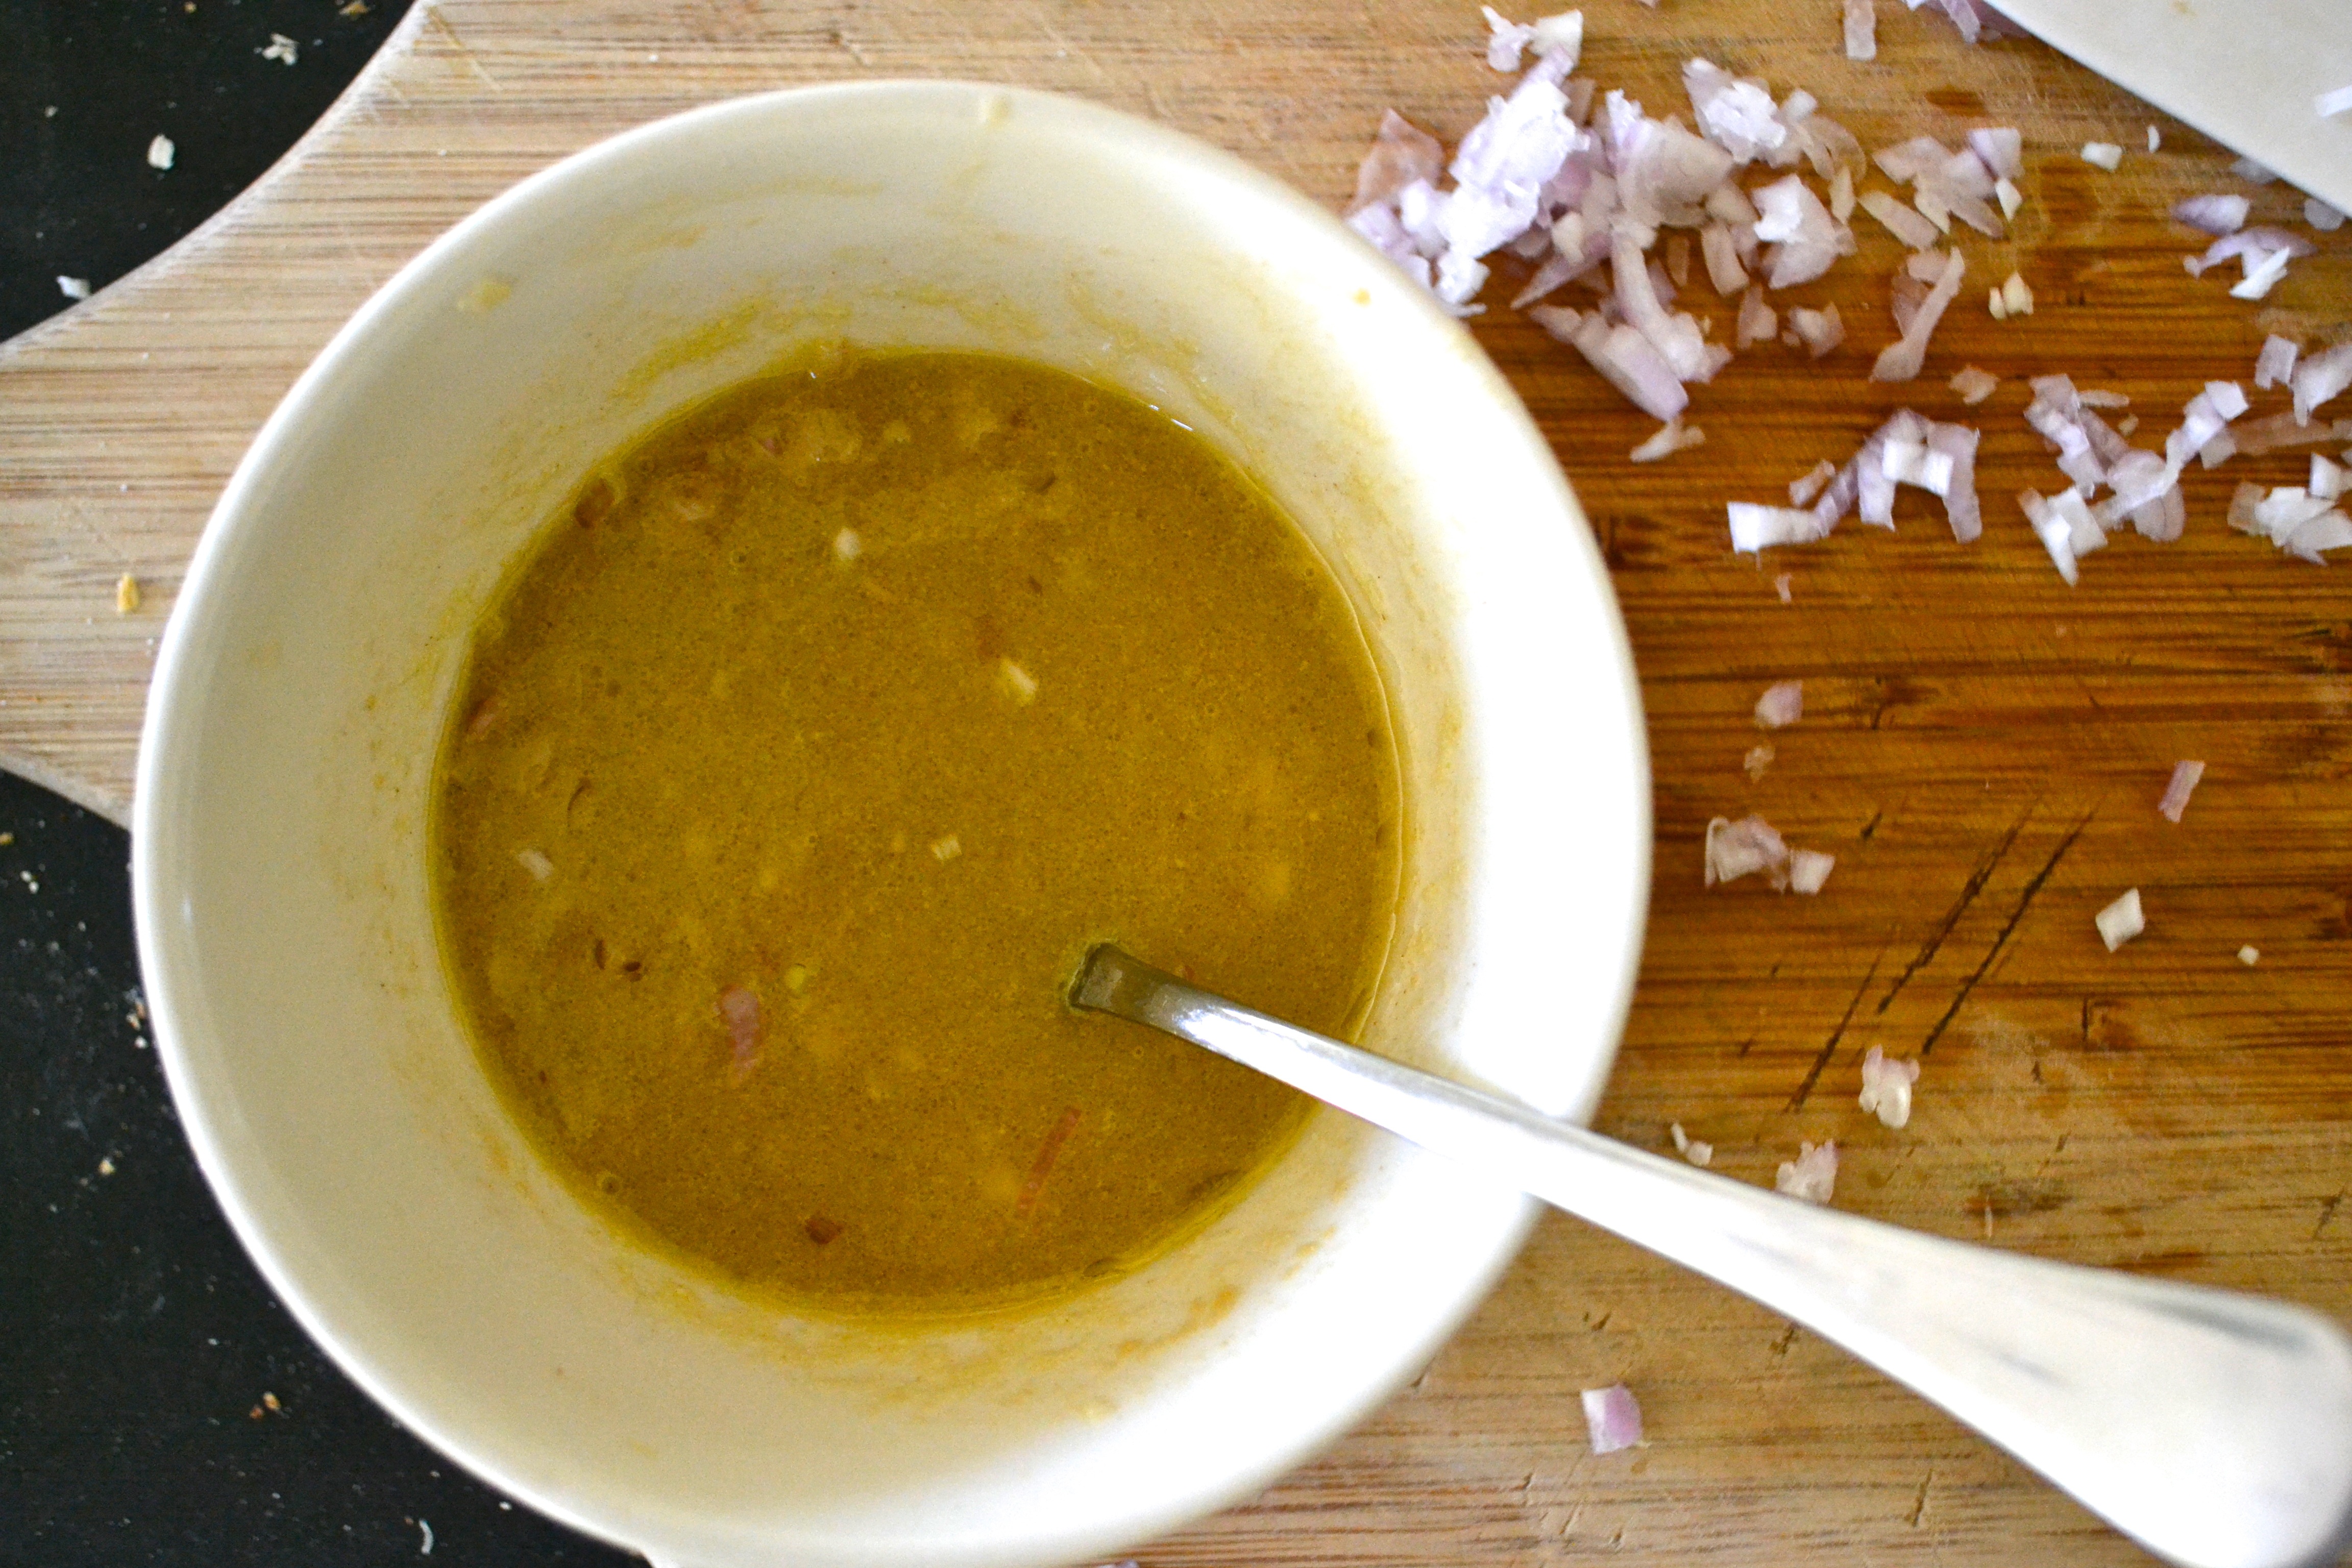 In a small bowl, whisk together the shallot, vinegar, and mustard. Continue whisking while gently pouring in the olive oil. Season with salt (about 1/2 tsp) and pepper and adjust to your liking. Toss the salad with the dressing and serve immediately.