Feeds:
Posts
Comments

Archive for the ‘Recipes’ Category

olive cake topolive cake slice side

Yes, this is another olive oil cake, but it actually was the first I ever baked, and still remains a favorite of mine and many of our friends.

It boasts a surprising combination of flavors with the fresh rosemary, dark chocolate and olive oil all prominent, and it bakes to a perfect golden brown every time. And like most olive oil cakes, it’s wonderfully moist. It’s also the type of cake you could serve with afternoon tea or after dinner. It keeps well for 2 to 3 days, so it’s also a great choice for a picnic where you want to make something in advance that doesn’t need to be served warm. In fact, even though I love serving it warm after an evening meal, the flavors are more balanced when after the cake has cooled to room temperature.


Ingredients

1 cup whole-grain spelt flour

1 1/4 cup all-purpose flour

1/2 cup sugar

1 1/2 tsp baking powder

3/4 tsp sea alt

3 large eggs at room temperature

1 cup extra-virgin olive oil, plus extra for the pan

3/4 cup whole milk*

1 1/2 tbsp fresh rosemary, finely chopped

3.5 oz dark chocolate (65-70% cacao), chopped roughly into 1/4-1/2-inch pieces

*I haven’t tried making this dairy-free, but I think you could easily substitute coconut or almond milk for cow’s milk.

olive cake choc cop


Preparation

Preheat the oven to 350F.

Rub a 9 1/2-inch fluted tart pan with olive oil. Set aside.

In a medium-size bowl, whisk the dry ingredients together until thoroughly blended. Set aside.

In a large bowl, whisk the eggs until slightly frothy. Whisk in the olive oil, milk and rosemary until well blended. Using a spatula, fold the dry ingredients into the wet and mix until just combined. Do not overmix! Fold in the chocolate pieces. Pour the batter into the tart pan, spreading it evenly and smoothing the top with the spatula.

Bake in the center of the oven for about 40 minutes, or until the top is slightly domed and golden brown with darker edges, and a wooden toothpick inserted in the center comes out clean.


Enjoy!


olive cake sideolive cake slice top


Read Full Post »

swt pot gratin


We are not experiencing a normal summer where I live. The days are unusually cool for Northern California, and we regularly feel a strong, cool breeze coming from over the mountains–beyond which lies the mighty Pacific Ocean.

I happen to not mind the cooler than normal weather for several reasons; I’m not continually looking for ways to cool off, the kids aren’t demanding I take them to the pool every hour of every day, and outdoor grilling is currently an option instead of a necessity.

The cooler days also mean I can keep cooking “cooler weather dishes,” such as this sweet potato gratin. It’s not particularly heavy, so it doesn’t feel strictly like a Fall or Winter dish, but it’s naturally rich, sweet and hearty. It’s also a cinch to make, is a dish the whole family enjoys, and uses one of my favorite super-foods: sweet potatoes. Rich in beta-carotenes, sweet potatoes are also an excellent source of dietary fiber and potassium.

ottolenghi book


This recipe is adapted from Ottolenghi The Cookbook. As a side note, Ottolenghi is a patisserie-style shop in London that I frequented when we lived in the Holland Park neighborhood. I was pregnant, always hungry, and constantly in search of good, wholesome cooking that used fresh ingredients. The Ottolenghi shop off Kensington High Street appeared to be a tiny space on a narrow cobblestoned street–the dishes and delicacies inside seemingly vying for space on the crowded shelf behind the window. I always appreciated the apparent simplicity of the dishes–in terms of the number of ingredients they contained, although they boasted wonderfully complex flavors, textures and colors. The founders of Ottolenghi, Yotam Ottolenghi and Sami Tamimi, have produced several cookbooks to date, and I have given many as gifts to aspiring chef friends. The recipes are amazing, relatively simple, and accompanied by beautiful photos.


Ingredients

6 medium sweet potato (about 3 1/4 lbs), the orange-fleshed kind

5 tbsp coarsely chopped fresh sage leaves, plus extra for garnish

6 cloves garlic crushed

2 tsp coarse sea salt

1/2 tsp freshly ground black pepper

1/2 cup chicken or vegetable broth

1/2 cup heavy cream*

*I keep meaning to try this dish using coconut milk instead of heavy cream since dairy isn’t always my friend, but somehow I haven’t gotten around to it yet. I’ll post an update when I do to report how it turned out, but I imagine it would work well. The original recipe calls for 1 cup cream, which would be delicious if not a little decadent.

swt pot slice


Preparation

Preheat the oven to 400F.

Scrub, but do not peel, the sweet potatoes then cut them into disks 1/8 to 1/4 inch thick using a mandoline or very sharp knife.

In a large bowl, mix together the sweet potatoes, sage, garlic, salt and pepper. Arrange the slices of sweet potato in a fairly deep, medium-size baking dish by taking tight packs of slices and standing them up next to one another. Sprinkle any remaining bits of garlic or sage from the bowl over the potatoes. Drizzle the broth over the rows of potatoes. Cover the dish with aluminum foil, and roast in the oven for 45 minutes.

swt pot laid

Remove the foil and pour the cream over the potatoes. Return to the oven and roast, uncovered, for 25 more minutes. The cream should have thickened. Pierce the potatoes in several different places using a sharp knife to make sure the potatoes are fully cooked and very soft.

Serve immediately. Garnish with chopped sage leaves.


Enjoy!


Read Full Post »

grapes abovegrapes close

If you happened to see my last post, you know that my family and I just recently returned from a week-long holiday in France–Provence to be precise. With its hilltop villages crowned with medieval castles, lush vineyards and silvery-leafed olive orchards, the imagery seduced us all over again, and once again, made a lasting impression (the first lasted 13 years). So I think it’s only natural that I’ve been trying to capture and bottle the experience and sensations by cooking as if I’m still in Provence–even though I’m back home in Northern California. Most of the Provence-inspired dishes have been a huge success, but I’m still fine-tuning.

Wanting desperately to replicate our recent experience, my husband and I dragged our jet-lagged children to three different kitchen and cookware shops in search of the small, enameled cast-iron tureens in which our fish was cooked and served to us in Provence. We nearly jumped for joy when we found the perfect-sized tureens at Williams-Sonoma. They’re made by Le Creuset, which is very pricey, but we were in luck since the small tureens we found were 60% off. The night we brought them home, I prepared a simple yellow rockfish in a Provencal sauce (tomatoes, fresh herbs, garlic, saffron, etc.). It was delicious, and the sauce was equally good to what we experienced in Provence. However, in France, they used red mullet, which if you’re not familiar with it, is a small pinkish-red fish with tender, sweet flesh. Sadly, it’s not available where we live, and the rockfish was a less than ideal substitution. I plan to make the same dish in the next week or two using monkfish. It’s so delicious, I will take the time to note my ingredients and measurements so I can share the recipe.

Of course, driving through the famous wine region of Chateauneuf-du-Pape made me want to find a way to pay homage to the humble grape. I’m always surprised how many varieties of grape you can find at even the most basic, mainstream grocery stores–at least here in the Bay Area. But I tend only to buy grapes as a snack food for the children or to serve on a fruit platter for a brunch gathering. However, years ago I bought the cookbook, “Patricia Wells At Home In Provence.” I’ve cooked a few dishes from it, and they’ve all been excellent and relatively simple. I cracked it open upon returning from France and found the perfect recipe using grapes. I’ve modified it just slightly here.


Ingredients

2 large eggs at room temperature

1/2 cup evaporated cane juice

2 tbsp unsalted butter, melted

1/4 cup plus 2 tbsp extra-virgin olive oil (or omit the butter and use 1/2 cup olive oil)

1/3 cup whole milk

1/2 tsp pure vanilla extract

1 cup all-purpose flour

1/2 cup spelt flour

3/4 tsp baking powder

1/2 tsp sea salt

Grated zest of 1 lemon

1/2 tsp almond extract (or grated zest of 1 orange)

10 oz (about 1 1/2 cups) small, purple grapes*

Confectioners sugar for garnish (optional)

*If you live in Provence, you have access to many different varieties of grapes for wine making, which you could use for this cake. However, in most other places, you’ll be limited to a few varieties suitable for cake making. I used Thomcord seedless–smaller and sweeter than plain red grapes, and they worked beautifully.


Preparation

Preheat oven to 350F.

Butter and flour a 9-inch springform pan. Set aside.

Using an electric mixer, beat the eggs and sugar until thick and pale yellow in color, about 3 minutes. Add the butter, oil, milk, vanilla extract and almond extract, if using, and mix until blended.

In a medium-size bowl, mix the flour, baking powder and salt until thoroughly blended. Add the lemon and orange (if using) zest, and toss to coat. Add the flour mixture to the wet ingredients and stir until blended. Set aside for 10 minutes to allow the flour to absorb the liquids.

Stir 1 cup of the grapes into the batter. Spoon the batter into the prepared cake pan and smooth out the top using a spatula or back of a spoon.

Place the pan in the center of the oven and bake for 15 minutes before sprinkling the remaining grapes over the top of the cake. Bake for an additional 35-40 minutes or until the cake feels firm when pressed with a fingertip.

grape baking

Let cool on a rack for 10 minutes. Run a knife along the sides before releasing the removing the side of the springform pan. Serve at room temperature with a sprinkle of confectioners sugar.

Vive le Provence!

grapes sidegrapes


Read Full Post »

clafoutis aboveclafoutis slice closeThis dish is so easy to make, a child could do it!

Clafouti is a classic French dish, and is similar to the Dutch baby pancake. It’s essentially a very simple, eggy batter poured over fresh fruit. I’ve used strawberries here, but raspberries and cherries work equally well.

The best part about this dessert is that it’s really not strictly a dessert. It doesn’t have any more sugar than you’d consume if you made pancakes served with maple syrup or jam. And although I usually serve this as a simple dessert, I recently made it for breakfast to the utter delight of my children. I also like that it’s light enough to serve as dessert in the summer, but warm and custardy enough to serve during the winter.


Ingredients

1/2 tbsp butter or coconut oil

8 oz strawberries, hulled and halved lengthwise

2 tsp cornstarch

3 eggs

1 cup milk

1/3 cup all-purpose flour

1/3 cup whole-grain barley or spelt flour

1/4 cup granulated sugar

1 1/2 tsp pure vanilla extract

1/4 tsp sea salt

Powdered sugar for dusting, optional


Preparation

Preheat oven to 350F.

Grease a 2-quart baking dish (or 8×8-inch pyrex dish) with the butter.

Toss the strawberry halves with the cornstarch until thoroughly coated, then spread the berries evenly on the bottom of the baking dish. Set aside.


calfoutis berriesPut the eggs, milk, flour, sugar, vanilla and salt in a blender and blend on high for 15-30 seconds. Pour the batter of the strawberries.


clafoutis pourPut the dish in the oven and bake until it’s puffed and golden brown and feels set in the center, about 50 minutes. Allow to cool slightly and dust with powdered sugar if desired. Serve warm. (Note: The clafoutis looks its most impressive and puffy right when you remove it from the oven, so if you’re serving it to guests, by all means, get it on the table. But if you actually slice it up and put it on people’s plates before you’ve allowed it to cool slightly,  you’ll risk tongues getting burned on the piping hot pieces of fruit.)


Enjoy!


clafoutis above2clafoutis slice

Read Full Post »

4th of july pie4th of july pie closeHere in California, we’re at the peak of berry season, and there are deals to be found on berries each week at the grocer’s.

When the prices are really good, I stockpile them and the kids eat huge bowls of berries morning, noon and evening. As a general rule, I don’t believe in eating unlimited amounts of fruit because of the high sugar content, but berries are the exception offering the greatest nutritional punch for the least amount of sugar.

To be very honest, I planned to post this recipe the morning of July 4–Independence Day for Americans (in case you’re not from the U.S. or UK), but one of our cats became very ill and required immediate attention. Cabana (our “old kitty”) has had ailing health for a while, but my husband found her as a kitten on the streets of New York City 17 years ago, and that toughness has kept her going far longer than we expected. Despite having to rush her off to the vet in a nearby town, I still managed to take the kids to the parade and whip up this tart for dinner guests. I just couldn’t manage to post it.

It’s been dubbed the “4th of July tart,” since I make it nearly every July 4, but I also make it throughout the summer, whenever I want something fast, pretty to look at or easy to make in advance. It’s very similar to my luscious strawberry tart, but even easier. Like the strawberry tart, it’s low in sugar–even lower in sugar if you don’t add on the glaze, which I didn’t here. The berries are so sweet right now, they really hold their own, and a glaze would only distract.


Ingredients

1/2 cup all-purpose flour

1/2 cup almond flour (I like the texture of the Honeyville brand)

4 tbsp cane sugar, divided (or regular granulated)

1/2 tsp sea salt

1/2 cup (1 stick) unsalted butter, chilled

2-3 tbsp ice cold water

1 container mascarpone cheese (approximately 8 oz)

1 tsp pure vanilla extract

1 tbsp fresh-squeezed lemon juice

1 cup fresh strawberries

1 cup fresh blueberries

1/3 cup fresh raspberries

Powdered sugar for dusting, optional


Preparation

Preheat oven to 375F.

In a medium-size bowl, whisk flours, salt and 2 tbsp sugar. Combine until there are no lumps from the almond flour. Using a pastry cutter, cut in the butter until the dough in in pea-size lumps. Sprinkle in a little of the ice water, and cut in with the pastry cutter. Continue until the dough is still very crumbly but looks like it could hold together. Pour the mixture into a 9-inch tart pan with fluted edge and removable bottom. Using your fingers, press the dough into the bottom and sides of pan to form your tart crust. Place in the oven and bake for about 15 minutes or until the crust is lightly golden brown. Remove from the oven and allow to cool completely.

In a small bowl, whisk together the mascarpone, vanilla, lemon juice and remaining 2 tbsp sugar. Blend thoroughly. Using a rubber spatula, carefully spread the cream mixture on the bottom and just slightly up the sides of the cooled crust. Arrange your berries (you may not need/use all the quantities I listed above) as you wish, and voila, your tart is ready. You can dust it with a little powdered sugar if you like or drizzle a basic glaze over it. (Please see my glaze recipe here.)

Serves 8-10. Takes less than 30 minutes to make.

Cheers to independence wherever you might reside!


Non 4th of July version with berries sprinkled around, glazed and dusted.

Non 4th of July version with berries sprinkled around, glazed and dusted.


Read Full Post »

granola abovegranola closeThis delicious granola serves up tons of flavor and is rich in heart-healthy fats as well as protein. Top it with a dollop of homemade yogurt (I love using my coconut milk yogurt) and a sprinkle of berries, and you have a filling breakfast that will last you for hours. In fact, compared with traditional granolas, which contain mostly oats, you need about half as much as you think you need for a very satisfying breakfast meal.

I also like to have a canister of this granola on hand for days when I’m rushing to get the kids off to school or camp, and I barely have enough time to eat after preparing their breakfast, snacks and lunches. And when my kids are craving something sweet, a sprinkle of this granola over yogurt and berries does the trick.

(This recipe is adapted from Against all Grain. The original recipe calls for 3/4 cup honey or maple syrup, but I found my granola is plenty sweet with 1/3 cup!)


Ingredients

1 1/2 cups whole, raw almonds

1 cup raw cashews

1 cup raw pecan halves

1 cup raw walnuts

1/4 cup raw sunflower seeds

1 1/2 tsp sea salt, divided

1/3 cup maple syrup

2 tbsp coconut oil, melted

2 tbsp pure vanilla extract

1 tbsp ground cinnamon

1/2 cup shredded coconut (unsweetened)

1/2 cup raisins or juice-sweetened cranberries, optional


Preparation

Place all the nuts and seeds in a large glass or ceramic bowl. Sprinkle with 1 tsp salt and pour in enough filtered water so that the nuts are covered by 2 inches. Cover with a dish towel and let soak overnight on the counter (at least 12 hours).

Preheat oven to 275F.

Drain the nuts and seeds and spread out on a paper towel to absorb the extra water. Transfer the mixture to a food processor and process until the nuts are the size of porridge or quick-cooking oats. Spread out onto a large, rimmed baking sheet. Sprinkle the remaining salt and cinnamon over the mixture, and stir in the coconut.


granola blendgranola mixMelt the coconut oil in a small saucepan. Stir in the maple syrup and vanilla extract. Pour over the mixture on the baking sheet and stir to mix.

Place the baking sheet in the oven and cook for 1 hour, carefully flipping the granola with a spatula every 20 minutes. Stir in the raisins if using. If you want to keep this dish “raw,” cook the mixture in an oven set to 175F with the door propped open a tad (using a wooden spoon). Cook for closer to 2 hours using this method.

Allow to cool completely before storing in an airtight container.

Makes approximately 5 cups of granola.

Enjoy!


Read Full Post »

peach salad abovepeach salad closeThis salad is one of my favorites for summer, and a real crowd-pleaser. It’s fast and easy to prepare and goes beautifully with any grilled meat, including chicken, beef or seafood. It also makes any table or dinner spread look festive with it’s orange, white and dark green colors. I find it also holds up well, in case you need to prepare it in advance of your meal.

I prefer to use a sheep and goat milk ricotta I can buy at my local Whole Foods Market, but any fresh ricotta will do. You can substitute the ricotta with a mild feta, if you prefer a stronger flavor. If your peaches are ripe, their flavor should stand up to the feta just fine.

The following recipe serves 4-6.


Ingredients

4 large handfuls arugula, washed and dried

2 ripe peaches, washed well (to lessen the “fuzz”), pitted and thinly sliced

3/4 cup fresh ricotta cheese

2 tbsp extra-virgin olive oil

2 tsp champagne vinegar

1/2 tsp Dijon mustard

Sea salt and fresh-ground pepper to taste


Preparation

In a large bowl, add the arugula and peach slices. Toss to mix. Add in the ricotta using a small spoon so you have “dollops” evenly spread.

Whisk together the oil, vinegar, mustard, salt and pepper. Drizzle over the salad and toss until the arugula is evenly coated.


Enjoy!

Read Full Post »

bday cake s2bday cake sI haven’t posted anything for at least a couple of weeks. There’s always this brief period in June when I can barely find a minute to, ahem, go to the bathroom. OK, maybe it’s not quite that bad, but because my children decided to enter this world exactly three years and one week apart from each other, the result is two weeks of birthday mania. This mania usually includes scheduling “entertainment,” devising games, ordering party furniture rentals and balloons, buying gifts for the birthday child and trinkets and party favors for the other attendees, decorating the home, and in my home, baking and decorating the cake. At least this year, my son didn’t request anything elaborate as last year’s scarlet macaw, howler monkey and gecko. I still recall the sweat pouring off my brow as I attempted in the 11th hour to research what those creatures look like and then render them in icing. (Let me sing here the praises of Google Images.)


bday cake lucbday cake luc2
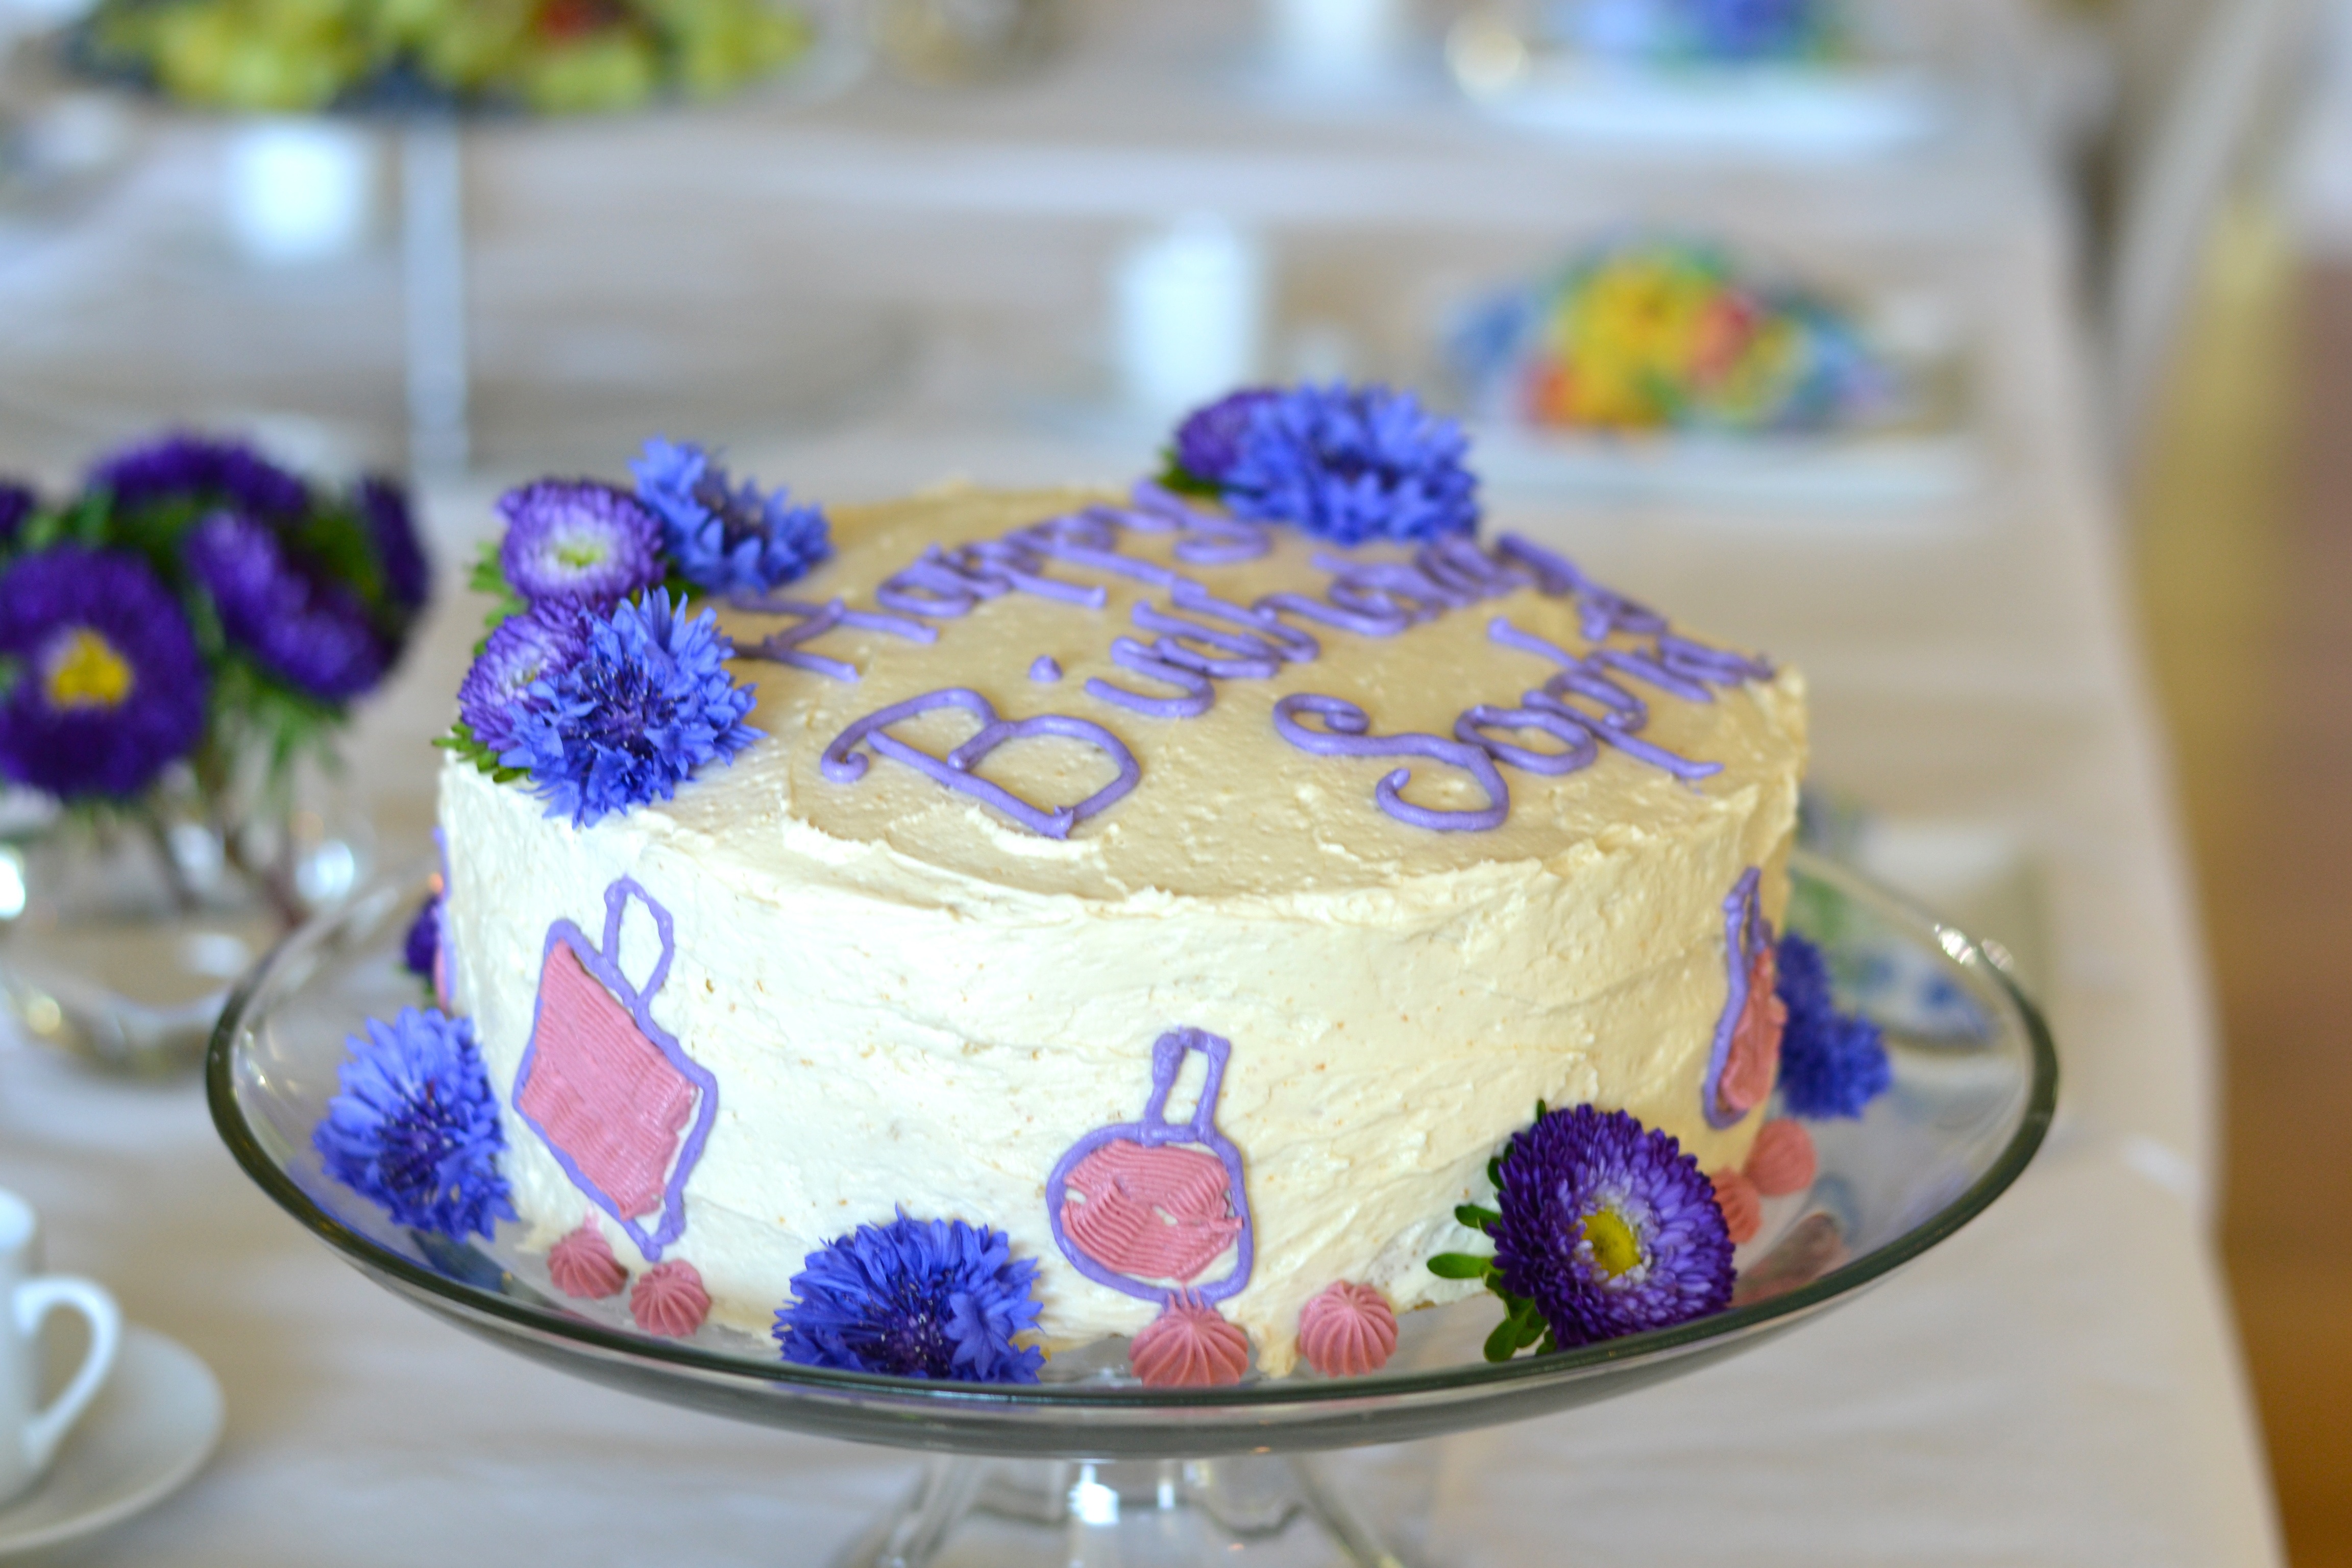
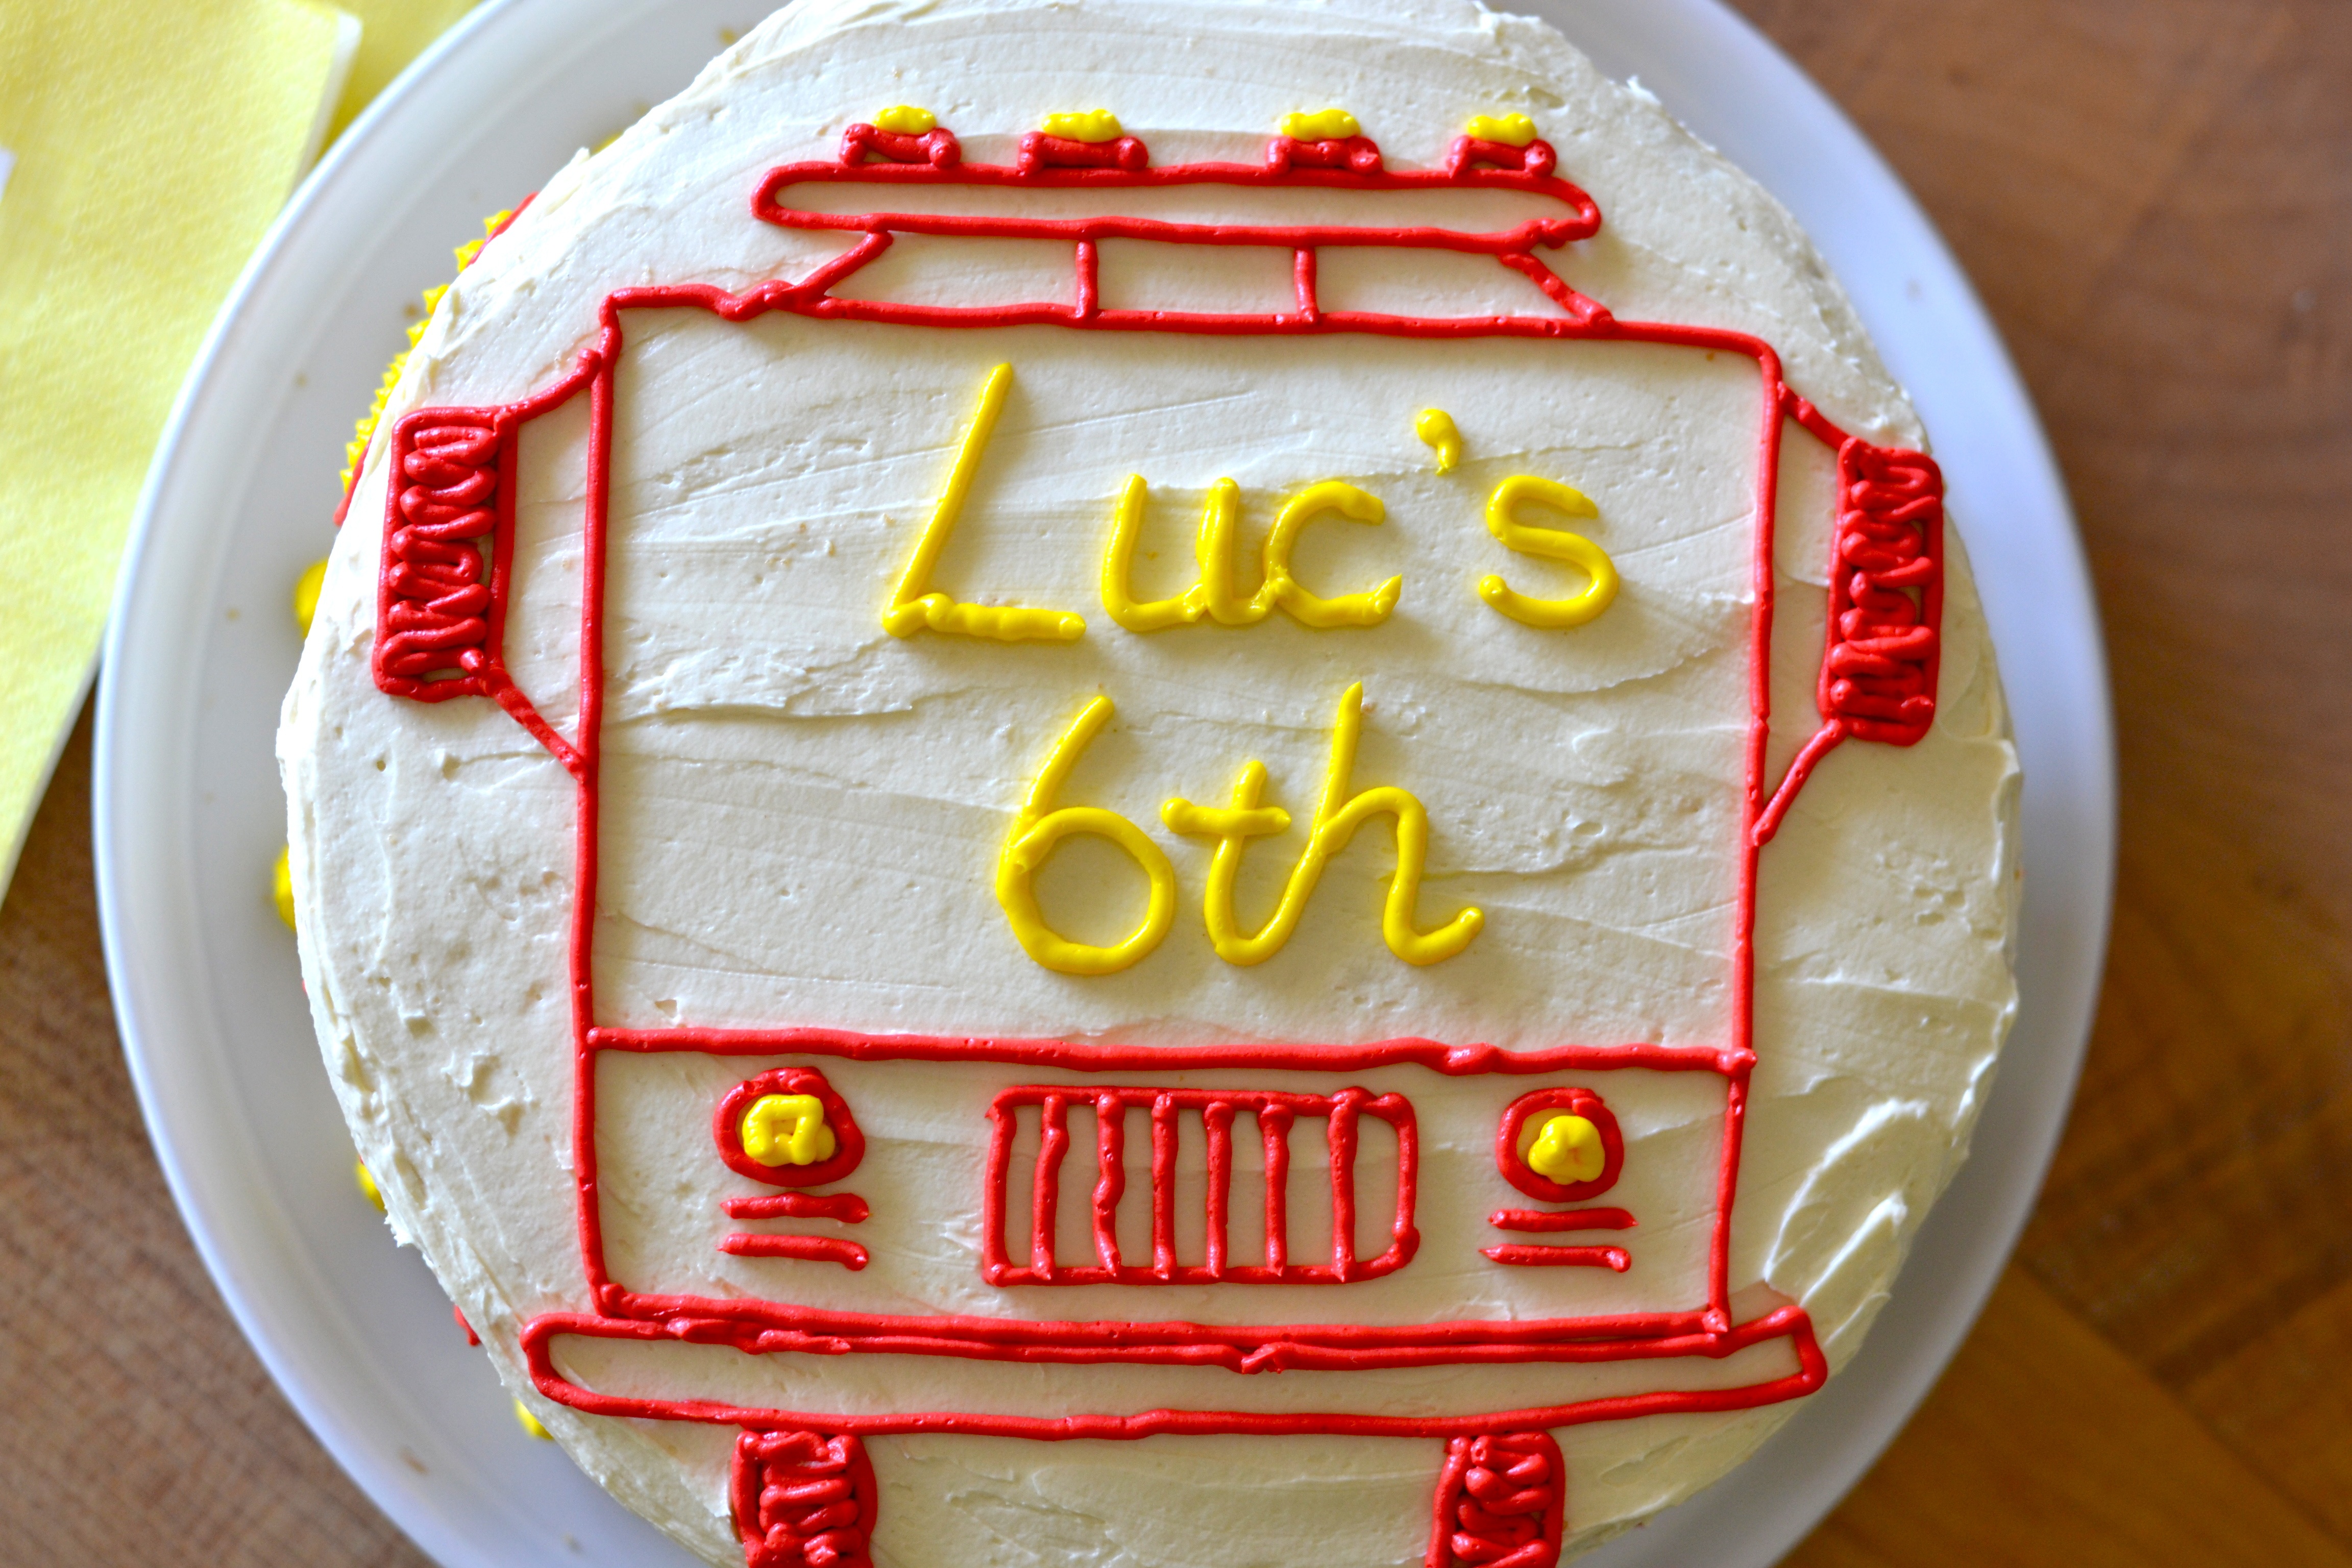
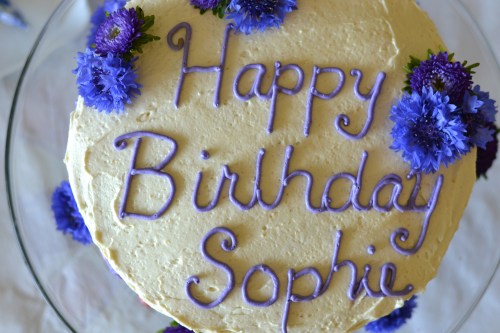
For whatever reason, which appears to elude me year after year, I always underestimate the time it will take to make the frosting and decorate the cake. As you can see from the pictures I’ve included here, I must have been so panicked and stressed out–decorating the cake while the first guests were practically mounting the steps to our front door, that I forgot to cross the “t” in “birthday” on my daughter’s cake. And I can also see that I was so panicked to finish my son’s cake, that my hand was shaking–as proven by the squiggly and uncertain writing on his cake. Or maybe it’s just that I don’t know the secret to writing words on the vertical side of a cake. Please remind me to read up on this before next year.

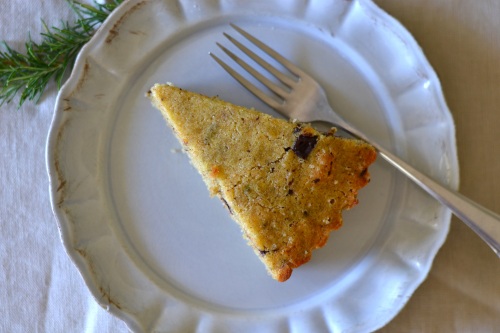
I’m posting my favorite gluten-free birthday cake, again, because with each passing year, I become more and more certain which is the best version (since I offer a couple variations).

I continue to find this cake to be the most flavorful and moist cake of any birthday cakes I’ve eaten–store-bought or homemade. I also  like that this cake is low in sugar and the frosting–while more time-consuming that regular buttercream frosting, uses at least half the sugar of traditional buttercream frosting.

The following is for a full, single 9-inch cake. Double the recipe for two full 9-inch cake layers or 3 thinner 9-inch cake layers.

Ingredients

Juice of 1 orange plus full-fat plain yogurt to equal 1 cup* (roughly 1/2 cup fresh-squeezed orange juice and 1/2 cup yogurt)

Grated zest of 1 orange (optional, works well if you’re making a chocolate filling)

3 eggs

1/2 cup sugar

1 tsp. vanilla

1/2 cup almond flour

1/2 cup sorghum flour

1 cup brown rice flour

1 1/2 tsp baking powder

1/4 tsp baking soda

1/2 tsp. sea salt

1 cup good quality mild-tasting olive oil or 1 cup unsalted butter, softened

*I find the orange juice/yogurt combination produces the best moistness and flavor, but you can also replace the juice/yogurt with 1 cup white wine, just be sure it’s a fairly sweet, buttery Chardonnay.

Directions

Preheat over to 350-degrees Farenheit.

Prepare 9-inch cake pans by greasing, flouring and lining the bottom of each cake pan with a piece of parchment paper. (Use the bottom of the cake pan to trace a circle on the parchment paper. Cut just inside the line for a perfect fit.)

In a medium-sized bowl, mix together flours, baking powder, baking soda and salt. Set aside.

If making the butter version, beat the butter in a large bowl with a hand-held mixer until creamy. Beat in the sugar. Beat in the eggs one at a time. Beat in the orange juice/yogurt mixture and vanilla until well-blended. Stir in the dry ingredients until well-blended.

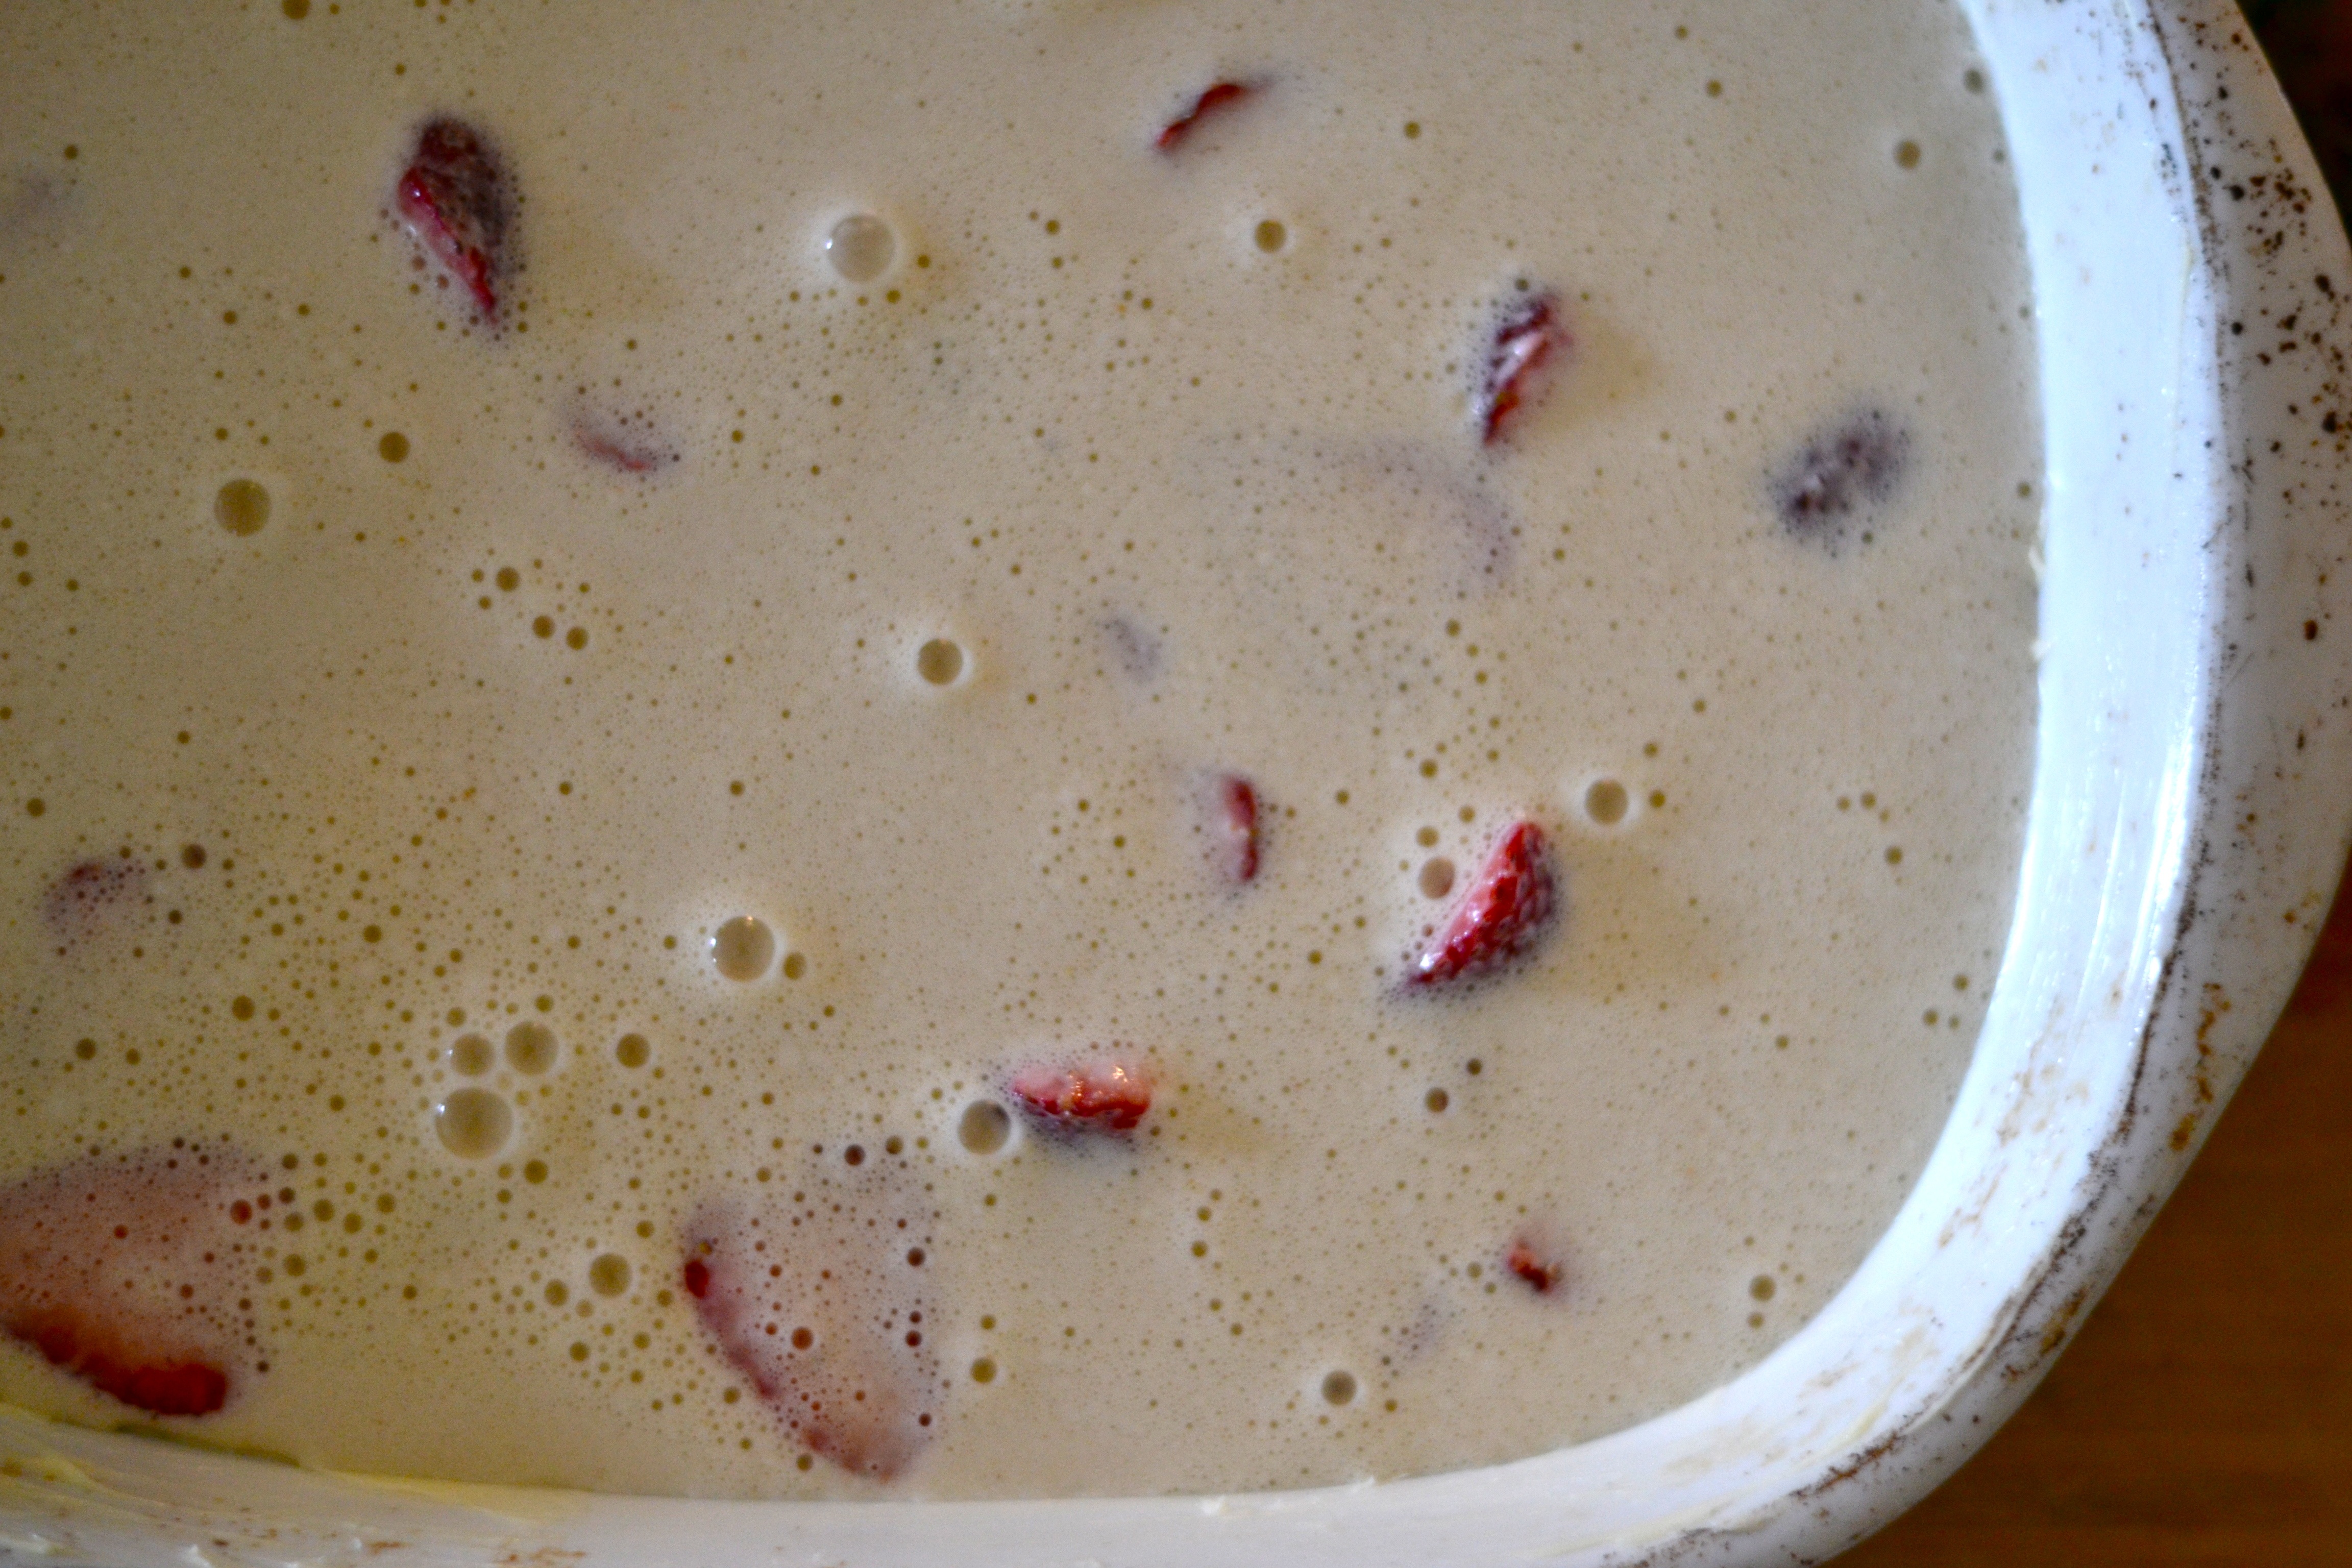
If making the olive oil version, whisk the eggs in a large bowl. Whisk in the sugar then the orange juice/yogurt mixture and vanilla. Stir in the olive oil and dry ingredients alternating one-third to one-half of each until well-blended.

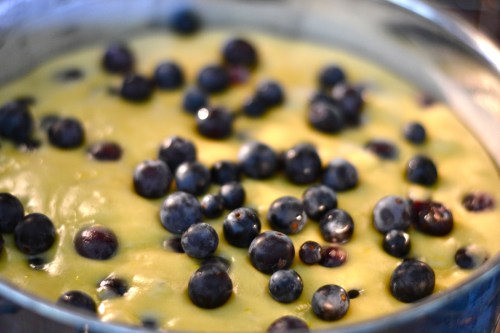
Pour evenly into cake pan(s).

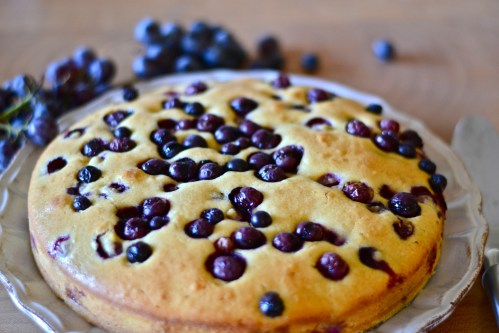
Bake for 35-45 minutes or until a toothpick inserted comes out clean, and the cake is springy to the touch at its center. (Mine are always golden-brown by this stage.) Cool in pans. Use a slim knife around the outer edge to loosen the cake(s) from pan. Turn out carefully and let further cool on rack(s).

Possible Fillings

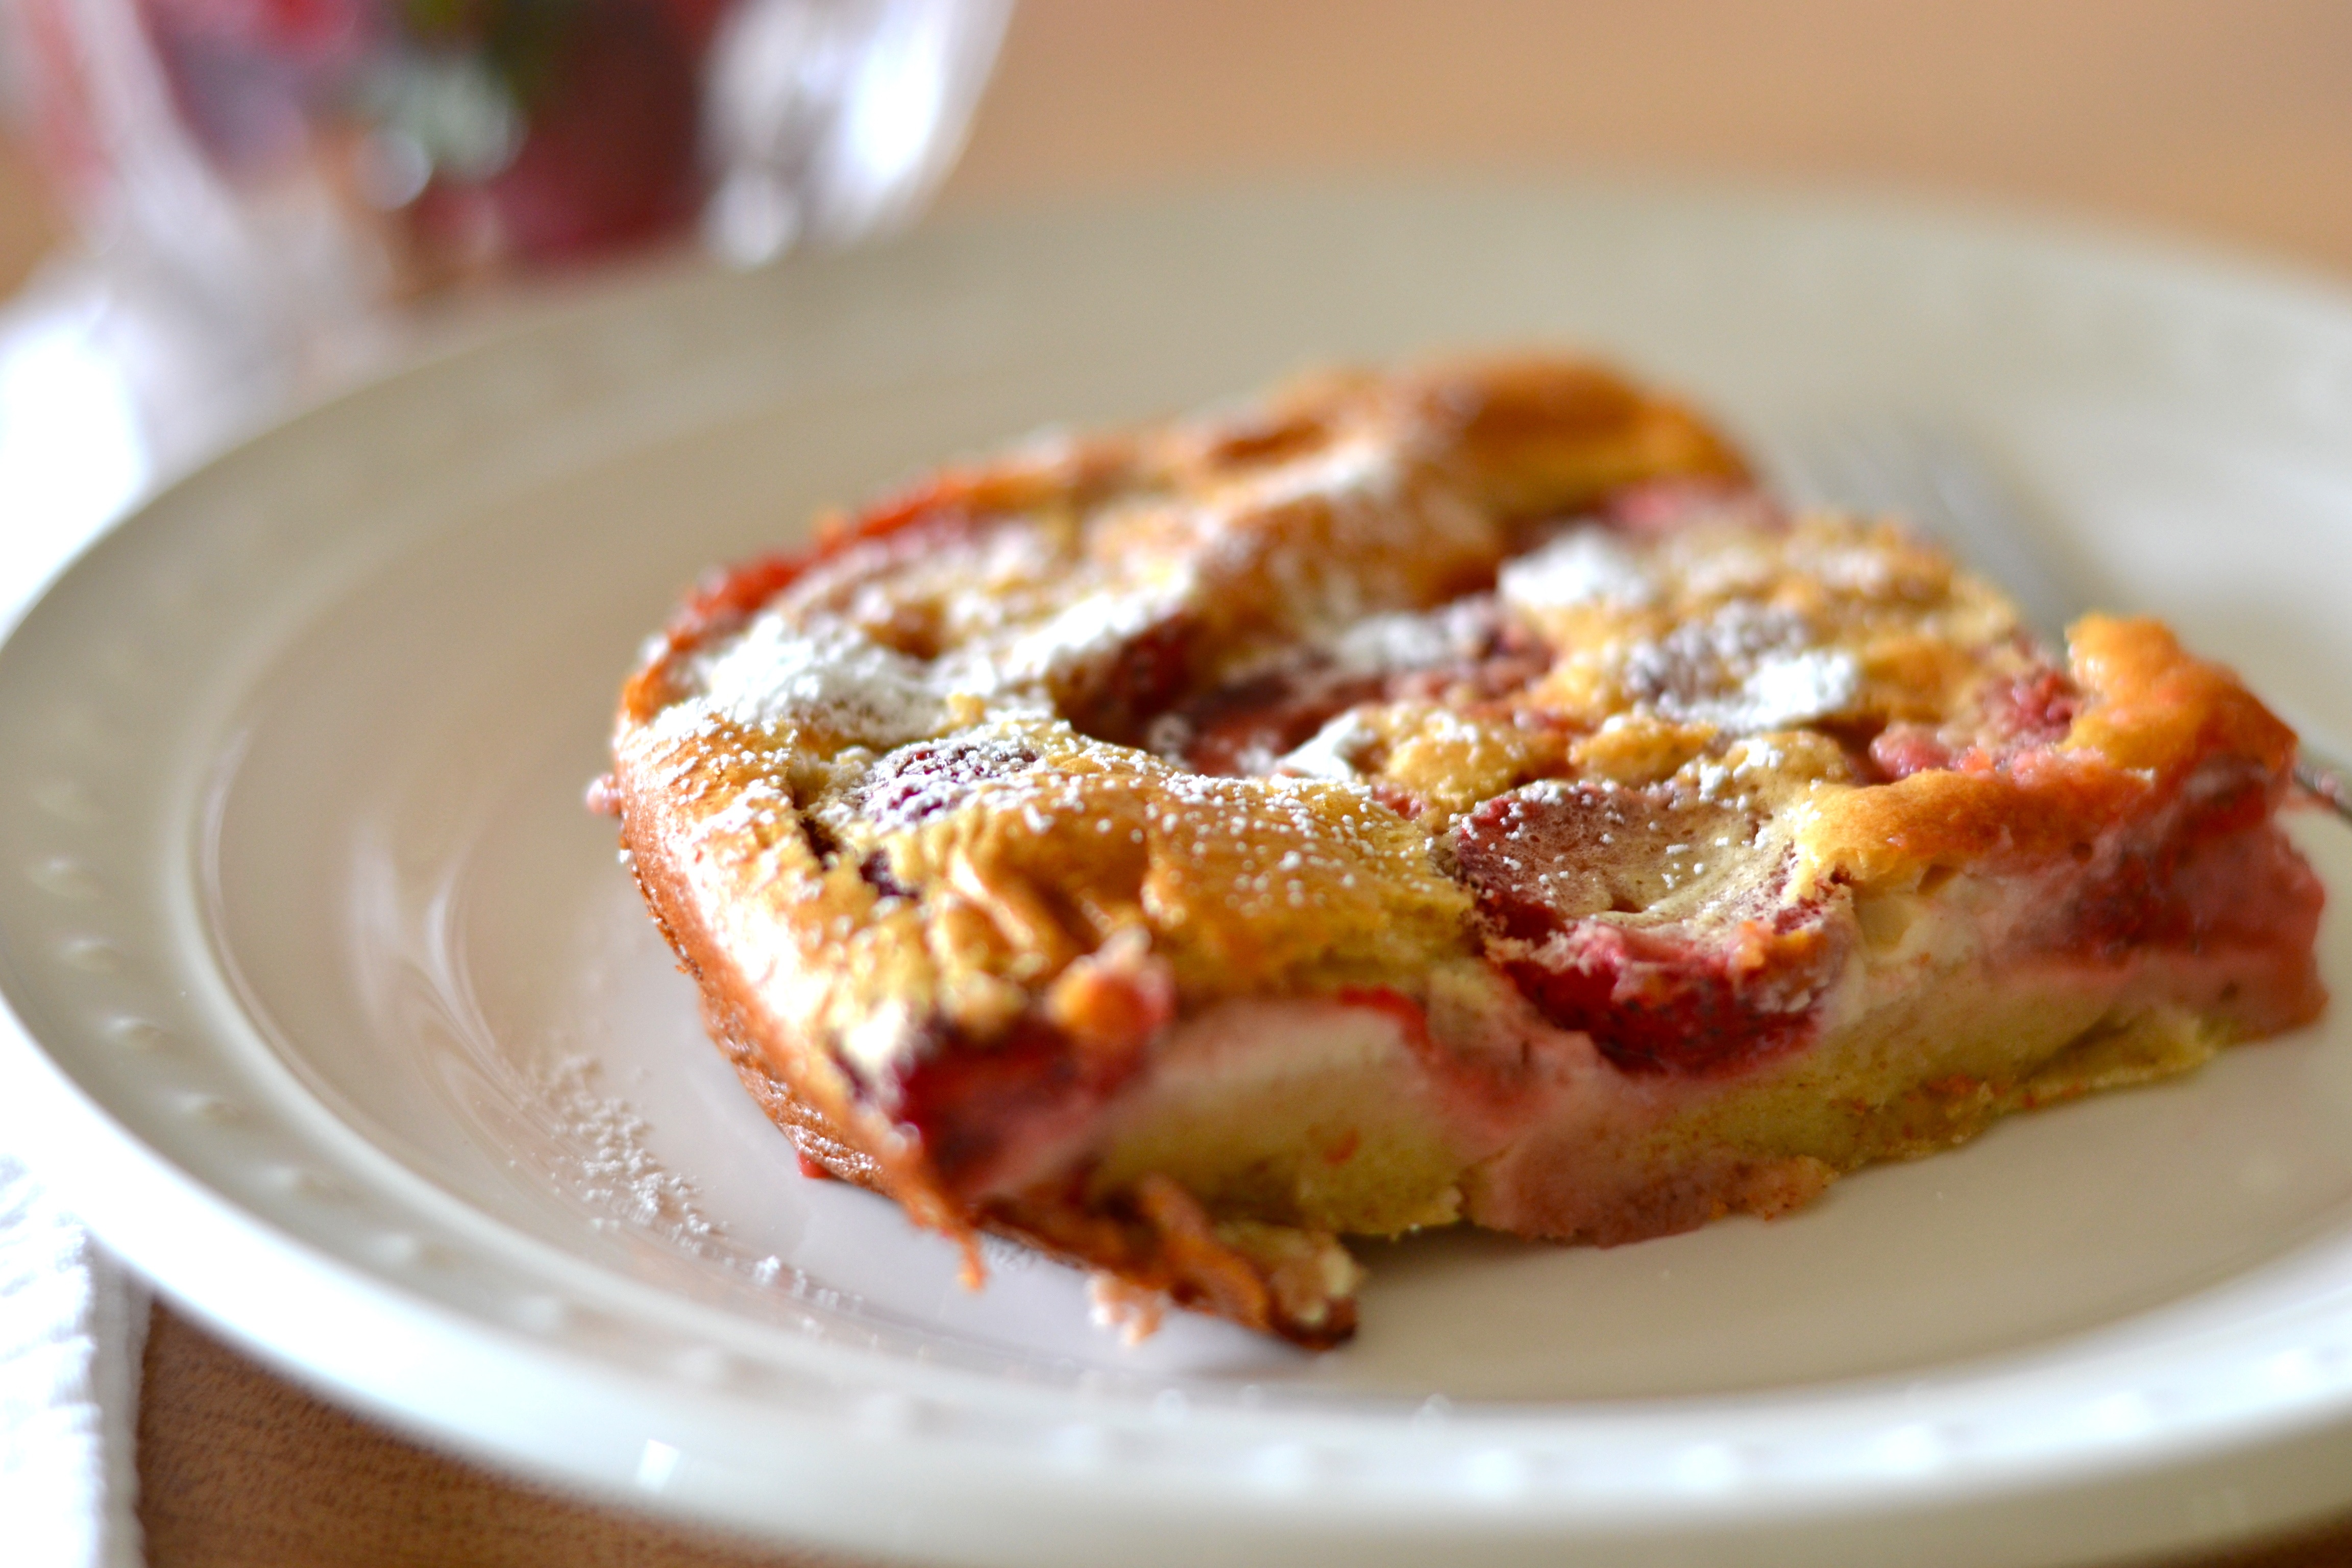
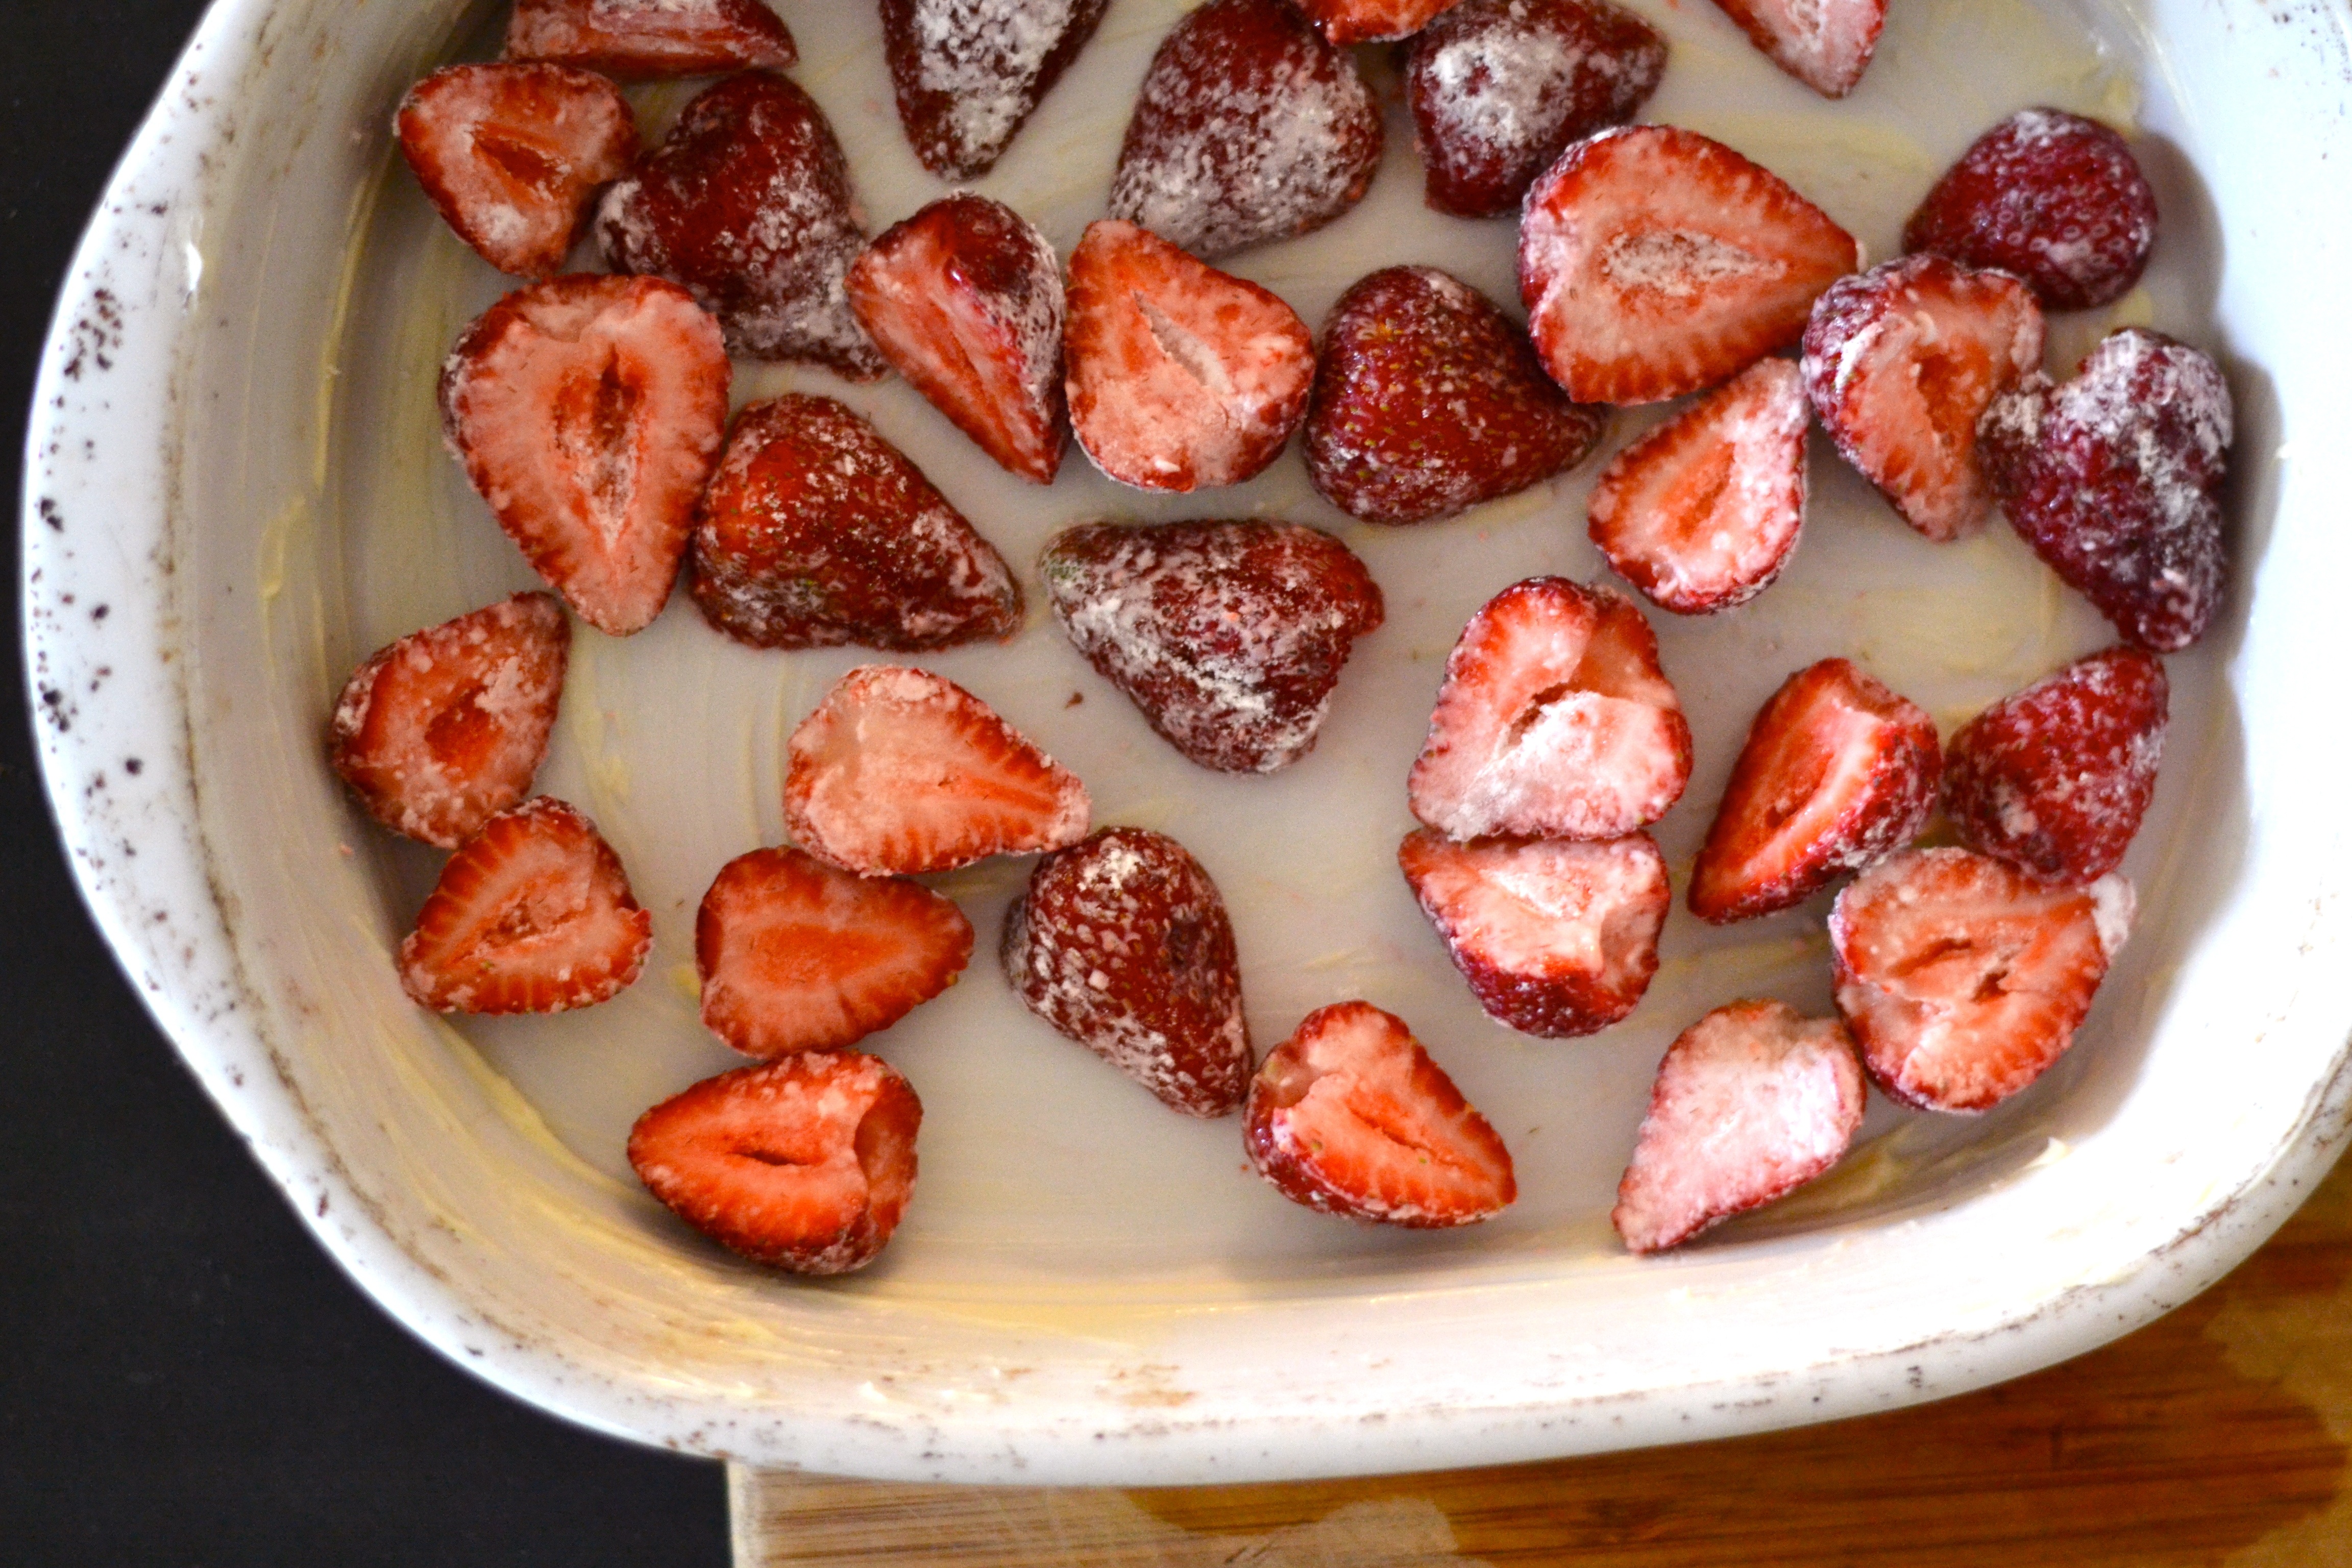
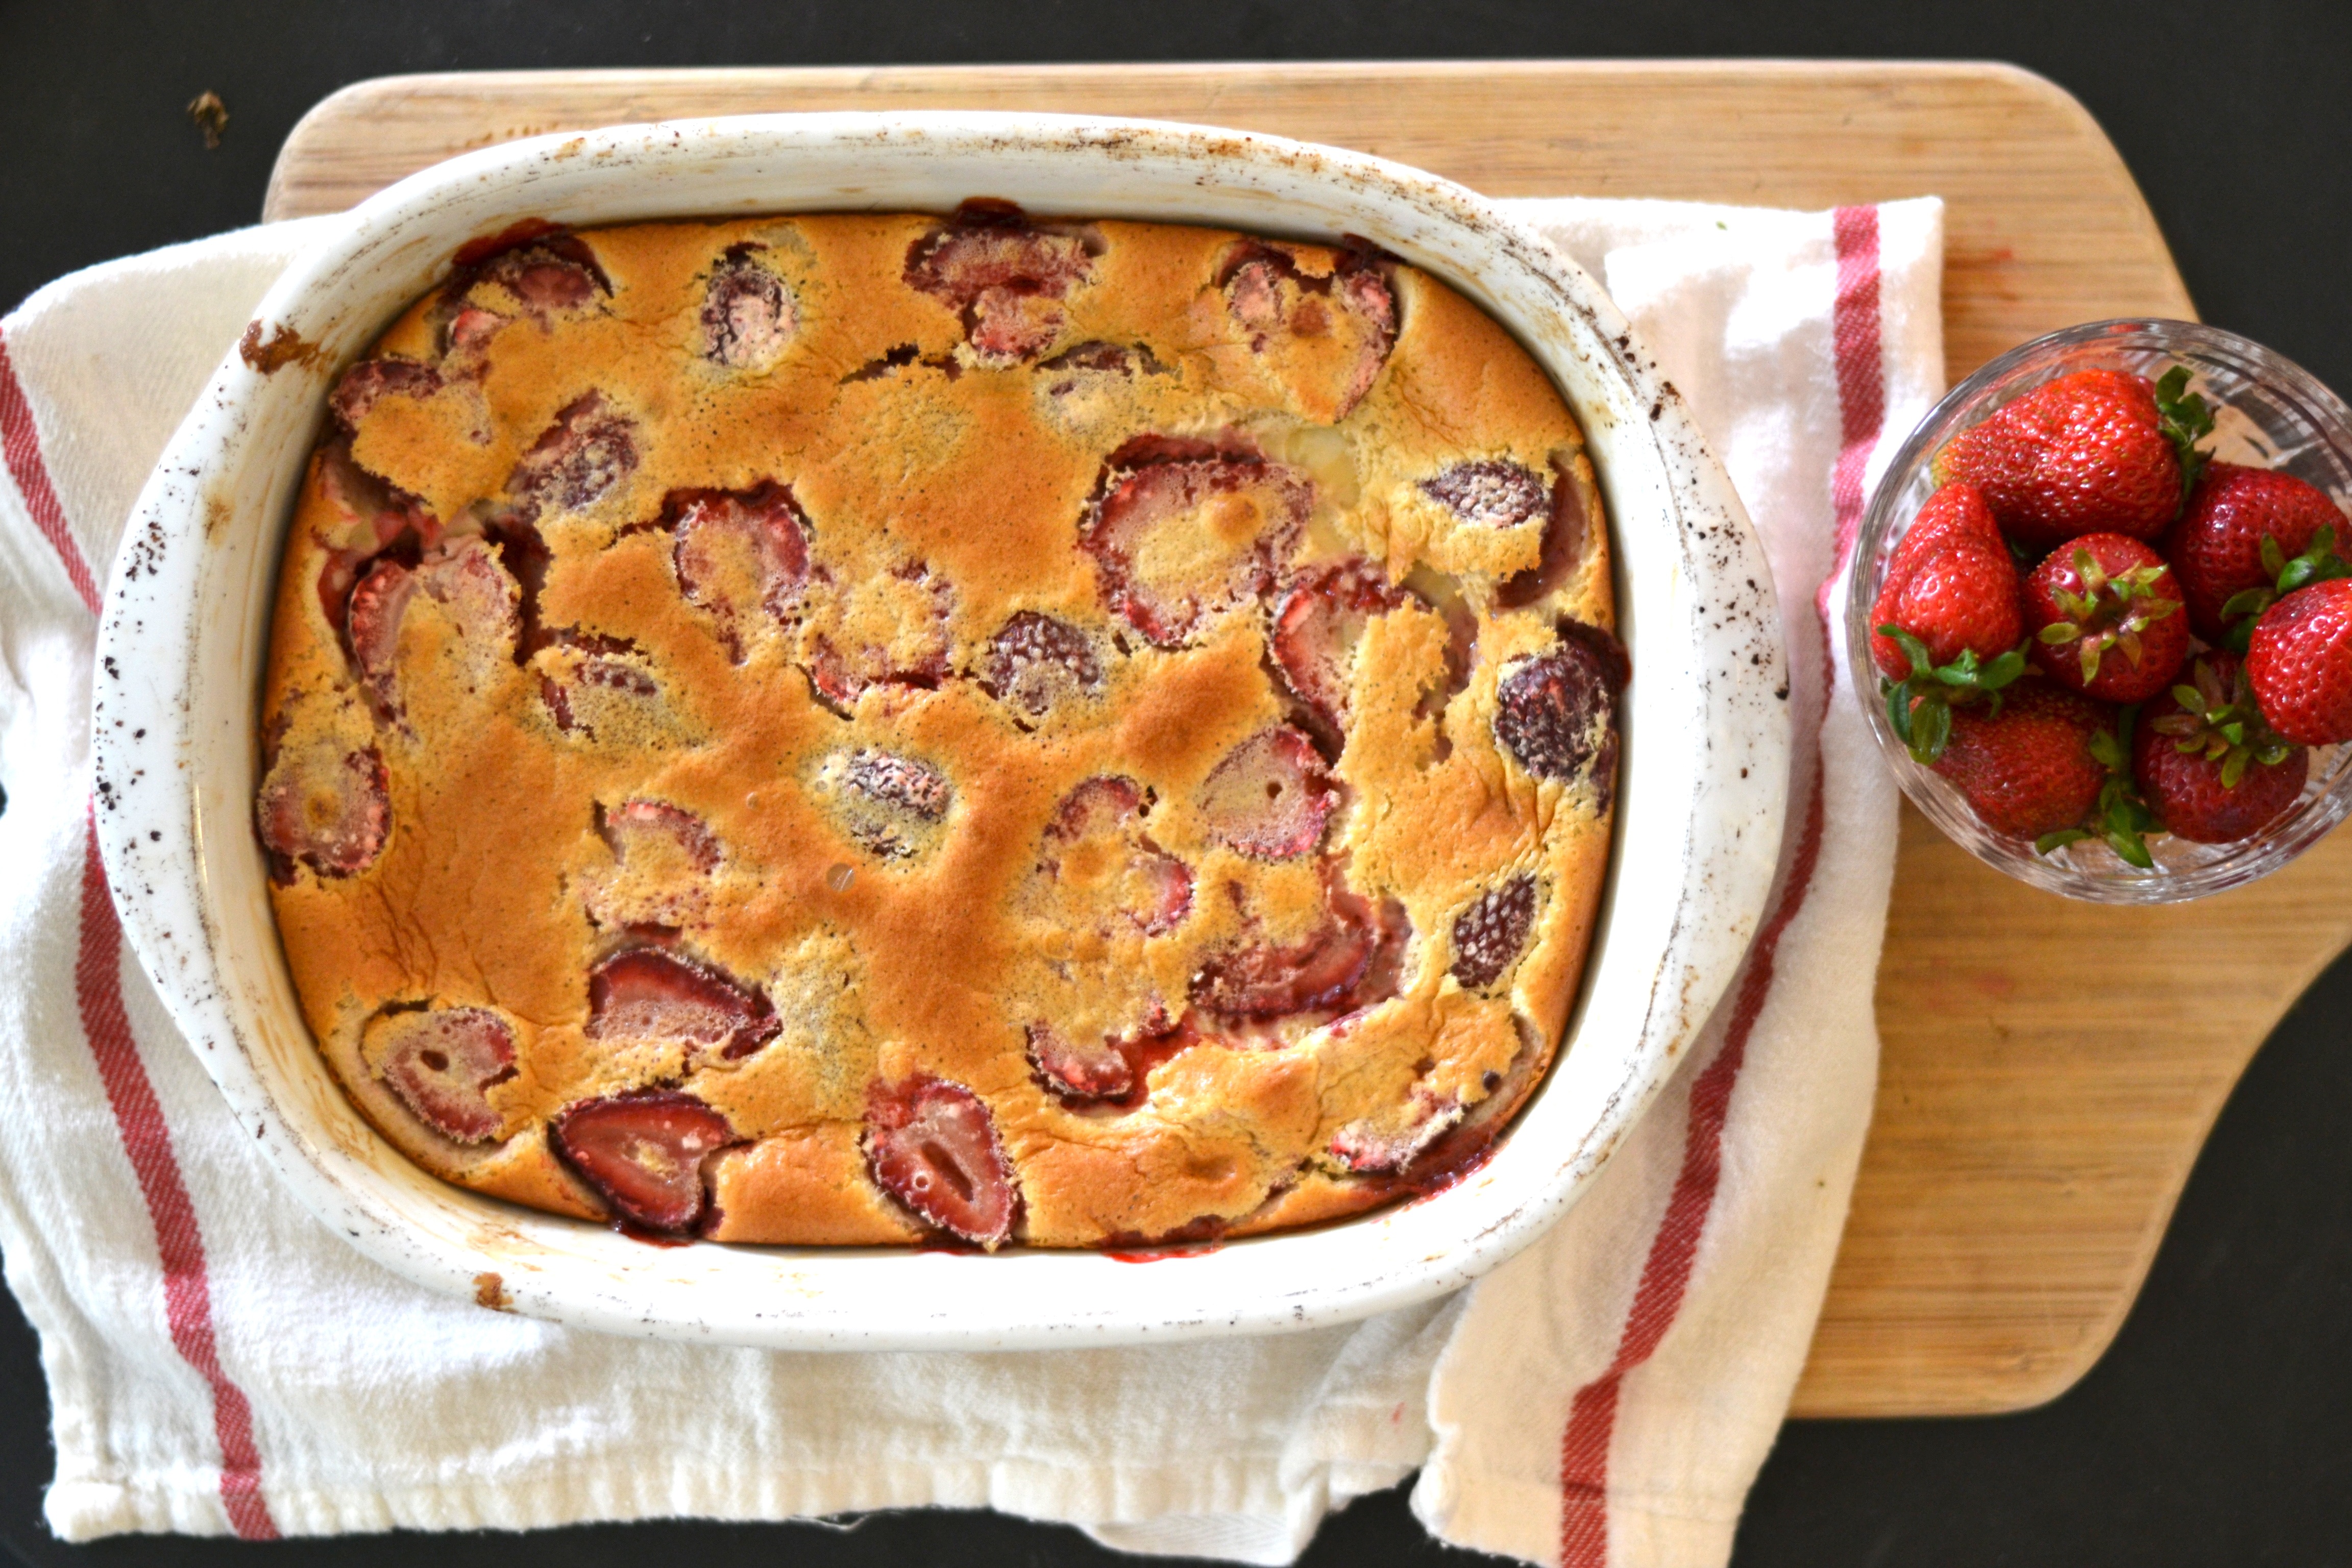
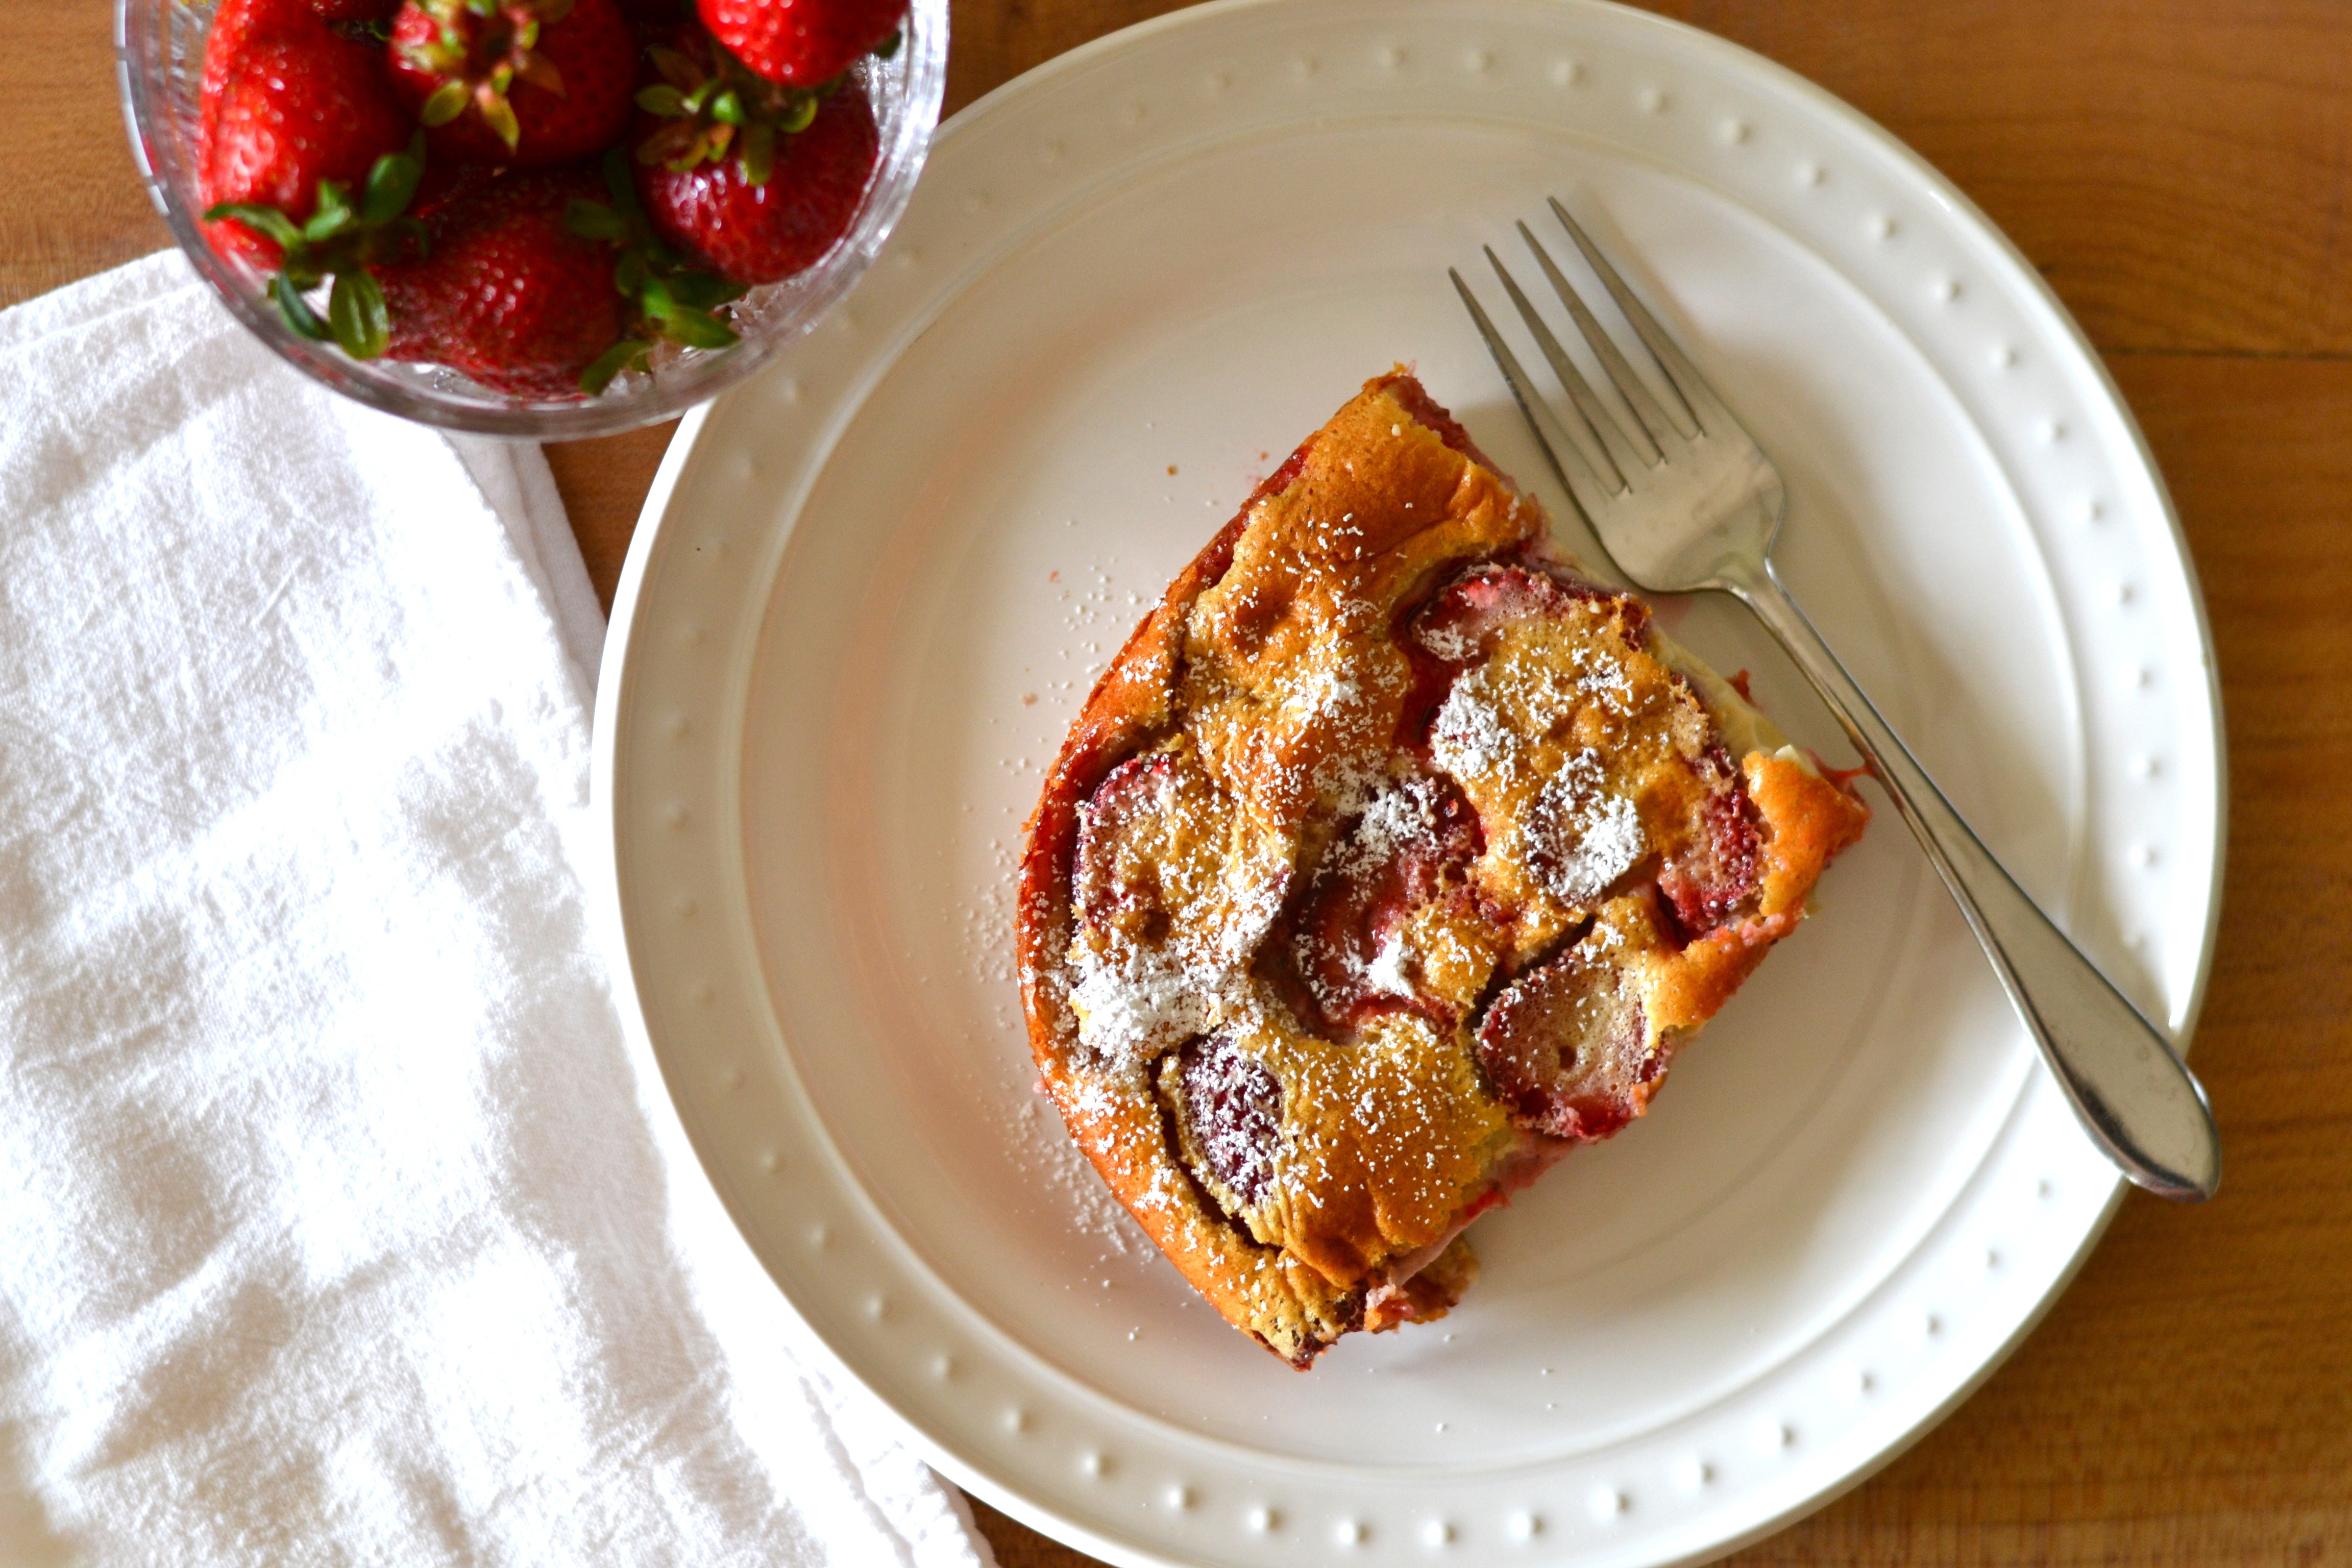
My favorite during summer months is to simply macerate fresh strawberries and raspberries to which I’ve added a little lemon zest and vanilla extract. This mixture is fairly liquid and soaks beautifully into the cake layer(s) making them extra flavorful and moist.

My son loves chocolate, so in the past I’ve made a  chocolate ganache for the inside layer. It takes seconds to make. If you want it fluffier, simply beat with an electric mixer once the mixture is completely cooled. Here’s my recipe:

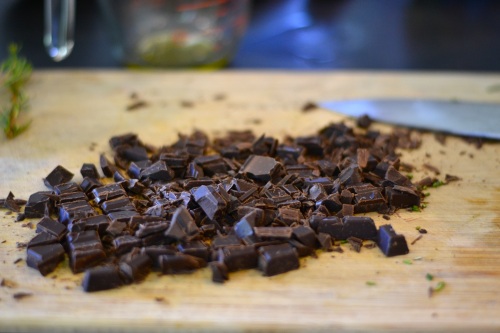
Finely chop 3 1/2 oz dark chocolate (preferably at least 70% cocoa), and place in a medium-sized bowl. Bring 1/2 cup cream to near boil. Pour over chocolate. Stir until completely melted/blended. Stir in 1 tbsp. butter and 1 tbsp. agave syrup. Let cool. (it will thicken considerably). Stir well before spreading on cake(s).

Fluffy, low-sugar frosting

(from Mel’s Kitchen Cafe)

This recipe makes just enough to frost the top and sides of a 2-layer cake (the recipe above, doubled). Increase proportions to double or 1 1/2 if you plan to bake more layers or want lots of extra frosting for additional decorating.

Ingredients

3/4 cups granulated sugar
1/8 cup all-purpose flour
1 1/2 tbsp. cornstarch
1/8 teaspoon salt
3/4 cups milk (I’ve used both 2% and 4% with great results)
1 teaspoons pure vanilla extract
12 tablespoons (1 1/2 sticks) butter, cut into pieces and softened to room temperature

Directions

In a medium bowl, whisk the sugar, flour, cornstarch and salt until there are no lumps. Slowly whisk in the milk until the mixture is smooth. Pour the mixture into a saucepan. Cook over medium heat, whisking frequently increasing to constantly, until the mixture bubbles/boils and becomes very thick. This takes roughly 10 minutes.

Transfer the mixture to a clean bowl and cool to room temperature. This step is extremely important! If it is even slightly warm, the frosting won’t come together properly. On a fall day in California, this took a little over 2 hours. You can speed up the process by putting the bowl in the refrigerator. However, if you do this, be sure to take it out in time to for it to warm back up to room temperature before proceeding to the next step.

Once the mixture has completely cooled to room temperature (you will feel no trace of warmth when you place your hands around the bottom of the bowl), beat in the vanilla using a hand-held mixer on low speed. Next, beat in the butter, one piece at a time, until fully incorporated. Increase the speed to medium-high and beat the frosting for five minutes, until it is light and fluffy (approximately 5 minutes). Spread with a soft-tipped rubber spatula.

As I’ve said before, let us eat cake!

bday cake s3

Read Full Post »

chick with endive3

I’m sorry I’ve been a bit absent.

It’s the end of the school year for the children, and it seems I’m on campus every day for some activity, outing or celebration. It’s been difficult finding time to cook anything particularly interesting, and even when I do, I’m usually rushing to get food on the table and simply can’t manage to snap a photo or two to share with you. (And no one wants a recipe without a photo!)

Even though the children will be home with me every day for the next two months, the slower pace will hopefully allow me to post more regularly.

But back to the dish at hand…I’ll admit this dish might seem more appropriate for cooler autumn months, but I’ve made it twice recently and I think it’s delicious in any season. Maybe I’m also romanticizing France–where we’ll be going later this summer. I love French food for its simplicity and for the memories it brings back to me of many a meal, slowly enjoyed (pre-kids!) late in the evening on the banquet seat of a Parisian bistro. (Now that we have children, I feel as though all our meals are taken at 5:30pm, when most people are still at work.) For me, simple chicken dishes, Pernod and endive are unmistakably French, and I love how they combine here. The dish feels hearty without feeling heavy, and it’s a cinch to prepare. I love fennel and endive year-round, so if these two often overlooked pale green vegetables are available where you live, why not combine them in this surprisingly sophisticated, simple to prepare dish.


Ingredients

4 whole chicken legs (leg and thigh) or 8 leg and and thigh pieces (about 2 lb)

1 tsp sea salt

1 tsp fresh-ground pepper

2 tbsp extra-virgin olive oil, divided

2 medium fennel bulbs, trimmed, halved and thinly sliced (reserve some fronds for garnish)

4 heads Belgian endive, washed, trimmed and cut lengthwise into quarters

1-2 shallots, peeled, trimmed and thinly sliced

1/2 cup Pernod or good white wine*

1/2 cup reduced sodium chicken broth

1/3 cup whipping cream

1/4 cup flat-leaf parsley leaves, finely chopped

*I think the Pernod really boosts the anise/licorice flavor of the fennel and adds more depth to the dish, but you can use white wine if you don’t have any  Pernod available.


chick with endive1Preparation

Sprinkle chicken with salt and pepper. In a large cast-iron or other heavy, oven-safe frying pan, heat 1 tbsp oil. Add chicken in a single layer, skin side down, and cook until browned, about 5 minutes. Turn the pieces over and cook the second side until lightly browned, about 3 minutes. Transfer the chicken to a plate and drain most of the oil from the pan.


chick with endive 2Set the oven to 375F.

While the oven is heating, return the pan to medium-high heat. Add the Pernod or wine and broth, and stir, scraping up any browned bits. Add the chicken. Sprinkle the fennel, endive and shallot. Drizzle the remaining tbsp of oil. Cover and cook for 10 minutes.

Remove the lid, pour in the cream and place the pan in the oven. Cook for 8-10 minutes or until the vegetables begin to caramelize and the mixture has thickened slightly. Season with salt and pepper. Serve on a large platter and finish with a sprinkling of parsley and reserved fennel fronds.

Serve immediately.

Serves 4.

Enjoy!


chicken endive 4

Read Full Post »

smashed potato

Since I was raised by a Japanese mother, potatoes only made rare appearances at our table. It’s not that any of us outright disliked them–although my mother may have considered them an inferior food, but many cooks tend to cook along the same lines as their “teachers,” who in in my case was my mother.

Then I married a Dutchman. Naturally, he loves potatoes and considers them an essential part of any diet (although potatoes are one of the first things I would suggest eliminating if one was going to attempt to “diet”). I cook regular “white” potatoes very infrequently since I am predisposed to consider them an inferior food–certainly inferior in taste and nutritional value to the delicious and colorful sweet potato. However, in order to appease the Dutchman, I keep alert for interesting ways to prepare and serve traditional potatoes.

I recently stumbled upon a recipe in one of my Sunset magazine issues that I’ve modified slightly here. The recipe is similar to one I used to make where you “smash” the potatoes then sprinkle them with parmesan and parsley. These potatoes are easy to prepare and very flavorful thanks to the tapenade-style pesto.  And this dish uses small red or Yukon Gold potatoes which are certainly superior in texture and flavor to the regular old white potato. These potatoes make a nice accompaniment to grilled meats or a substantial fish dish.


Ingredients

12 small red or Yukon Gold potatoes (approximately 2 inches in diameter), scrubbed clean

2 garlic cloves, minced

1/4 cup fresh basil leaves, chopped or torn

1 cup kalamata olives, pitted and patted dry

1/4 cup extra-virgin olive oil, plus a little extra for the pan

1/4 cup grated parmesan cheese

2 tbsp flat leaf parsley, finely chopped (optional)


Preparation

Put the potatoes in a large pot. Cover with water, add a large pinch of salt and put on the stove. Bring the potatoes almost to a boil and cook until easily pierced with a knife, about 15 to 20 minutes then drain them.

While the potatoes are cooking, prepare the “pesto.” Puree the garlic and basil in a food processor. Add the olives and oil and pulse to a paste. Scoop everything into a small bowl and stir in the cheese.

When they potatoes are cool enough to handle, set them one at a time on a large cutting board and “smash” (slightly flatten) each one using a small pot or skillet. Place them in a lightly oiled skillet (preferably cast-iron) over medium-high heat. Pan roast on the first side until slightly brown. Flip. Spread each potato with about 1 tbsp of the pesto and continue to cook until crisp on the bottom.

Serve warm with a sprinkle of parsley if you like.


Enjoy!


Read Full Post »

« Newer Posts - Older Posts »

Cooking Without Limits

Food Photography & Recipes

Selma's Table

Life doesn't have to be perfect to be wonderful - stories and recipes from a wonderful life...