Feeds:
Posts
Comments

Archive for the ‘Recipes’ Category

crackers aboveI’ve been thinking of giving up grains for 30 days to see if I experience any significant changes in my health. Mind you, I feel pretty darn healthy most of the time, but there are those minor, in some cases–frequent annoyances. For example, the inside of my nose is often wet in the mornings. It’s usually not enough to bother blowing, but I can feel it, and it’s definitely annoying. I also have scalp psoriasis, which I’ve had since my mid-20s. You usually can’t see it, but I can almost always feel it. To both issues, my doctor says it’s likely a very low-grade allergic response to something I eat regularly. But what? I did the food sensitivity testing and that didn’t reveal the culprit. A while ago, I gave up dairy for two months, and that didn’t help. I went gluten-free for several months, and that didn’t do anything (although I noticed the skin on the back of my upper arms became incredibly smooth). So maybe it’s grains–not particularly gluten.

I’ve been reading Chris Kresser’s Your Personal Paleo Code. His logic is compelling, and the people I know that have gone grain-free lost their “wet noses.”

Of course, I’m not one of those people who simply dive into things, and it’s hard for me to imagine giving up all dairy, grains and sugar for 30 days! First, I need to research the proposed change and test it out to see if I think I can really handle it. So along those lines, I’ve been making all sorts of dairy-free and grain-free dishes–many of which you’ll see soon on this website.

When I gave up gluten I turned to corn–NOT a great alternative since it’s one of the oldest genetically-modified crops in the world (certainly here in the United States). But I love cornbread and I love guacamole and salsa, so corn serves me well in that regard. But what happens when corn and rice are also off the menu? I’m a snacker and still require something crunchy I can reach for during the mid-afternoons.

As part of experimenting with Paleo, I bought Against All Grain by the best-selling author and blogger, Danielle Walker. She realized early on that people can’t survive on meat and vegetables alone (emotionally, not physically), so her book contains all sorts of snacks and desserts as well as salads and meat dishes.

I tried her grain-free Raisin-Rosemary Crackers and loved them! They are super easy to whip up, and contain a nice balance of sweet, salty and crunchy. I only modified the recipe ever so slightly in ingredients and instruction.

Ingredients

1 cup blanched almond flour/meal (I use Bob’s Redmill)

2 tbsp raisins

2 tbsp cold water

1 tbsp plus 1 tsp raw sunflower seeds, divided

1 tbsp fresh rosemary

1 1/2 tbsp extra-virgin olive oil

1/2 tsp sea salt

Preparation

Preheat the oven to 350F.

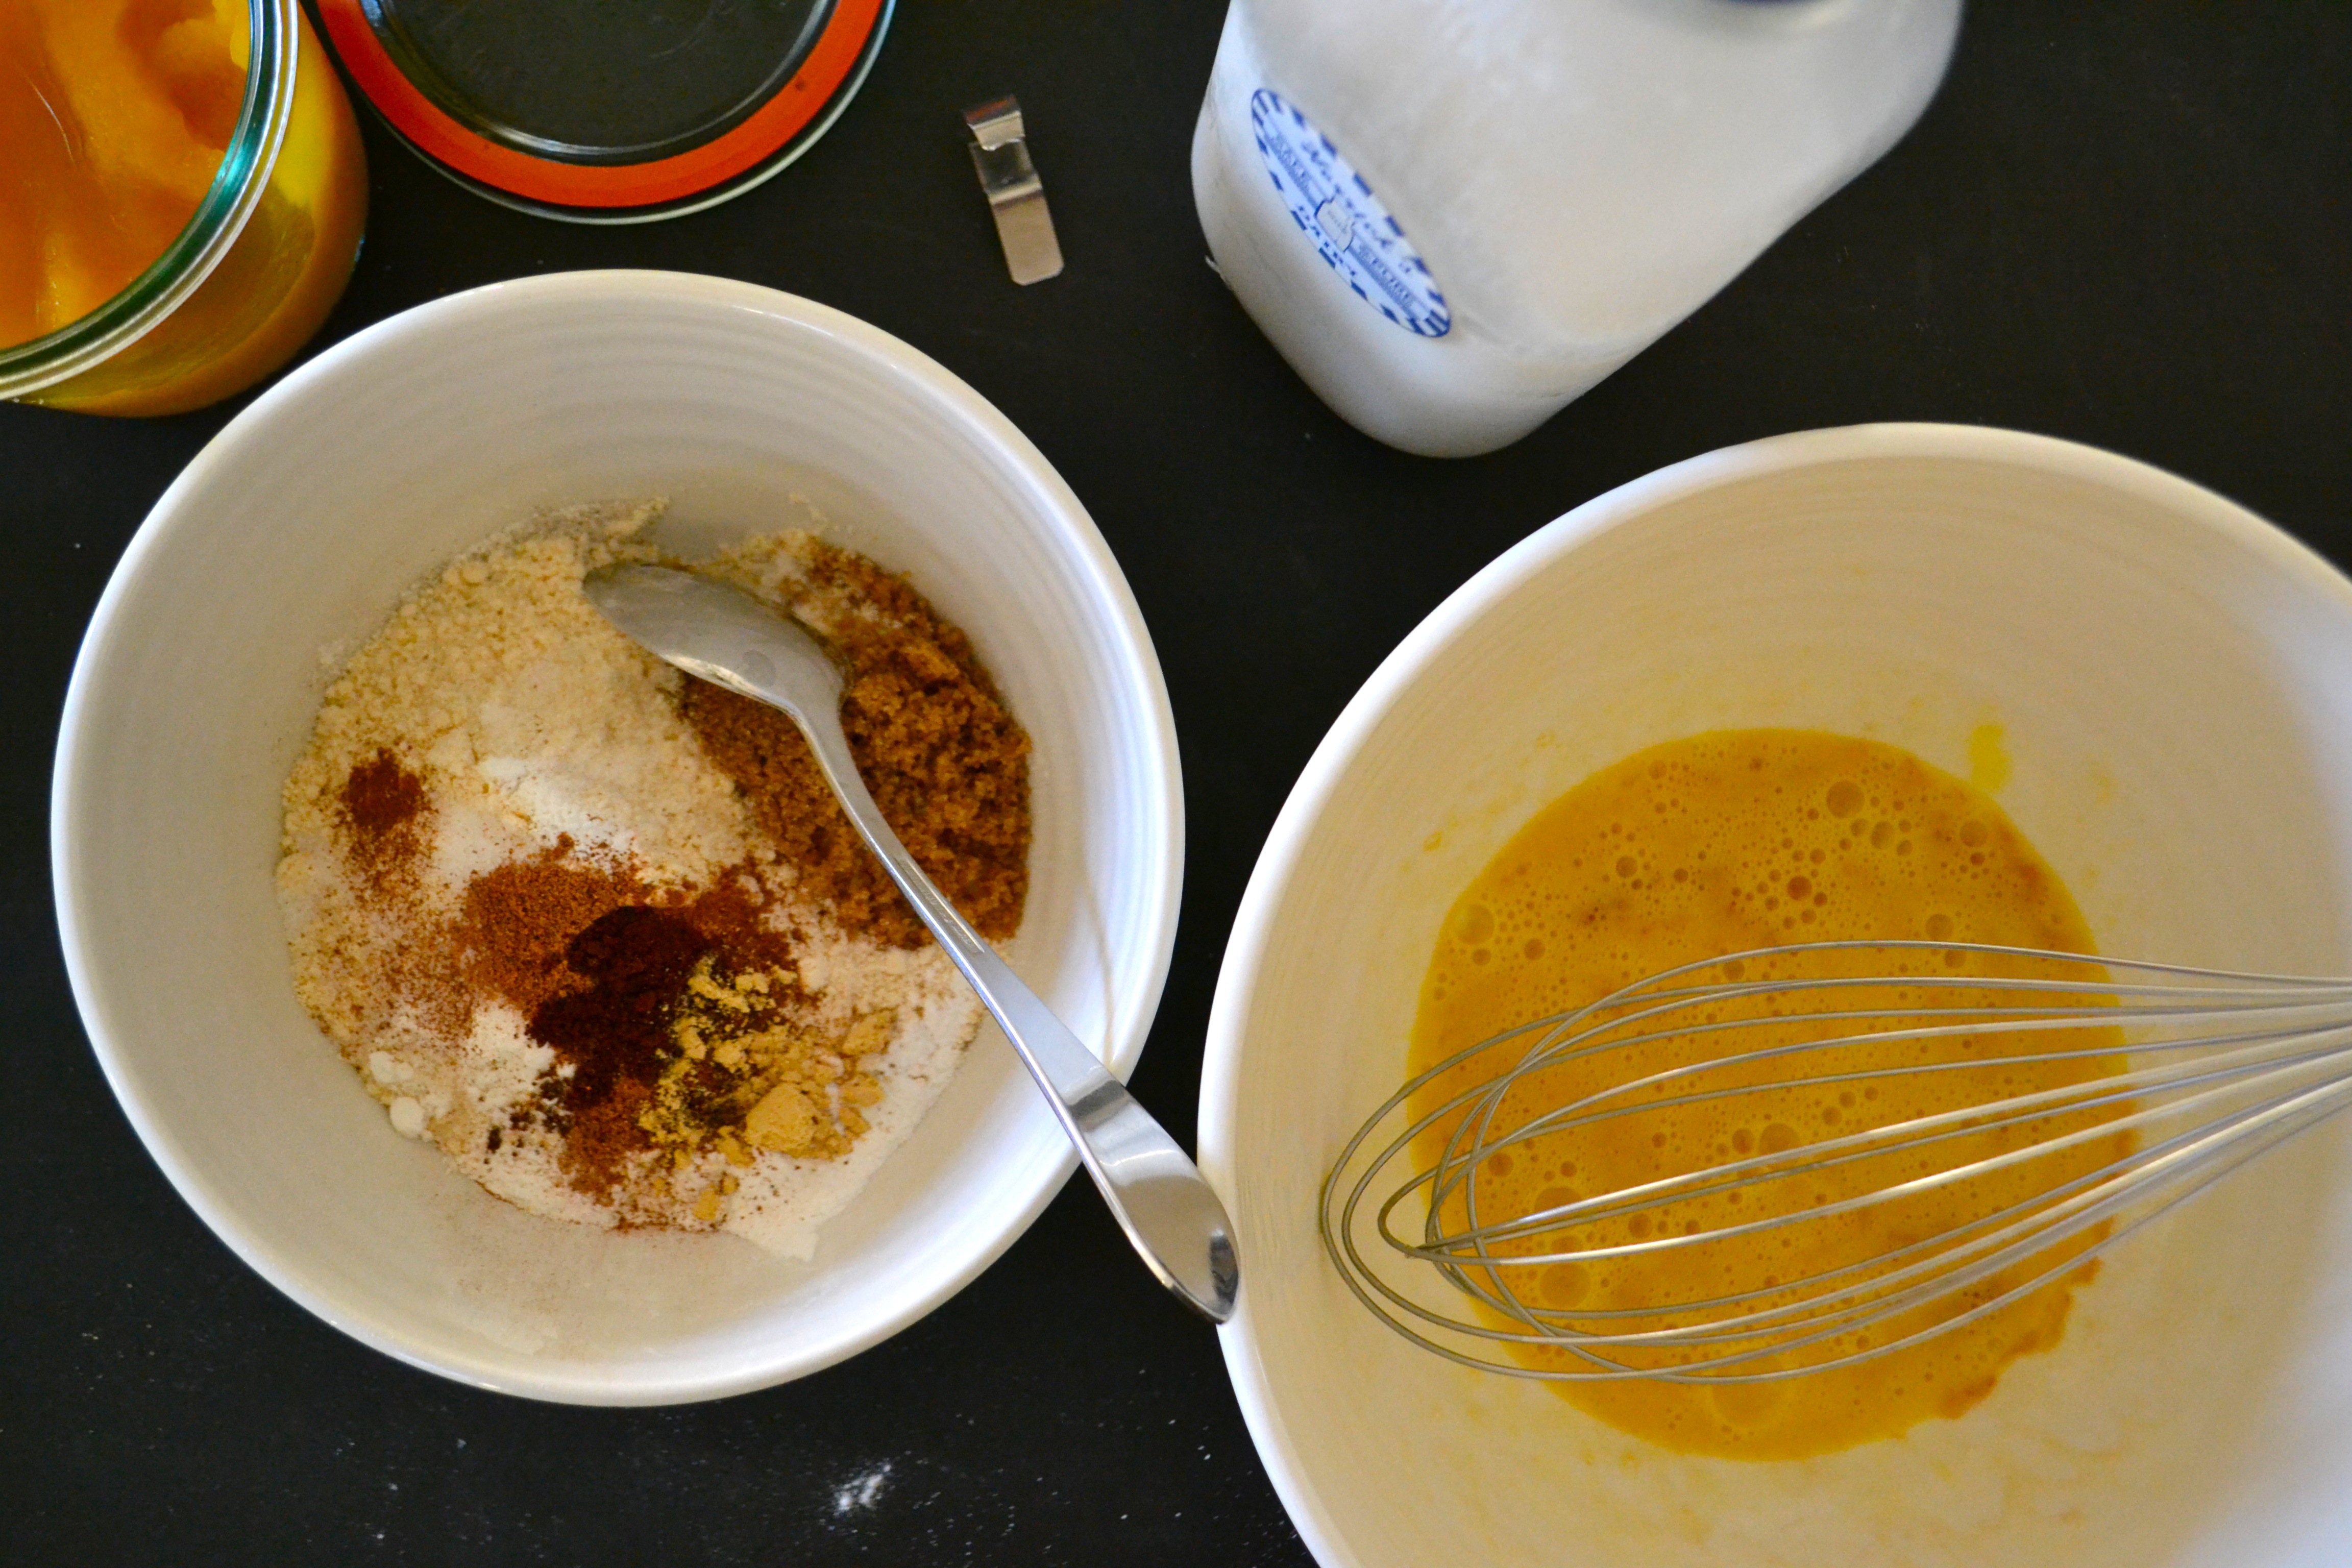
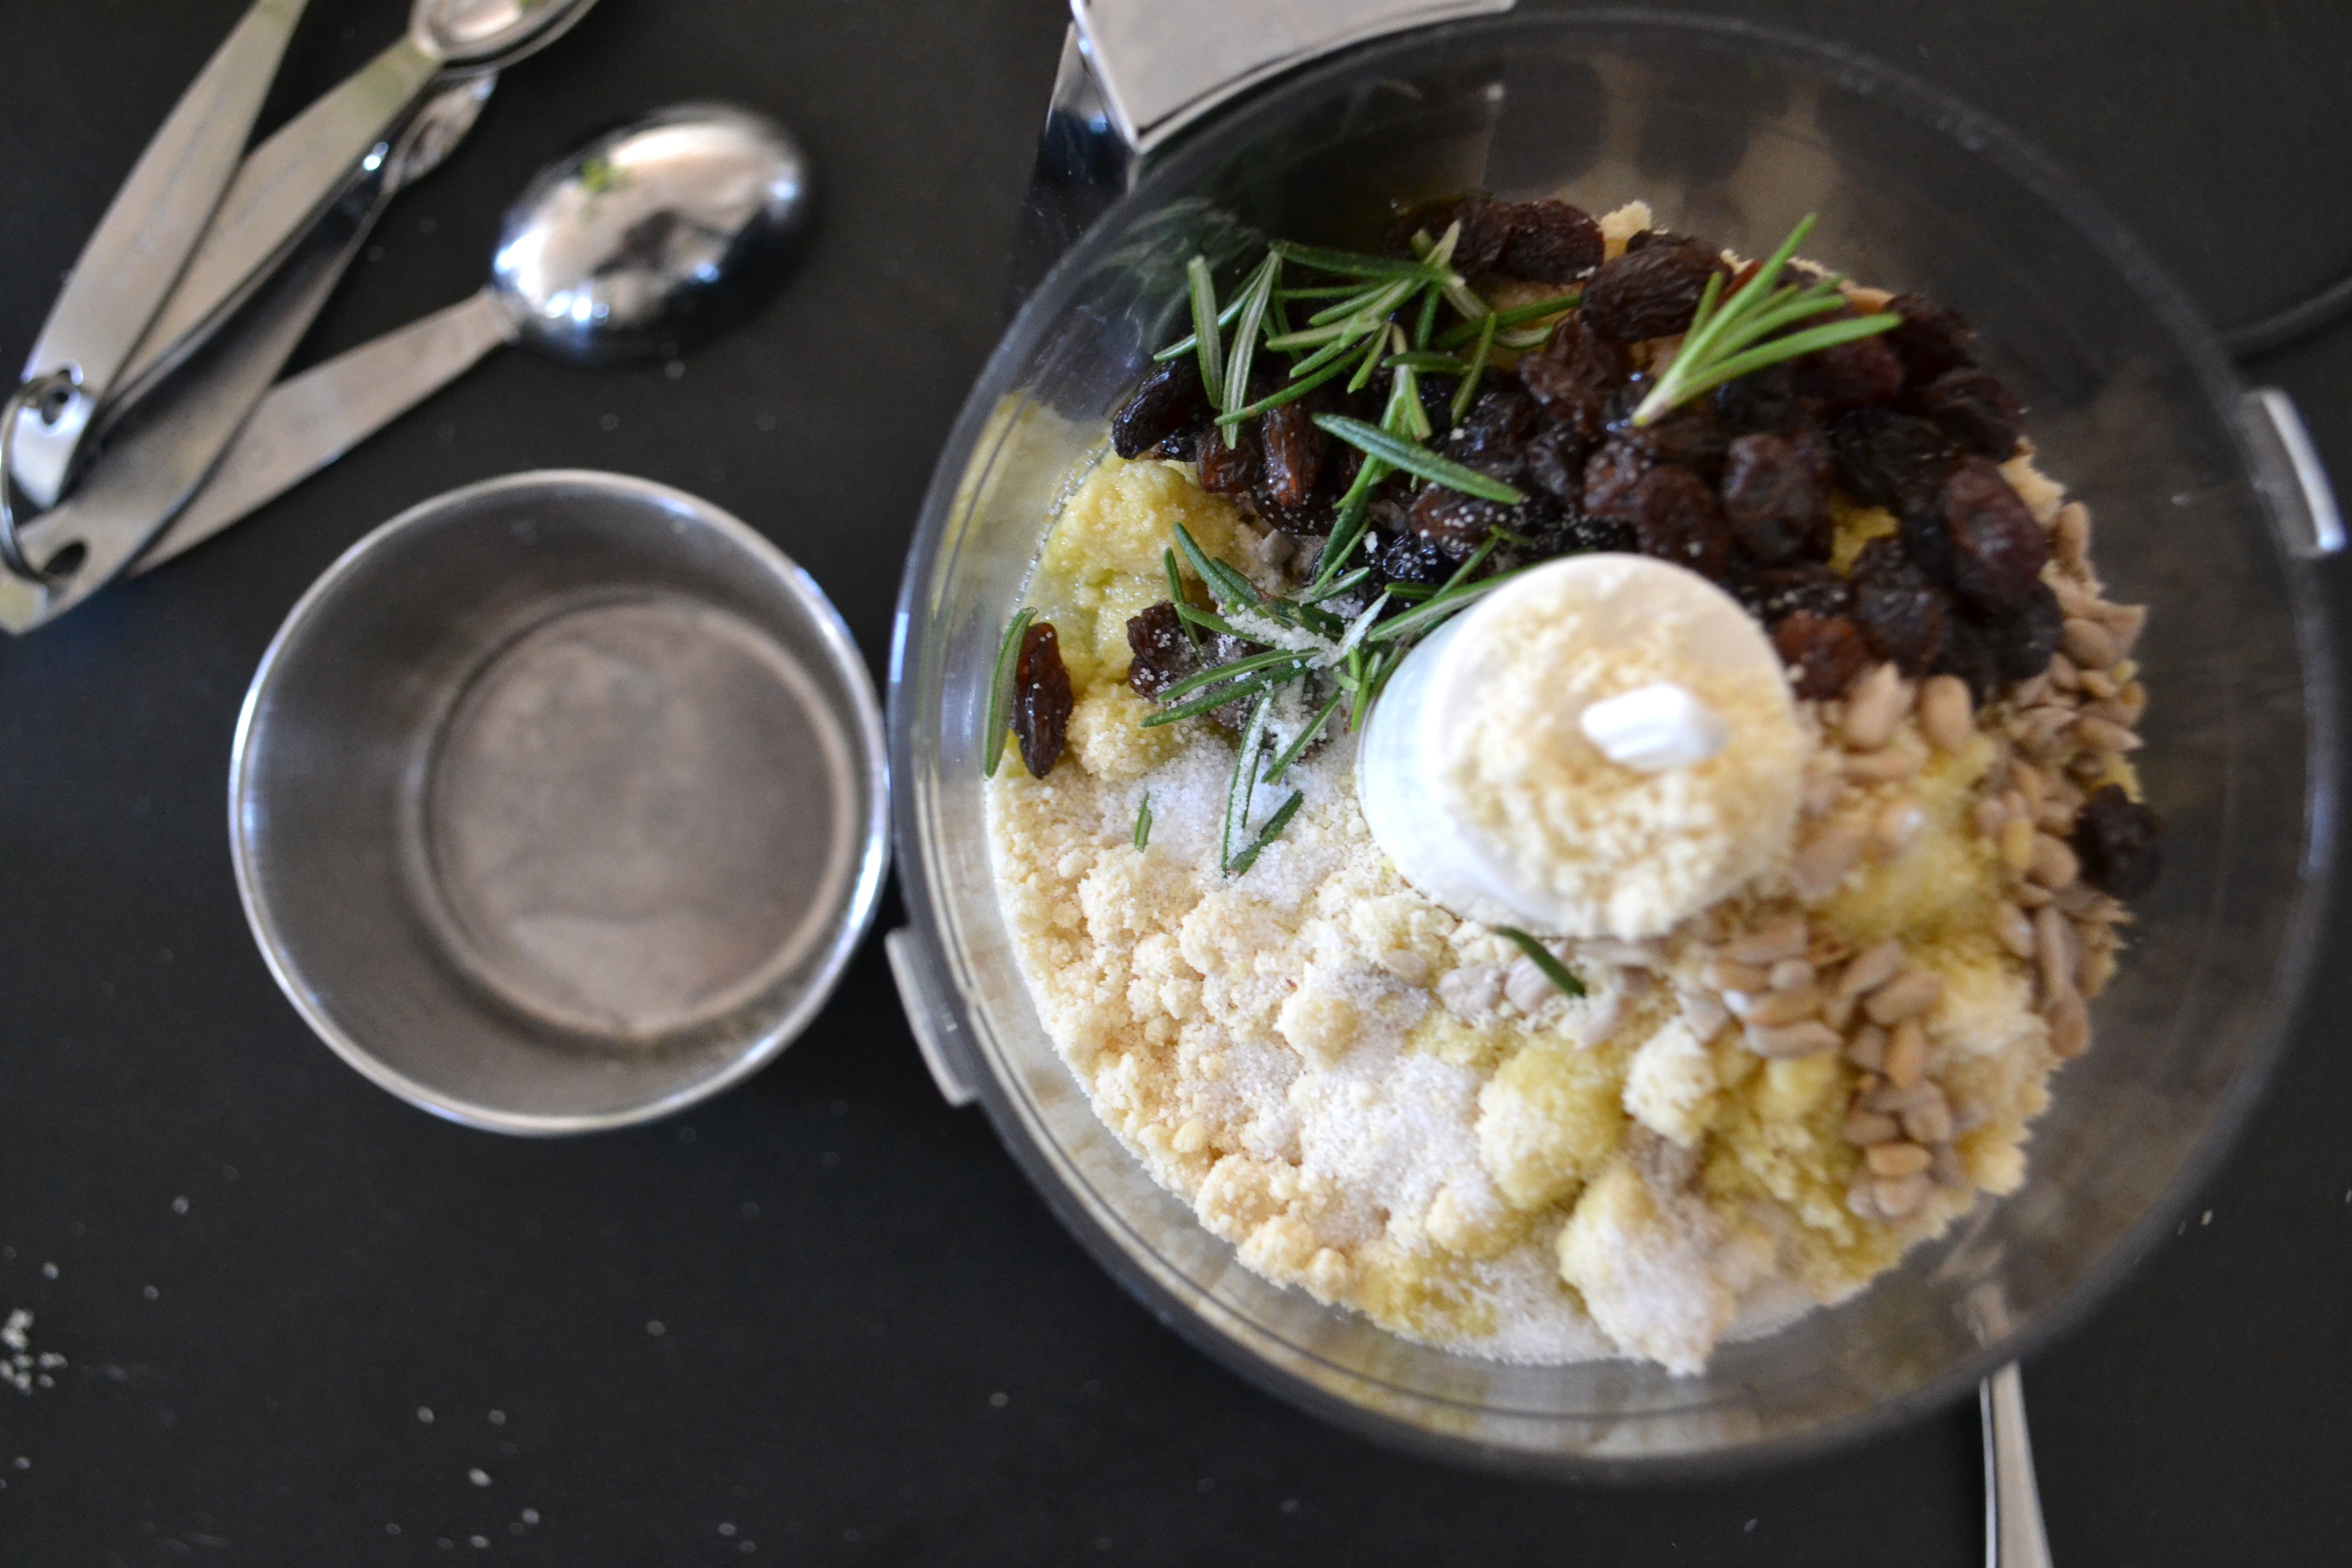
If you have a regular-size food processor, put all the ingredients except the 1 tsp sunflower seeds in the processor. Process for 15 seconds, or until the ingredients are well mixed and the raisins and rosemary leaves are chopped into small bits. If you don’t have a regular-size food processor, like me, and have to rely on a mini-processor (like my mini Krups), put in all the ingredients except the almond flour and process until the raisins and rosemary leaves are chopped into bits. Then add the “flour” and process until the dough comes together (several 2-second pulses on my machine).

cracker mixForm the dough into a squarish shape and roll between two pieces of parchment paper until you have a 1/8-inch thick rectangular shape.

cracker rolled outRemove the top sheet of parchment. Use a sharp flat-edged knife or pizza cutter to cut the dough into 1-inch x 2-inch rectangles. Save the end bits to re-roll in the first piece of parchment to make more crackers.

crackers cut
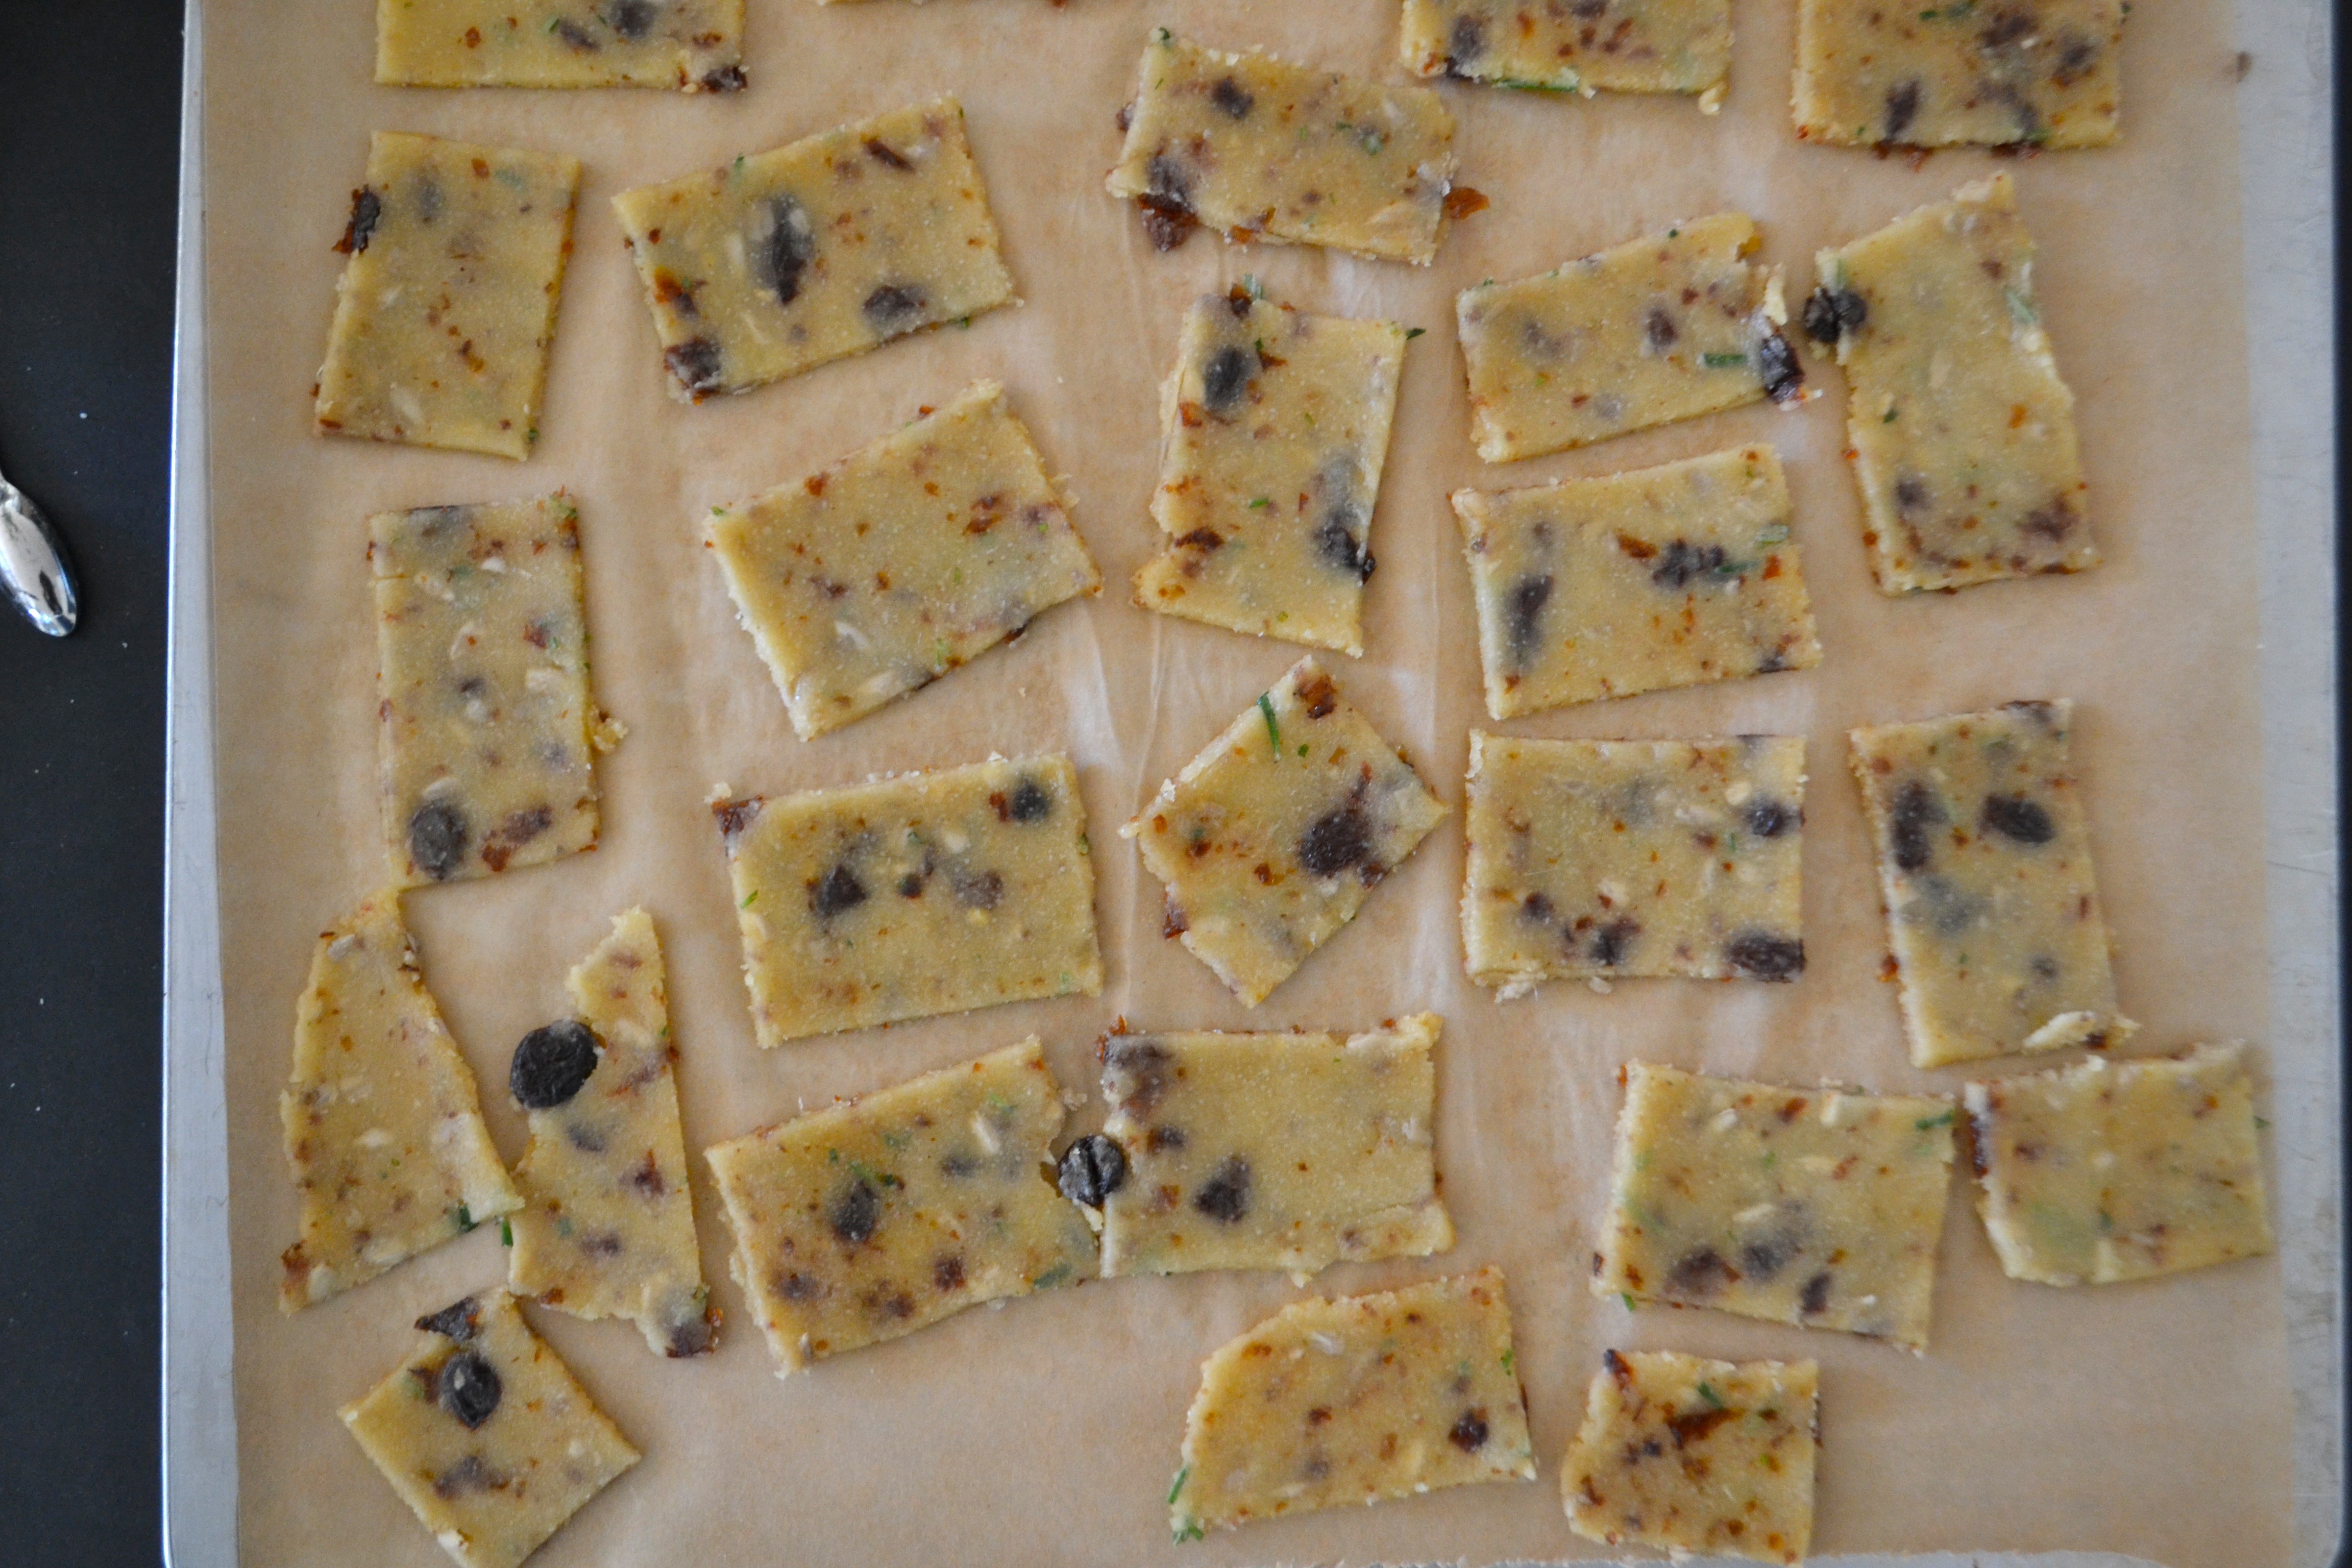
Carefully transfer the parchment paper to a baking sheet. You can bake as is, or carefully separate the crackers from one another. I find they bake better when they’re separated.

Bake for 10-15 minutes, rotating the pan once, until the crackers are golden and browning slightly on the edges.

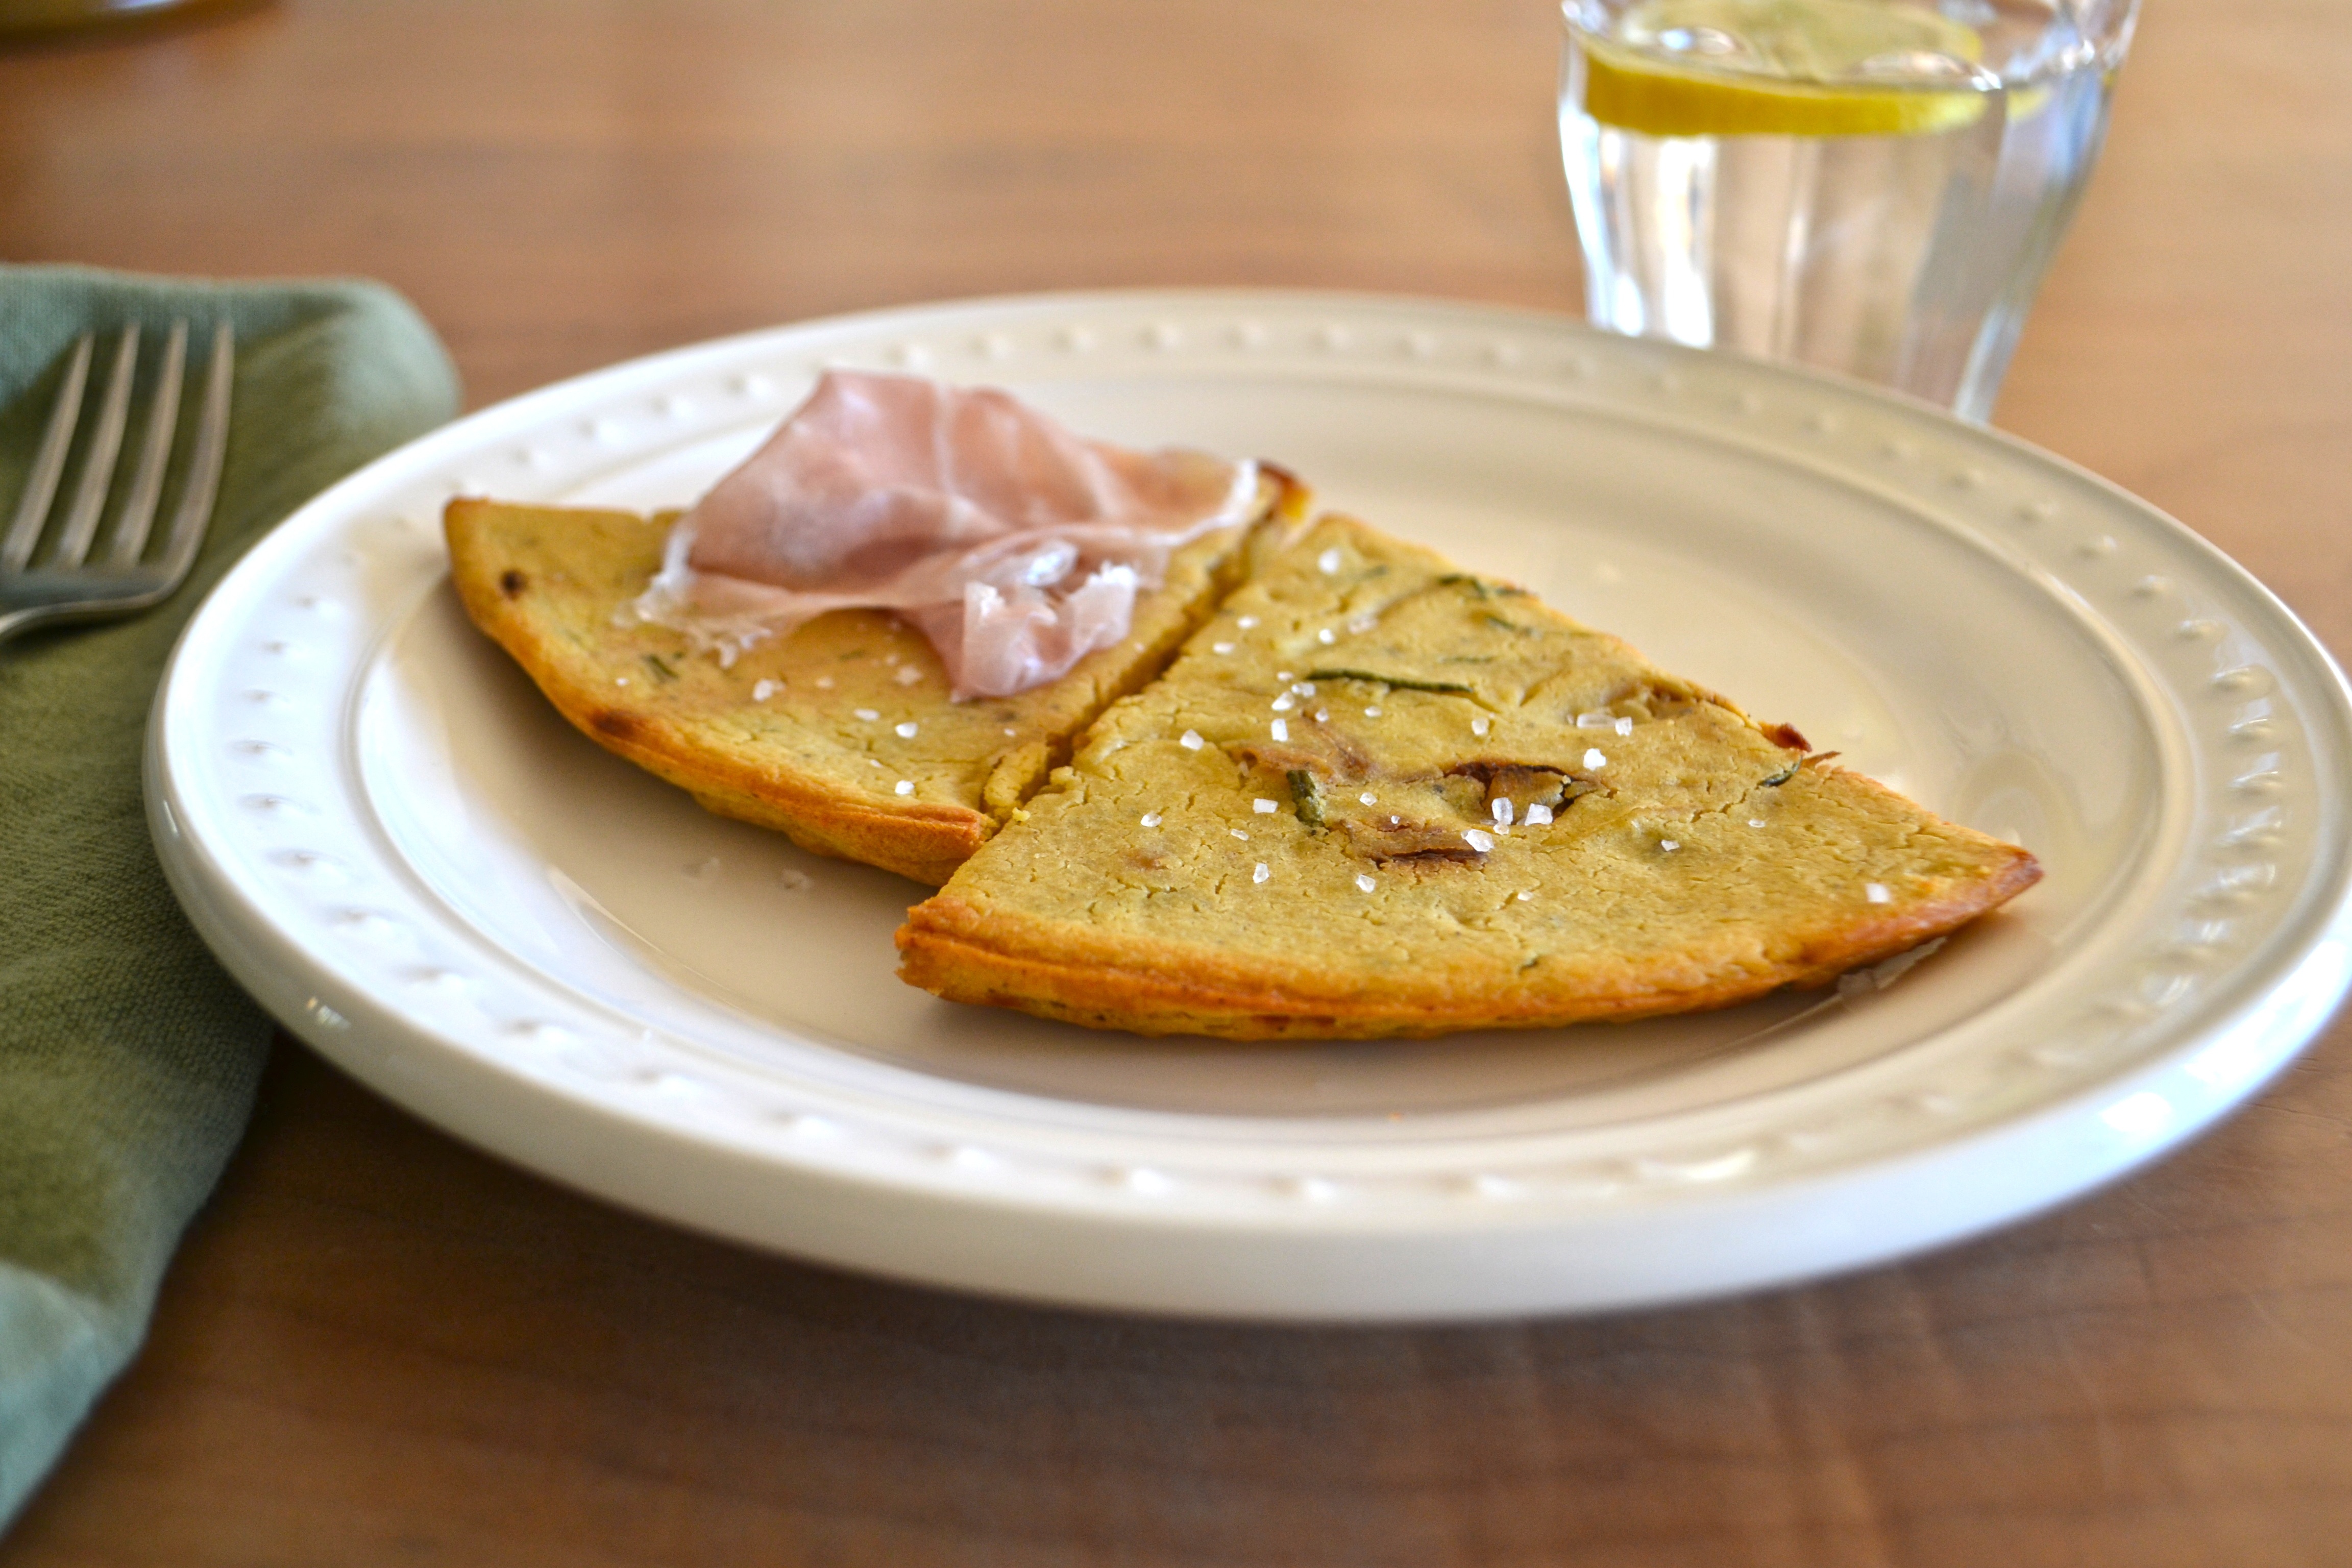
Cool completely before serving. Serve with dairy-free “cream cheese” or a piece of prosciutto.

Happy snacking!

Read Full Post »

cleanse drinkIn general, I’m not a huge proponent of raw diets. I find too much raw food aggravating to my stomach, but I believe any healthy eating plan regularly incorporates raw food. And although I don’t fast or liquid cleanse regularly, I find a day of raw juices and lightly-cooked vegetables very cleansing and healing.

This recipe –slightly modified–comes from another blogger passionate about food and health: bbalacarte.

Besides tasting delicious, this juice is  incredibly good for you because it contains the following:

  • beets to purify the blood and liver
  • carrots to detoxify the liver and provide ample vitamin A, benefitting the immune system and skin
  • ginger to aide digestion, reduce inflammation and improve circulation
  • apple, which is thought to help reduce cholesterol and levels of some heavy metals
  • orange, a rich source of vitamin C
  • cinnamon to reduce fatigue and improve circulation


Ingredients

1 large beet, scrubbed clean and chopped into 1-inch chunks

3 carrots, chopped in halves or thirds

1 apple, skin on but core removed

One 1-inch piece of ginger root, peeled

1/2 an orange, either peeled or with the pith and peel on

1 cup water

1/2 tsp raw honey*

1 pinch cinnamon


Preparation

Using a juicer, process all ingredients through the feed tube, starting with the beet and ginger. (I like to feed my hardest fruits and/or vegetables first and completely before adding the softer ingredients.

Stir and enjoy!

*A note about honey: If you suffer from any seasonal allergies, a little VERY LOCAL raw honey each day can dramatically help your allergy and reduce annoying systems. You’ll experience the greatest success if you’re able to get raw honey made from bees that live within a 20-mile radius from you. If you can’t find it in your natural foods store, ask around–bee keeping is all the rage these days and you’ll be surprised how local you can find honey!

Read Full Post »

farinata above1farinate sideThis appetizer- or lunch-style dish is a Northern Italian specialty also known as socca. It’s incredibly easy to prepare, gluten-free and high in fiber and protein.

I’ve been making farinata for the past couple of years, but could never get the texture quite where I wanted it until now.

Serve as a snack, appetizer or paired with a soup or salad for a simple yet surprisingly substantial dinner. You can top the farinata with prosciutto slices, roasted red pepper, or a favorite soft cheese.

Ingredients

1 cup chickpea flour*

1 tsp salt

1 tsp fresh-ground pepper

4-6 tbsp olive oil

1/2 large yellow onion, very thinly sliced

2 tsp chopped fresh rosemary

1 pinch of large-grain sea salt

farinata batterPreparation

Heat the oven to 450F.

Put a 12-inch cast iron skillet or oven-proof non-stick pan in the oven while it’s heating.

Put the chickpea flour in a medium-size bowl. Whisk in the salt and pepper. Slowly pour in 1 cup of lukewarm water while whisking, and continue whisking until the batter is very smooth and lump-free. Stir in 2 tbsp olive oil. Cover and let sit until the oven is ready and up to several hours if you want to make it ahead of time.

Once the oven is ready, remove the pan. Pour in 2 tbsp olive oil and swirl to coat the entire bottom and up onto the sids a bit. Add the onions and return the pan to the oven. Cook for about 8 minutes, stirring occasionally, until the onions are nicely browned. Stir in the rosemary. Add the onions and rosemary to the batter and stir to incorporate. Pour the batter into the pan and bake in the oven for 10 to 15 minutes or until it’s firm and the edges are set.

Cut into wedges and add toppings and a sprinkle of coarse-ground sea salt. Serve warm or at room temperature.

Enjoy!

farinata above

Read Full Post »

star cookies above boughstar cookies closestar cookie above

This cookie recipe has been in my family for at least half a century, and we made them (religiously!) as a family each holiday season while I was growing up. We took them to friends’ homes as hostess gifts and brought them to festive holiday school functions. In fact, these cookies were coveted by all my friends and neighbors when I was young. Every year, about this time, I would repeatedly get asked, “Has your family made the star cookies yet?”

These cookies are delicate, buttery and delicious and look beautiful–even when presented on a paper plate. They are essentially shortbread cookies sandwiched together using a little raspberry jam. The recipe is my mom’s, but I’m not certain where she originally came across it. She used to refuse to give out the recipe, but since she herself no longer makes them, and since she doesn’t regularly read my blog…

Sadly, the cookies do not fall under the category “healthy and nutritious,” but since I believe in regular treats (see Sweet Sundays)–especially if one has been eating healthy food most of the time, I just had to share this recipe.

Ingredients

1 cup unsalted butter, softened

1/2 cup evaporated cane juice (or other granulated sugar)

2 cups all-purpose (or pastry) flour

1/8 tsp salt

Quality raspberry preserve (jam)

3/4 cup powdered sugar (“confectioners”)

2-3 tbsp milk

Method

In a medium-size mixing bowl, cream butter. Add in granulated sugar. Beat in flour and salt until blended. Form into a ball and wrap in plastic wrap and chill for at least 1 hour.

Preheat oven to 350F.

On a lightly-floured work surface, use your hand to slightly flatten out the chilled cookie dough. Roll out the dough until it’s quite thin–1/8 inch is best. Avoid overworking the dough as it will “toughen” your cookie. Using a lightly-floured, star-shaped cookie cutter (with or without the ruffled edge), cut out your stars and place them on a lightly oiled or parchment-lined baking sheet. Repeat until you’ve used up all the dough. Bake for 8-10 minutes or until the edges turn slightly golden. Let cool for 5 minutes before transferring to a wire cooling rack.

While the cookies are baking, mix the powdered sugar with a little of the milk in a small bowl. Beat vigorously to blend. Mix in a little more of the milk until you have a smooth, easily spreadable icing. Set aside.

Once all the cookies have been baked and cooled, you are ready to begin assembly! This is the part my children love most. Divide the cookies into two even batches–the best looking (i.e., most even cut) on one side. Put a small–a scant 1/4 tsp of raspberry jam on one of the “not best looking” cookies. Carefully ice one of the best looking and gently press it down on the jammed one. Using a tiny spoon and a toothpick or small fingertip, add a small dot of jam to the top cookie, right in the middle. Voila! You have a delicious, beautiful, non-denominational holiday cookie.

These cookies keep well for several days in an airtight container. In fact, some people think they taste even better on day 2 or 3 when the flavors have blended together more.

May your holidays be merry and bright!

Read Full Post »

pumpkin pancakesOn a recent visit to New England, my cousin–who happens to be following the Paleo diet, whipped up some grain-free pumpkin pancakes. While I loved the flavor and idea, they were a little too Paleo-esque for me (i.e., very eggy) and thin, like a crepe. I returned to California determined to devise a more traditional (i.e., heartier and fluffier) and less-eggy pumpkin pancake that would still be relatively nutritious–although not Paleo.

These took me several tries, but the last batch came out quite nicely, and received a very enthusiastic thumbs-up from my children. I also like that you can easily make these dairy-free if you’re avoiding dairy, without any sacrifice in texture or flavor.

Ingredients

1/2 cup all-purpose flour*

1/2 cup whole-grain barley flour

1/4 cup almond flour/meal

1 rounded tbsp light brown sugar

2 tsp baking powder

1/2 tsp salt

1/2 tsp ground cinnamon

1/4 tsp ground nutmeg

1/4 tsp ground ginger

Pinch ground cloves

2 eggs

3/4 cup pumpkin puree, canned or fresh (a word about fresh pumpkin puree)

1 cup milk (you can use coconut, almond or cow’s milk)

1 tsp pure vanilla extract

1 tbsp melted butter or coconut oil, plus more for the pan

*Gluten-free? Use 1 cup all-purpose GF flour and 1/4 cup almond flour or a combination of sorghum, all-purpose GF, almond and buckwheat. Using GF flours can make these pancakes a little gummy, so I usually throw in 2 tbsp coconut flour to balance out the moisture.

pumpkin pan ingredientspumpkin pan batterPreparation

Mix all the dry ingredients together in a medium-sized bowl. Set aside.

In a large bowl, lightly whisk the eggs. Whisk in the pumpkin puree, vanilla extract, butter or oil and milk. Whisk in the dry ingredients until thoroughly blended. Let stand for 10 minutes.

Heat a large cast-iron or other heavy-bottomed skilled on medium to medium-high heat. Cover the bottom with a little butter or coconut oil. Pour in 1/3-cup batter for each pancake. Cook 2-3 minutes on the first side. Flip, and cook 1-2 minutes on the second until golden brown. Serve immediately with maple syrup or fresh whipped cream.

Enjoy!

Read Full Post »

cauliflower abovecauliflower closeAs the days turn colder, I find myself craving comforting tea–like chai and vanilla, and warm soup–like pumpkin, butternut squash and cauliflower.

This has to be one of the easiest soups to prepare, and family and guests universally like it. It looks and tastes elegant enough to serve as a starter course for a sit-down dinner party, but because it’s so simple and unfussy, you can make it any day of the week for any eating occasion.

This soup can also be made dairy-free with no change in appearance or taste. In fact, I think it tastes best made with a little coconut milk, but almond or regular cow’s milk work, too.

Ingredients

1/2 yellow onion, peeled and chopped

1 small clove garlic, minced or crushed

1 tbsp butter or ghee (clarified butter if you’re avoiding dairy)

1 tbsp olive oil

1 small- to medium-sized head of cauliflower, leaves and tough center stalk removed, broken into small florets

1 apple, peeled, cored and chopped

3 cups chicken broth or vegetable stock*

1/2 cup milk (coconut, almond or cow’s)

sea salt and fresh-ground pepper

1 tbsp chopped fresh chives

truffle oil

Preparation

In a medium-sized saucepan, melt the butter (or ghee) and oil over medium heat. Add in the garlic and onions and cook, stirring frequently (do not burn!) until the onion softens and begins to turn translucent. Add in the cauliflower and apple and cook an additional minute or two.

Pour in the soup stock (enough to cover the apple and cauliflower completely). Bring to a boil then reduce heat and simmer, covered for about 15 minutes or until cauliflower is completely tender when pierced with a fork or knife.

Puree in a blender until completely smooth. Return to saucepan. Stir in milk of choice and season with salt and pepper. Ladle into soup bowls and garnish with a sprinkling of chives and a drizzle of truffle oil. Serve immediately.

Serves 4.


Read Full Post »

pumpkin slicepumpkin aboveI think I’ve only met a handful of people in my life who don’t like pumpkin pie. Naturally sweet and quickly associated with holidays and time spent with family and friends, pumpkin is a delicious and comforting food.

Like many, I used to use store-bought, canned pumpkin puree for my pumpkin pies. It meant I could whip up a pumpkin pie–ready for baking, in a matter of minutes, and since I bought organic pumpkin puree, I figured it was just fine. And it was just fine, that is, until I took the extra step of roasting my own pumpkin. It takes a little bit of pre-planning, but only adds about 10 more minutes of actual work, and I believe the outcome is superior. Interestingly enough, I think canned pumpkin actually tastes more “pumpkiny,” but fresh pumpkin puree imparts a subtly better flavor and an incredible freshness to your pie. I’m convinced it’s worth the extra thought and 10 minutes of extra effort.

It’s also super easy to make your own fresh pumpkin puree! Preheat oven to 375F. Cut your pumpkin in half lengthwise, and scrap out the seeds. Place each half face down on a rimmed baking sheet  lined with parchment paper, and bake for 35-40 minutes or until a fork inserted in the flesh goes in easily.

pumpkin cut
And assuming you like to be efficient like me, while the pumpkin is roasting you can make the crust.

Ingredients

1 1/4 cup flour (I use a mix of all-purpose, barley, coconut, but you can just use all-purpose)

2 tbsp sugar

pinch of salt

1/2 cup (1 stick) cold butter, cut into pieces

2-3 tbsp ice cold water

Whisk together flour, sugar and salt. Using a food processor (on pulse) or a hand-held pastry cutter, cut in the butter until the texture resembles coarse crumbs. Mix in a little of the water and cut or pulse until the dough comes together. (Do not over mix.) Gather the dough into a slightly flattened ball, wrap in plastic wrap and chill for up to 8 hours in the refrigerator.

When you’re getting ready to make your pie, roll out the dough into a circle wide enough for a 9-inch pie dish. Form the dough to the dish and return to the refrigerator.

pumpkin pureeOnce the roasted pumpkin is cooked and cooled enough to handle, scrap out the cooked flesh and puree in a blender or food processor. Measure out 1 1/2 cup of puree for a 9-inch pie.

Pie ingredients

2 eggs

1 1/2 cups pumpkin puree (fresh or canned)

1 14 oz can of sweetened condensed milk*

1 tsp pure vanilla extract

1 tsp ground cinnamon

1/2 tsp ground nutmeg

1/2 tsp ground ginger

1/2 tsp ground cloves

1/2 tsp salt
Preheat oven to 425F.
In a medium bowl, whisk eggs lightly. Whisk in pumpkin puree followed by condensed milk, vanilla and spices. Whisk until thoroughly blended. Pour into pie shell. Bake at 425F for 15 minutes then reduce temperature to 350F for an additional 35-40 minutes.
pumpkin mixThoroughly cool pie before serving (1-4 hours depending on how firm and how cool you like your pie). Serve with vanilla- or bourbon-laced whipped cream.
*You can substitute 1 1/2 cups evaporated milk and 3/4 cup sugar for the sweetened condensed milk. This is a good option if you want to use a particular type of sugar, e.g., coconut crystals.
Happy Thanksgiving!

Read Full Post »

sprout pom salad abovesprout pom salad closePerhaps like me, you dreaded brussels sprouts as a child. In my case, I also dreaded artichokes, asparagus and avocados. As soon as I reached adulthood, these vegetables (fruit, in the case of avocado) became my favorite things.

I like brussels sprouts best when they’re shaved or cut into thin strips and fried. The flavor is enhanced, and they essentially become healthier french fries. However, I recently purchased Danielle Walker’s “Against all Grain,” book containing 150 Paleo recipes, and I’m officially addicted to her brussels sprout salad (with minor modifications). What’s more, my husband has declared it’s his favorite cooked vegetable salad, and we’re thinking of serving it this Thanksgiving. It makes a perfect side dish to a roast bird, sweet potatoes, and other traditional Thanksgiving dishes.

This dish takes less than 30 minutes to make–start to finish, and serves 6.

sprouts wholepom seedsIngredients

2 lbs Brussels sprouts, shaved (using a food processor or mandoline), or sliced very thin

5 slices bacon

1 leek, white part only sliced and carefully cleaned

1 clove garlic, crushed

1/2 cup chicken stock (I’ve found that water or white wine works well, too)

3/4 tsp sea salt

Fresh-ground pepper

1/2 cup pomegranate seeds

Preparation

Cook the bacon in a large cast-iron skillet over medium heat until crisp. Remove from the pan, and set aside, leaving the bacon grease in the skillet.

Add the sprouts, leek, and garlic to the pan and saute for 5 minutes. Add the broth (or water or wine), salt and pepper. Cover and steam for 5 minutes, until the sprouts are bright green and tender. Do not overcook!

Chop the bacon, and add it to the skillet along with the pomegranate seeds. Serve immediately. Note: This dish is not well suited for reheating, so it’s best not to prepare it in advance. Luckily, it comes together so quickly that you don’t need to make it ahead of dinner.

Enjoy!

Read Full Post »

DSC_1217zucchini soup closeI think zucchini are a seriously under-appreciated vegetable. You can prepare them dozens of ways, and they always make a great accompaniment to meats. During the summer, I like to cut zucchini lengthwise into strips, drizzle with olive oil, sprinkle with oregano, sea salt and pepper, and grill until the strips begin to carmelize slightly. You can make a similar preparation indoors by lightly dusting strips of zucchini with rice flour and a sprinkling of nutmeg and salt before frying them in a pan coated with butter or olive oil. And when the weather turns colder, I like to make zucchini soup.

At the market and in the stores, the zucchini are beautiful right now–firm and dark green with subtly shiny skins. I bought a couple pounds so that I could make this recipe that originally came from my sister. I’m partial to it because the last time I made it, my 5-year-old asked for seconds and then thirds!

Ingredients

1 tbsp butter

1 tbsp olive oil

1 small- to medium-size yellow onion, chopped

2 1/2 lbs zucchini, tops and ends removed, and chopped in 1/4-inch slices

2 tbsp fresh oregano, chopped (or marjoram)

4 bay leaves

chicken stock to cover (approximately 1 quart)

1/2 cup cream

sea salt and fresh-ground pepper to taste

Preparation

Warm the butter (or ghee) and olive oil in a large saucepan over medium heat. Add the chopped onions, and cook, stirring occasionally, until the onions soften and are slightly translucent, about 5 minutes. Add in the chopped zucchini and cook, stirring occasionally another 5-6 minutes. Toss in the bay leaves and chopped oregano and pour in the stock–enough to completely cover the vegetables.

Bring to boil. Reduce heat, cover, and simmer for 30 minutes. Remove bay leaves and puree in a blender until thoroughly blended. Stir in the cream (or milk) and season with salt and pepper to your liking. Serve warm. Note: the flavors in this soup deepen over the hours, so I recommend–time and forethought permitting, cooking it earlier in the day and reheating it for dinner. It’s also good the next day.

Make it dairy-free:

Use ghee (clarified butter) in place of butter, and coconut or almond milk in place of the cream.

Enjoy!

Read Full Post »

oat bran muffin closeoat bran muffin aboveWe all experience days, sometimes weeks, when it does not feel like time is on our side, and a long list of “to do’s” piles up on our countertop, laptop, etc.

I had one of those weeks last week, and found myself waking on a Saturday morning to two hungry children and a hungry husband, and a near-empty refrigerator. Because time had eluded me the prior week, I did not manage to make a new batch of granola, and the current container offered just a sprinkling of crumbs. I did not manage to make it to the store, and found that just one lonely egg remained in the carton. The fruit bowl contained a slightly shriveled clementine and one overly ripe banana.

We could have piled into the car and gone to a restaurant, but I rarely do this for breakfast anymore. The sugar and gluten load in most restaurant breakfasts make me loathe the idea of paying $40+ for food I know isn’t good for me and my family.

Well as luck would have it, one of our darling “girls” had laid an egg the evening before, giving me not just one, but two eggs to work with!

girlsI chose to whip up these yummy oat bran muffins and a kale smoothie (always keep washed, chopped kale in the freezer), and we all enjoyed a fresh, healthy breakfast that no one got up from hungry.

I have to say, I’m not a big bran fan, but I make an exception for oat bran. One, it’s not wheat and two, it is much lighter and creates a cake like texture. I used gluten-free flour and non-dairy milks, because that’s my preference, but use the recipe as you see fit.

Ingredients

2 cups oat bran

1 cup all-purpose gluten-free flour

1/3 cup lightly packed brown sugar

4 tsp baking powder

1 tsp ground cinnamon

1/2 tsp sea salt

1 1/4 cups milk (I used half almond milk and half coconut milk)

2 eggs

1/3 cup safflower oil (or coconut oil melted)

1 tsp pure vanilla extract

1/2 cup raisins

Preparation

Preheat oven to 425F. Lightly oil a standard 12-muffin tin.

In a large bowl, mix together the oat bran, flour, sugar, baking powder, cinnamon and salt. Set aside.

In a medium bowl, whisk the eggs lightly. Whisk in the milk, oil and vanilla extract until smooth. Add to the dry ingredients and stir until just barely blended. Fold in the raisins.

Spoon the batter into the prepared muffin tin, filling each cup equally. Bake 15-18 minutes or until a toothpick inserted in the center of a muffin comes out clean. Let cool in the tin for 3-5 minutes. Serve warm plain, with a little butter (or faux butter) and/or a drizzle of honey.

Enjoy!

Read Full Post »

« Newer Posts - Older Posts »

Cooking Without Limits

Food Photography & Recipes

Selma's Table

Life doesn't have to be perfect to be wonderful - stories and recipes from a wonderful life...